Chocolate Double Peanut Butter Cookie Cups

Oh, so you're doing Whole 30? I've got a better idea for you: eat some chocolate peanut butter out of a peanut butter cookie cup. Go ahead, add some salt on top while you're at it. 

While you ponder the pleasure of eating these things, let me explain where I got the brilliant idea for this recipe.

A few months ago I was commissioned to make a recipe for Peanut Butter and Company: peanut butter cookie cups that could be filled with milk. I made that recipe, and it was fantastic.

But in the several times that I made the cookie cups, at a certain point I started to wonder what else I could fill them with. And the best answer was the easiest one: another PB+Co product, their Dark Chocolate Dreams peanut butter. This stuff is so good that you can go to town with it and a spoon, but it's even better when cradled in a peanut butter cookie cup. 

So basically, what I am saying is that you should make the peanut butter cookie cups from this recipe, and if you feel like you don't want all of them to be used as vessels for milk, do this instead.

Chocolate Double Peanut Butter Cookie Cups

Makes 18 or so

For the cookie cups:

  • 2 1/2 cups all-purpose flour
  • 1 teaspoon salt
  • 1 cup (2 sticks) unsalted butter, softened 
  • 1 cup Peanut Butter & Co. Smooth Operator peanut butter
  • 1 cup granulated sugar
  • 1 cup light brown sugar, packed
  • 2 large eggs, room temperature

To fill:

1 jar (give or take) Dark Chocolate Dreams (chocolate peanut butter)

1. Position two racks in the middle position of your oven. Preheat the oven to 350°F. Grab two 12-cup muffin tins, and either line 18 cups (you can do 9 and 9 in each tin, or 12 in one tin and 6 in another) of each with cupcake liners, or generously grease and flour the wells, if not using cupcake liners.
2. In a large bowl, sift together the flour and salt. Set to the side.
3. In a stand mixer fitted with the paddle attachment, cream the butter and peanut butter until silky in texture and totally combined, about 1-2 minutes on high speed.
4. Pause to add the two types of sugar, and mix briefly on low speed and then as the sugar is absorbed, increase the speed to high, mixing until the butter and sugar mixture is fluffy and light. Pause to scrape down the sides of the bowl as needed.
5. Add the eggs, one at a time, mixing briefly to incorporate each one into the mixture.

6. Add the flour mixture to the dough, and mix until incorporated.

7. Scoop 1/4 cup of dough into each cupcake liner or prepped portion of the tin.

8. Bake for 12-15 minutes, or until golden on top. Remove from the oven and transfer to wire racks. They will look like cupcakes.

9. Let cool for about a minute, and then grab a spoon and do something that feels very strange: press the centers of each cupcake-looking portion in, forming a well in the center. Be careful; the cookies are still hot, but it’s important to do this while they are still soft. If you did not use cupcake liners, also run a sharp knife along the edge of each cookie cup to loosen it from the sides.

10. Let the cups cool completely. Once cooled, either invert the pan to remove the cups (if unlined), or remove the cups and remove the liners.

11. Fill each cup with a generous spoonful of Dark Chocolate dreams..

 then garnish with a sprinkling of salt. EAT. 

How would you fill a peanut butter cookie cup?

A Different Way to Drink Milk

Why on earth would you drink milk from a cup when you could drink it directly from your cookie?

For my latest recipe for Peanut Butter and Company, I created peanut butter cookie cups with a chocolate "lining" which allows you to pour in milk. You eat it like so: "shoot" the milk, then eat the cookie. It's a very good thing indeed! They're fun to make, and even more fun to eat.

Happy Unicorn Bento Box

When I was younger, I had a peanut butter (CRUNCHY ALWAYS) sandwich in my lunch basically every single day. With few exceptions, this was my lunch from Kindergarten through the time I was a senior in high school. 

I'm not telling you this merely to share trivia about my peanut butter consumption; I'm sharing it so that you'll understand why, when Peanut Butter and Company hit me up to create a kid's lunch-friendly bento box idea, I jumped at the opportunity. 

Because here, I had not only the chance to revisit the peanut butter-centric lunches of my youth, but also to create the lunchbox of my dreams. 

Naturally, I knew it had to involve unicorns and rainbows. And peanut butter, and cake. Here's what I've come up with.

I call it "Happy Unicorn Bento Box". I had it for lunch after taking these photos, and I can tell you from personal experience that it is just as joyful to consume as an adult as I'm sure it would be for a child. 

This joyful lunch is not only an object of visual delight, but it's a treat for the senses, too. It provides balance, a little bit of sweetness, a little bit of health, and plenty of fun. 

Here's how you make it! 

Happy Unicorn Bento Box

You'll need:

  • a slice of bread
  • a horse-shaped cookie cutter (see note) 
  • 2 or so tablespoons of Peanut Butter and Company Crunch Time Peanut Butter
  • Sprinkles (RAINBOW) 
  • 4-5 baby carrots
  • 4-5 small sticks celery 
  • 3-4 cherry tomatoes, sliced in half 
  • 1 cup purple sticky rice (recipe below) 

Let's start with the sandwich, because it's truly the Major Player in the lunchbox, right? Choose a slice of bread that is large enough to accommodate your horse cookie cutter.

Note: why a horse? OK, so I have a unicorn cookie cutter, but I have found that when it comes to cutting out a unicorn's horn in bread, it's just a little too wimpy. So I think you should make the cutout, then fashion a horn with the discarded bread; simply cut a horn shape and use a little bit of peanut butter to make a horn happen. 

Top that horse/unicorn with peanut butter (it's always going to be crunchy for me, til the day I die, so go ahead and use PB+Co's Crunch Time). Then, top that with sprinkles, because WHY NOT?

OK, so now that you have a unicorn covered in rainbows, place it in your bento box. Then, make your rice. 

How should you make your rice? OK, so I like to use short grain sushi-style rice. Combine 1 cup of rice with 1 1/2 cups of water (or broth, etc). Cook until the water is absorbed. When the water is mostly absorbed, add some red and blue food coloring to make it a deep purple. Set to the side. 

OK, so you have your unicorn in your bento box and your rice cooling. Bring your attention back to the box. Layer celery sticks along the bottom, cutting stalks as needed to accommodate the shape of the unicorn. Next, add a layer of cheese slices above the celery. Then, add some yellow or light orange cheese cubes.Then, add a row of carrot slices. Next come the cherry tomato slices.

Finish it off with the rice! To make balls, dip your hands in water, then form the rice into balls. Sprinkle with golden star sprinkles if you happen to have them handy, then place in the box. 

Ummm....what about dessert? Please, don't leave your kid (or yourself) hanging. Pack a smaller box with a slice of cake, and use decorating gel and blueberries to form eyes and a mouth. Pack with extra fruit to fill out the box, and, you know, for health.

Enjoy lunch!

4th of July Poke Cake

This cake is pretty all-American. It combines both peanut butter and jelly AND red white and blue in one delectable cake form. 

If you've never tried a poke cake, you're in for a treat. Basically, you bake a cake, "poke" it all over with a skewer, and let a soaking liquid fill in those little blanks. It keeps the cake moist, adds interesting flavor, and makes it visually fascinating. Win-win!

So enjoy some fireworks and set your mouth on desirous fire this 4th of July with this cake, whydontcha?

Recipe here.

CakeSpy for Peanut Butter and Co: Mini Chocmeister Cheesecake Bites

Guess what? My beloved Peanut Butter and Company has debuted a product that is NOT peanut butter. 

It's a chocolate hazelnut spread, and I think that is the perfect product extension for them, don't you? It's called Chocmeister, and it comes in dark and milk chocolate varieties.

I made my love official with a fantastic recipe for mini cheesecakes -- you've got to try this out! The cheesecakes are creamy and rich and have a nice crunchy base. You will enjoy stuffing them in your face, I promise.

Recipe here!

Perfect for Easter: Homemade Chocolate Peanut Butter "Eggs"

Let's talk about chocolate peanut butter eggs. Let it be stated from the very beginning that I love the things.

I remember when Reese's debuted their peanut butter eggs. It was a red-letter day--no, year!--for me. Finally, a chocolate and peanut butter confection with a better chocolate (slightly less) to peanut butter (slightly more) ratio. I always felt like I wanted more peanut butter in my cups, and this new formation seemed to address that issue. Unfortunately, they were only in stores around Easter.

Now, Reese's repackages seasonal variations so that you can basically get the higher-ratio-peanut butter treats all year round--there are Christmas and Halloween varieties, and basically those show up in stores like a month after Easter, right?

But I need to tell you that in spite of nearly year-round availability, you should still learn how to make your own chocolate peanut butter eggs. Why?

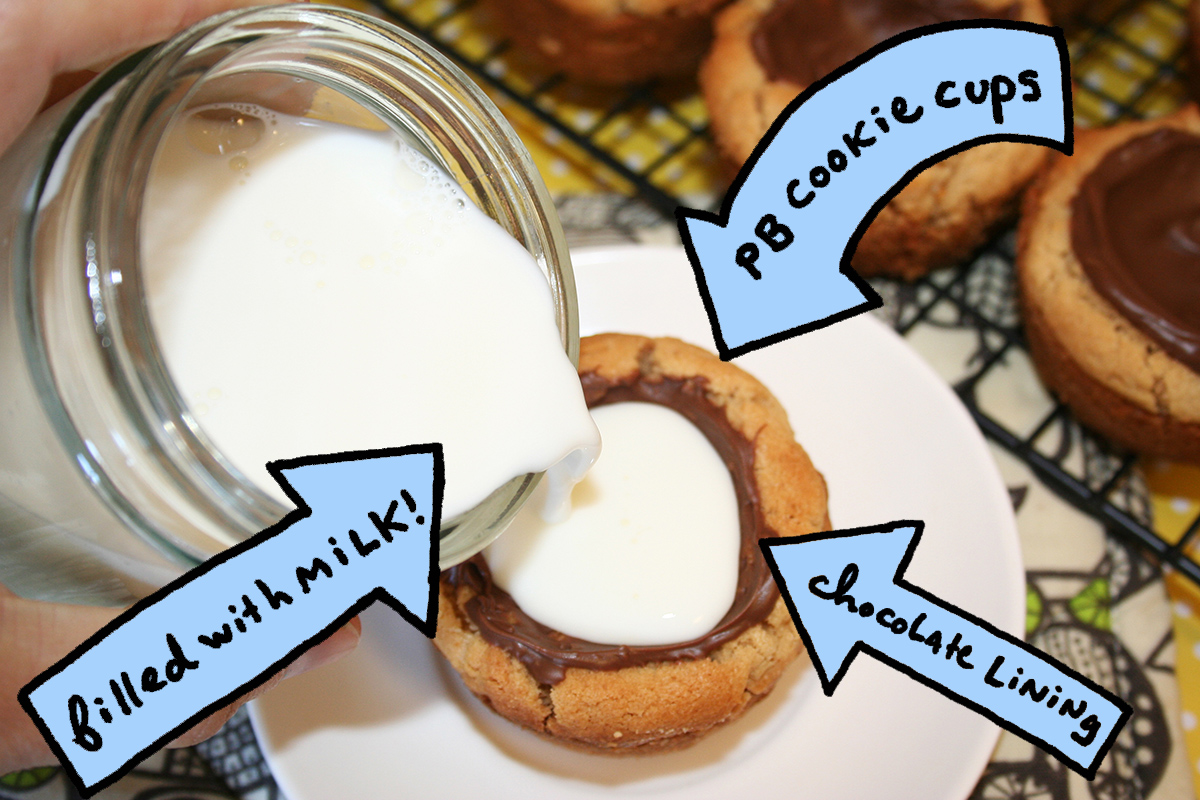
1. They are better for you. The list of ingredients is not as scary as the Reese's ones. Don't get me wrong, I will eat them, but I won't necessarily be proud of myself for doing so. The homemade ones, I can be proud of eating.

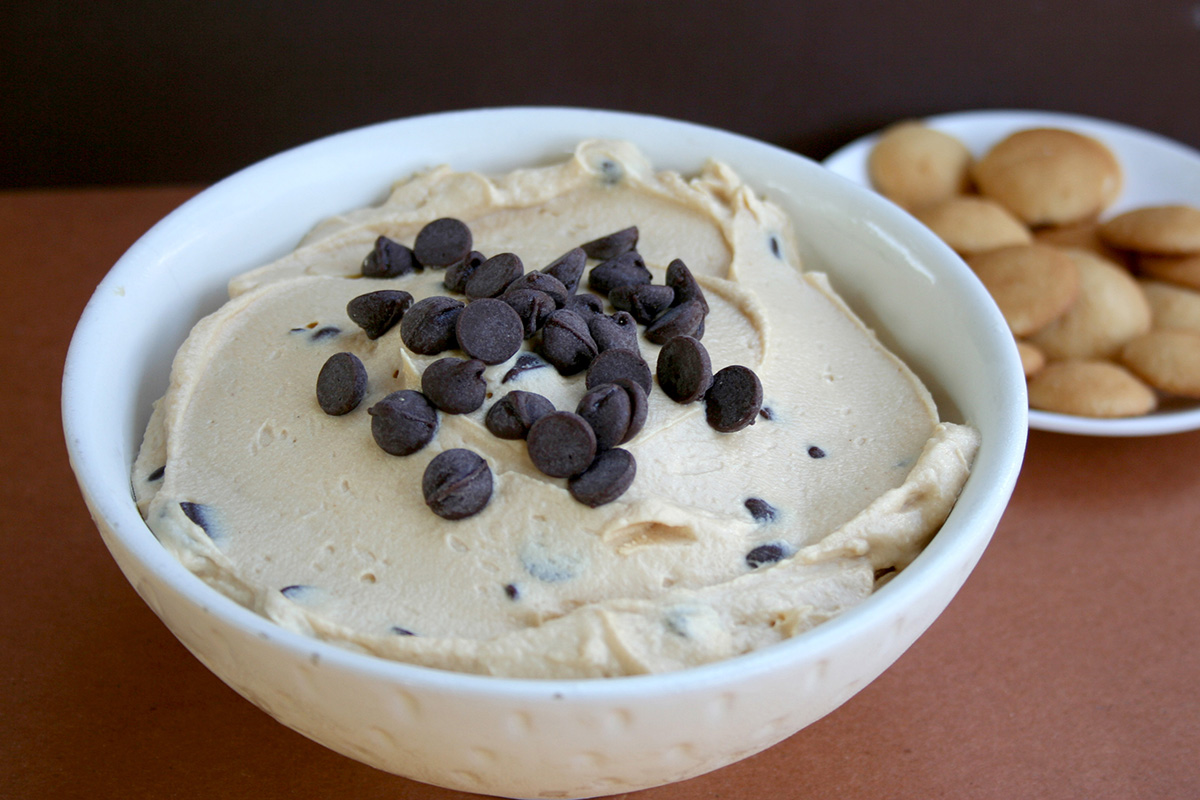
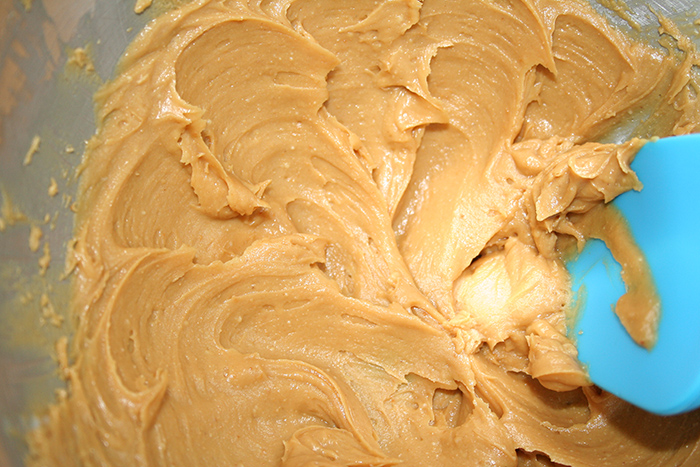
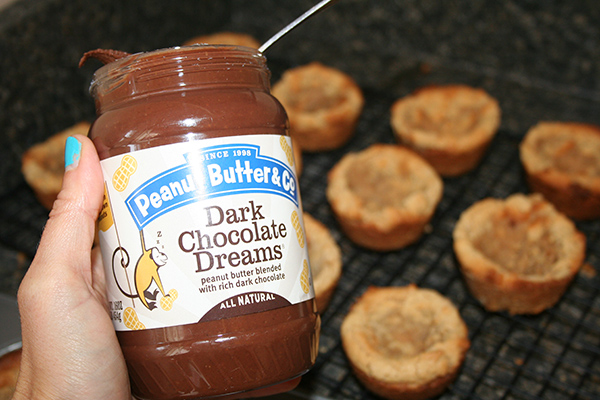
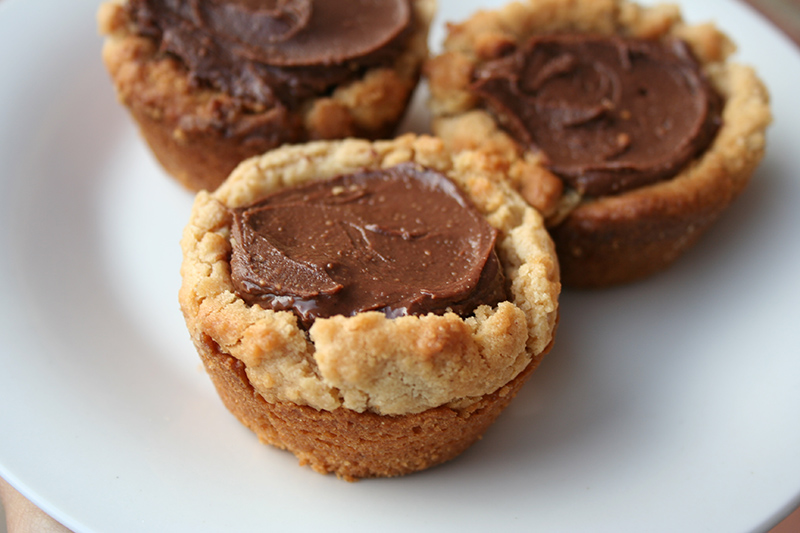
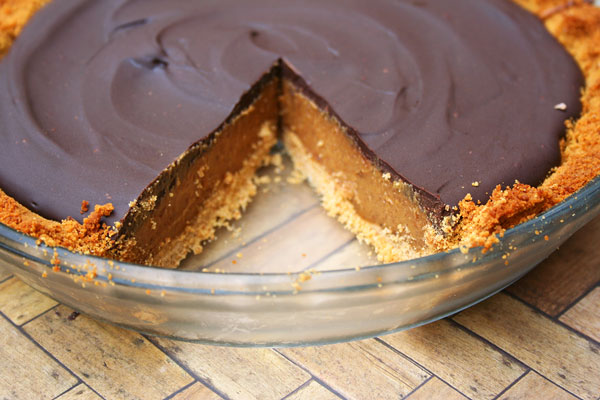
2. They taste better. It's just a fact: you can use better quality ingredients if you make your own choco-pb eggs. I used Peanut Butter and Company peanut butter, and Perugina chocolate, and you can taste the difference with the better ingredients. 

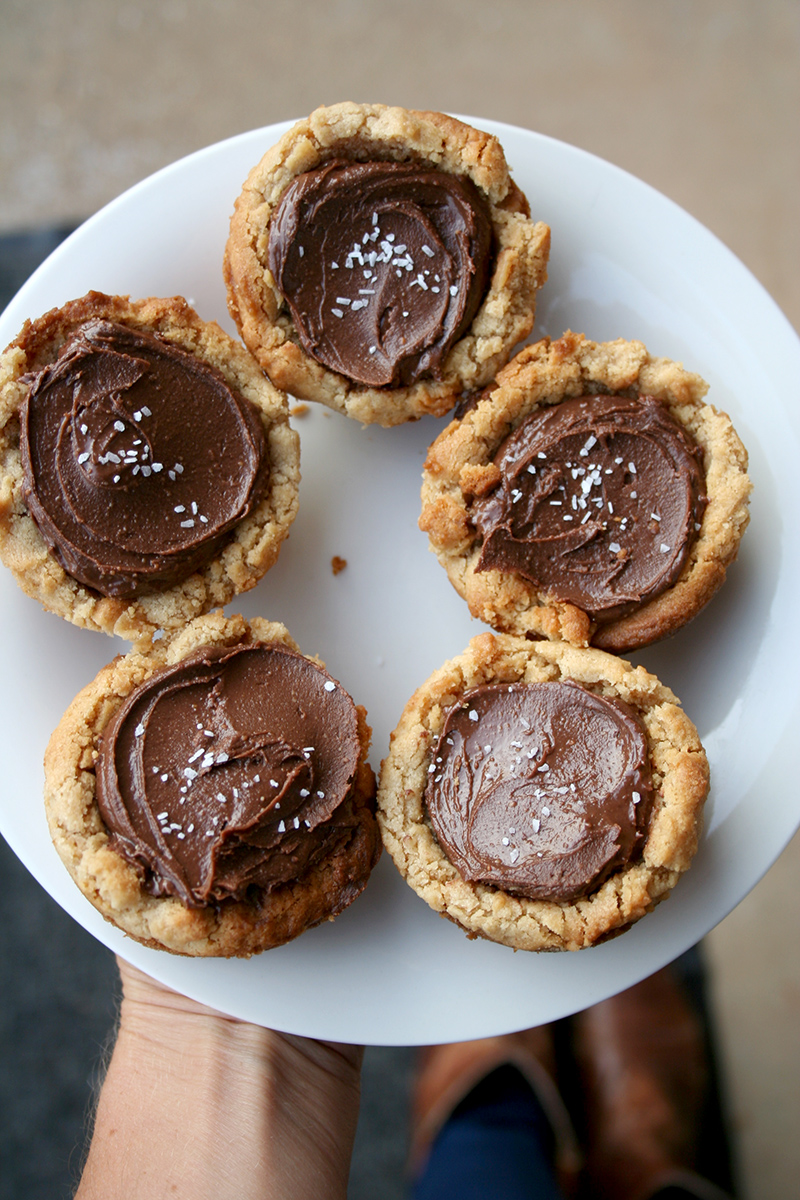
3. You can make them as salty as you wanna. I am obsessed with salt, and I like to add extra salt to basically everything, from chocolate cake to avocado slices to buttered bread. I like to add an extra dash of salt to both the filling and the coating.

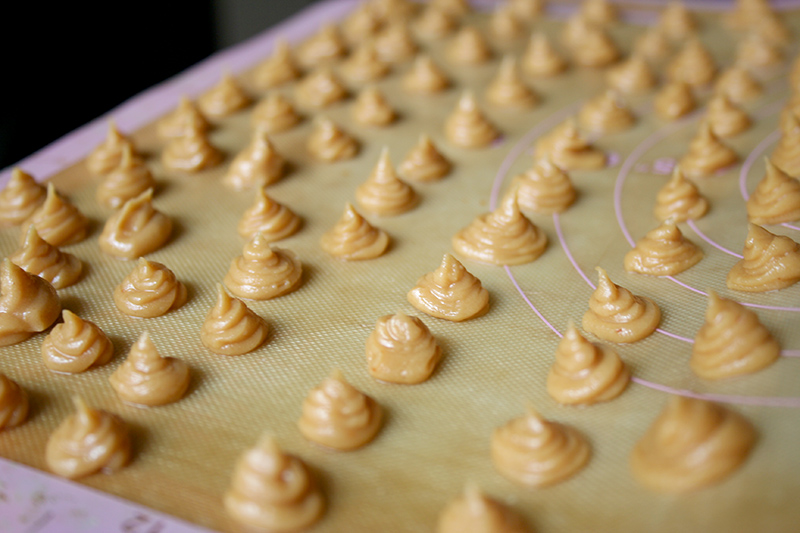
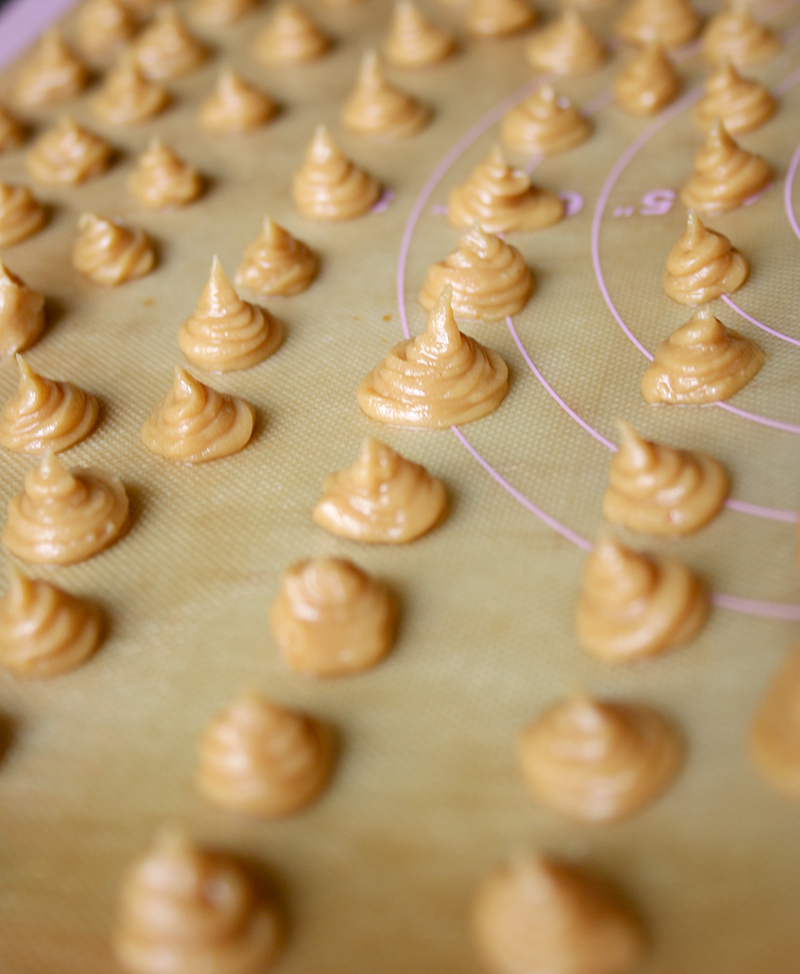
4. They are fun to make and people will like them. People will be impressed when you tell them you made a homemade version of a commercial treat. It's a fun way to get people to like you even more.

OK! I think I've made a good case. Make your own chocolate peanut butter eggs!

RECIPE HERE.