I already told you about the first part of my epic summer trip, which started as a 3 week trip to Puerto Rico (read more about that via this post and this post) but then turned into an almost 2-month epic adventure to here, there, and just about everywhere. I ate pastries and did yoga (balance!) in more than 10 US states, worked on my memoir idea, and continued writing awesome posts for Craftsy.
But I haven't told you everything. So hold on to your pastry boxes, because there's still a bit of the journey left to go!
When I last left off, I had arrived in New Glarus, Wisconsin, for a wedding. In case you've never heard of it, New Glarus is "America's Little Switzerland", and it lives up to its name in the ye olde-iest of styles.
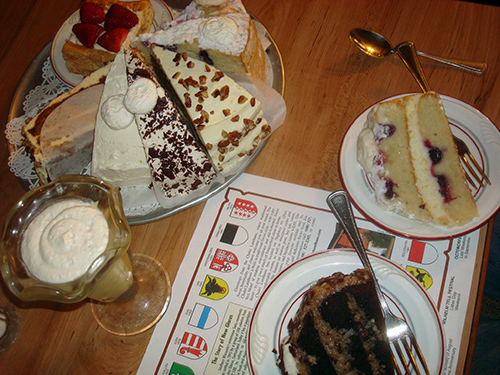
On the eve of our arrival, the hosts had baked the jumbles from my second book, The Secret Lives of Baked Goods: Sweet Stories & Recipes for America's Favorite Desserts . What a fantastic welcome! And the same evening (why not) me and my sweet one went to the New Glarus Inn, where we sampled a bunch of desserts, including German chocolate cake, a lemon and cream slice (that's the one to the far right) and a lemon custard. Nice, nice, nice.
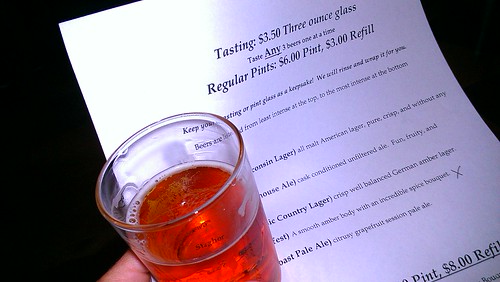
The next day was the wedding. Beforehand, I spent some time tooling around the town. I'm not a huge beer drinker, but can occasionally get excited about a hand-crafted variety. So I checked out the famous New Glarus Brewing Company, which houses unlikely yet delightful imported "faux ruins" on the grounds. It's weird but wonderful. There, I tried a sampler. Some of the beer was not to my liking, but I rather enjoyed a seasonal variety they had called "Moon Man"--a "grapefruit session ale".
Later on, the wedding occurred, and it was lovely. You'll have to forgive me, because while typically I am the cake paparazzi at the wedding, I had forgotten my camera in the car and had no pockets in my cute dress. You'll have to trust me when I tell you it was a decidedly nice cake.
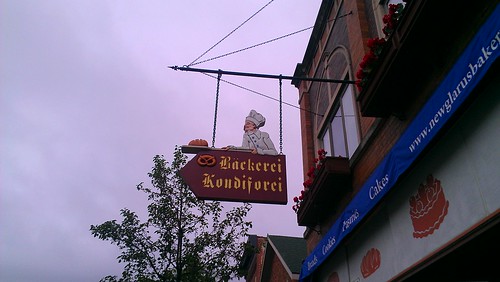
I can, however, tell you that the next day, I did have my camera when I checked out the New Glarus Bakery. While there have been some changes in ownership and management over the years, this bakery has been running pretty much continuously since 1910.
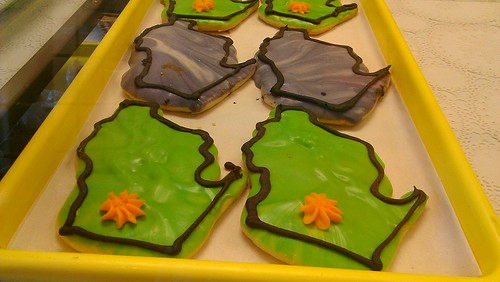
I simply loved this bakery! It definitely had euro leanings, but had plenty of American classics, too. I thought these Wisconsin-shaped cookies were just adorable:
and was delighted by the presence of springerle, a dry cookie which is great with coffee or tea. 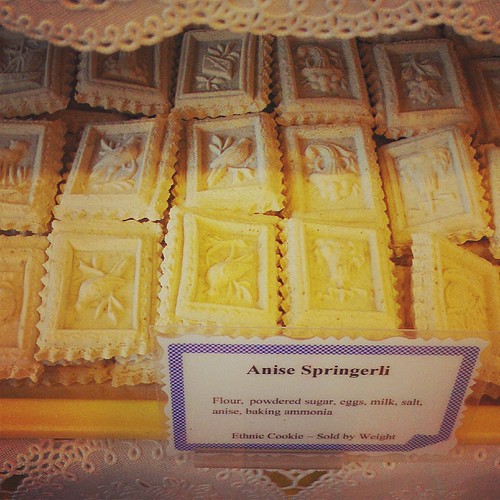
butter cookies? Not here. Sandbissen, however? Yes, they've got those.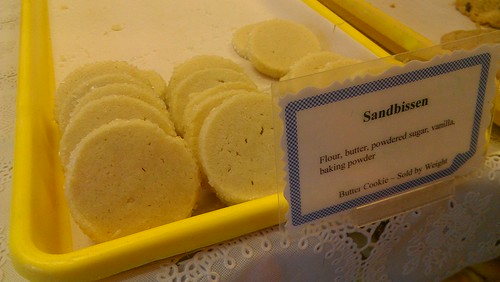
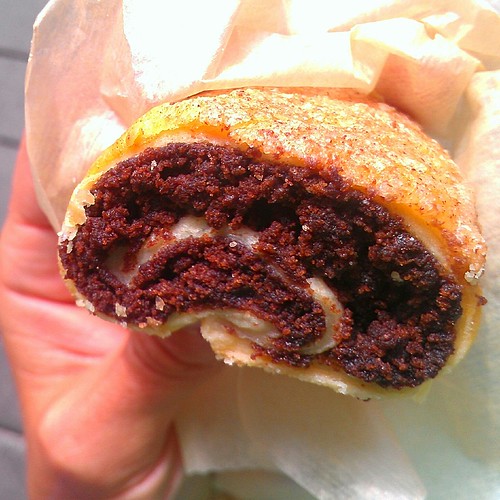
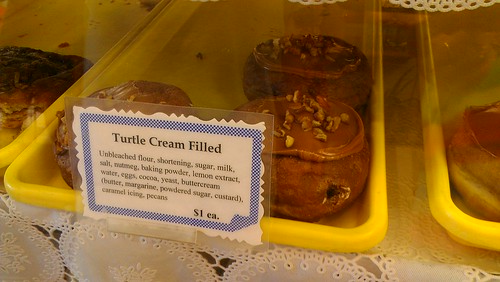
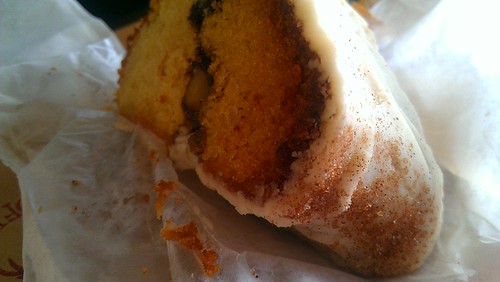
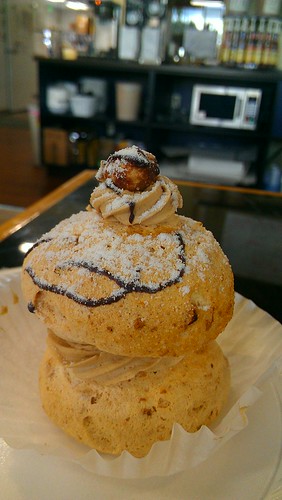
Everything we got there was quite agreeable. My personal favorites were the "turtle cream filled", a kind of caramelly spice doughnut filled with "kreme" type filling (love the stuff, what can I say)...
the eclairs, on a light puff of pastry filled with a decadent chocolate piped ribbon and custard cream...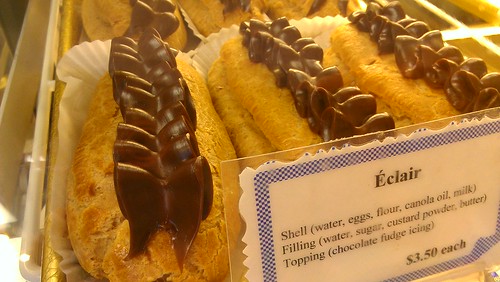
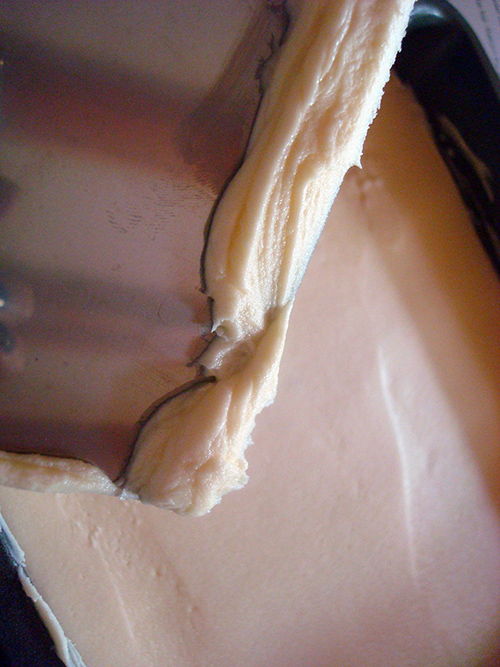
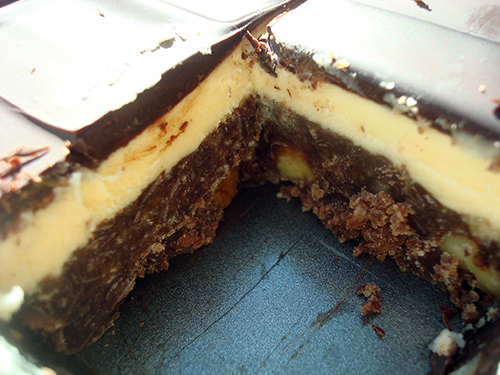
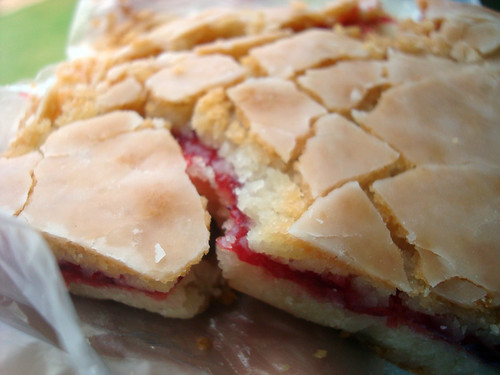
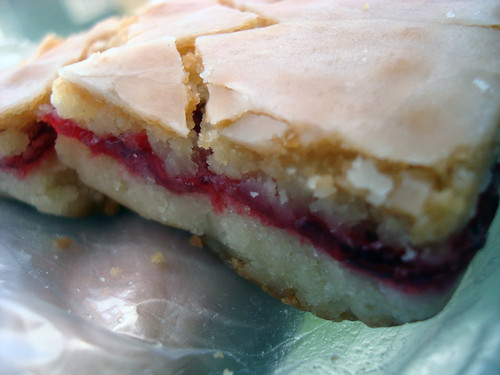
and the linzer cookie bar. Just look at this thing. Broken but still so tasty. Also, while not pictured, their nut horns were quite well received.
Not far from the bakery was a great coffee shop called Fat Cat Coffee Company, where they also made many of their sweets on site. That's where I purchased this coffee cake (note: NOT crumb cake) which was rich in spices, nuts, and thoughtfully and generously iced. To further make me love them, they offered to heat it up gently. Score!
Next up was a family trip to Wausau, Wisconsin...but on our way, we stopped at a place called "Cave of the Mounds". There, I learned finally, that the difference between stalactites and -mites can remembered thusly: "T" is for top, as in hanging from, and that's how you remember stalactites; stalagmites are simply the only direction left.
Oddly, Wausau kind of reminded me of the railroad towns along the Jersey shore...but in Wisconsin, people are just nicer. And the cheese is better.
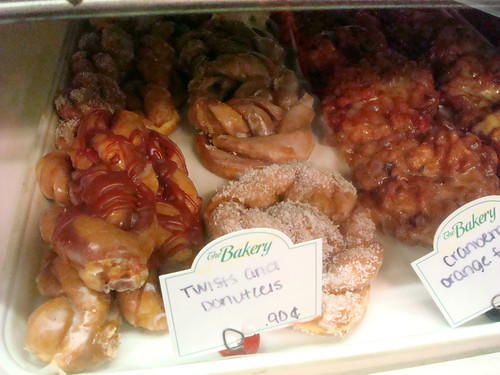
In Wausau, I hit up a cute coffee shop called Allister Deacon, but none of the pastries "sang" to me. This must have been a sign, because as I walked around the neighborhood I happened upon this bakery: 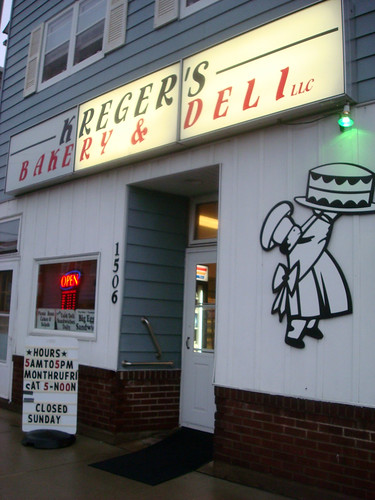
And was delighted to have found an old school bakery fully stocked with just about everything, with an emphasis on doughnuts. I also noticed something in Wisconsin: they like crescent-shaped cruller doughnuts. I saw them at more than one establishment. See them on the bottom shelf here, looking vaguely banana-like? 
They also had "donutzels".
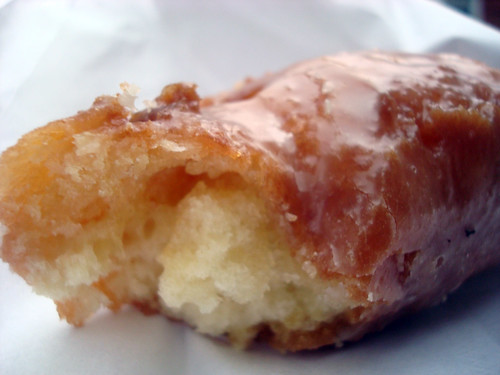
I picked up several doughnuts, including a crescent shaped one, which promptly broke in the bag but tasted just fine.
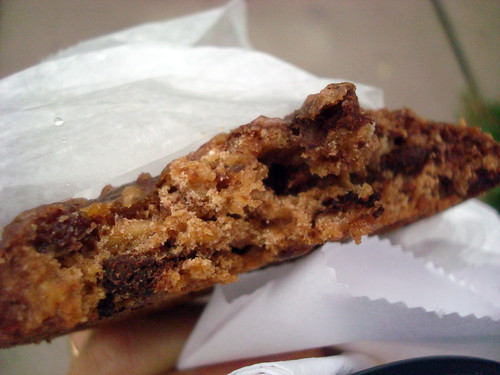
I also got a Cowboy cookie for about 55 cents (yes!). I couldn't resist, given my deep history with cowboy cookies.
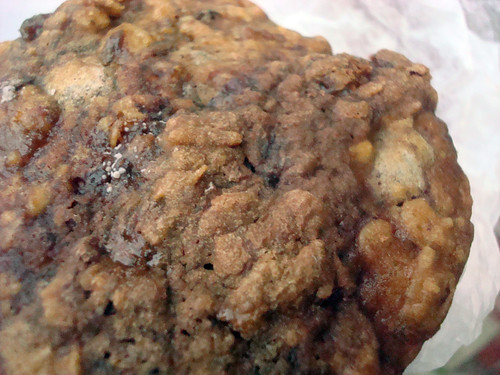
It was an interesting cookie: cakier than I expected, but not in a bad way. The flavor was spot on. It was like eating oatmeal cake in cookie form, fortified with chocolate and nuts and stuff.
The rest of the day was busy with family stuff, so that was the only bakery I got to visit in Wausau, but don't worry, because there was more sweetness ahead for me. Plus, I saw these guys on my walk back to the hotel.

On the day of my birthday, my sweetie's brother and his wife gave me a new friend. Two, actually. 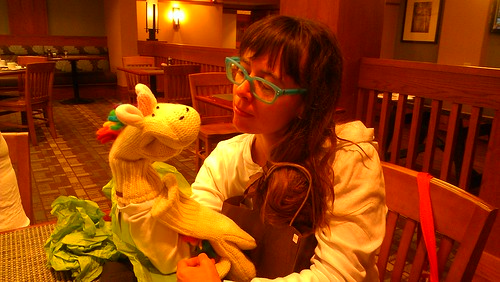
I was also given a birthday card with a unicorn. It was almost perfect, but I made it totally perfect with a few easy edits. 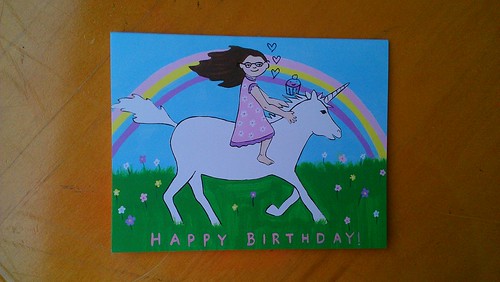
After breakfast, we headed to the Wisconsin Dells to meet up with my friend Briana for my birthday (my birthday!). I made her and my sweetie go on a roller coaster with me (they were scared and sat in the middle; I sat in the front with a 10-year old), and play mini golf. 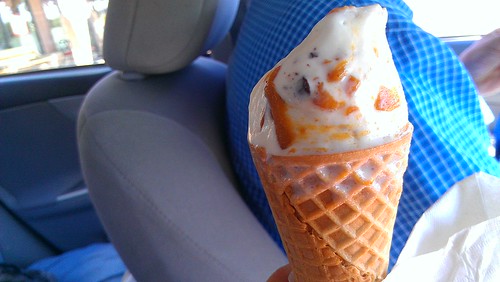
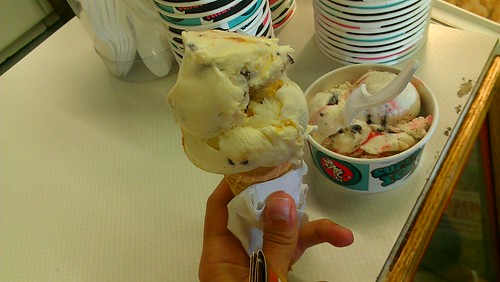
We also got some ice cream from the mini-golf snack stand, which was from The Chocolate Shoppe in Madison. Seriously--so good. Creamy.
I got the "Fat Elvis" which was a delicious melange of Elvis-y flavors (no bacon): peanut butter, banana, chocolate. I loved this cone til the moment it was gone. My friend got a strawberry cheesecake flavor with chocolate bits. Seriously!
After our visit, we started driving back to Santa Fe. I was treated to this sunset on my 33rd birthday.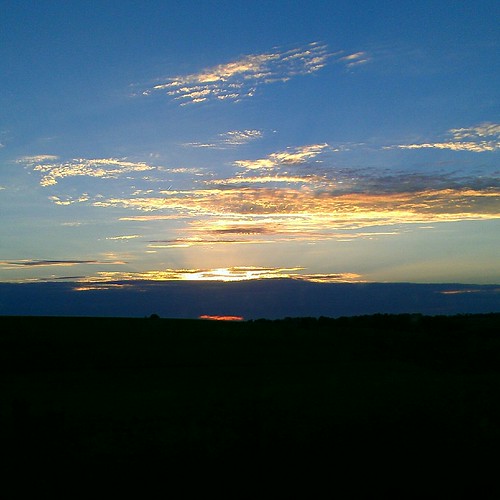
To tell you the truth, our stops were minimal, although I was surprised and delighted at a Walgreens to see that they now have a private label version of Gooey Butter Cake! Maybe now it will become a Thing nationwide (it should be).
I did stop to do yoga in Lincoln, NE, because it was a good place to add to my list of 50 states of yoga (I'm up to about 20 now). We learned about a phenomenon known as the sticky bun, but I'll be honest: the ones they had left looked past their prime so I will try them next time I'm in NE!
Now, what I am going to tell you at this moment might be controversial, but here goes. In Colorado, I went to a dispensary and checked out marijuana edibles! There are some creative flavors out there. I'm saying no more, but it was interesting to see this world that is now legal in CO.
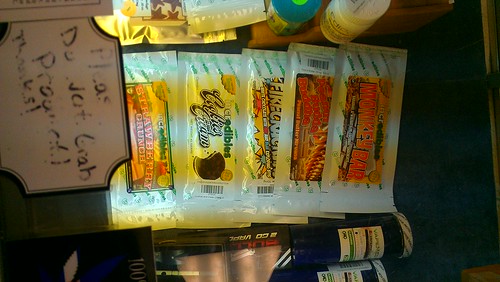
I told you that was all I was saying!
A huge unexpected highlight awaited in Colorado Springs. We were passing through on our way to Santa Fe, and since I'd never stopped there I wanted to visit a bakery. But which one? A quick google search revealed very quickly that the real only option was the one with the best name: Boonzaaijer's Dutch Bakery. To tell you the absolute truth after looking at that nutty name I didn't even register other bakeries as real options. (kidding! actually, a lot of the other bakeries looked good). Here's the bakery:


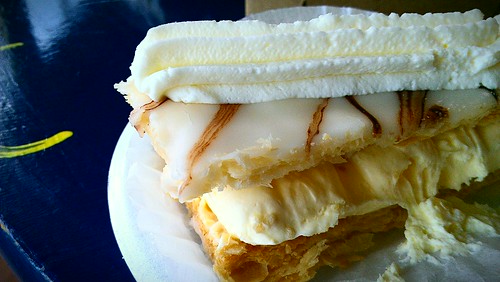
My choice of bakery stops was a delicious success. I was advised by an employee that choosing anything with bavarian cream was a good decision, so I started with a Napoleon. I probably don't have to tell you it was good, because even in retrospect that seems pretty clear from the photo. It was seriously so good, though.
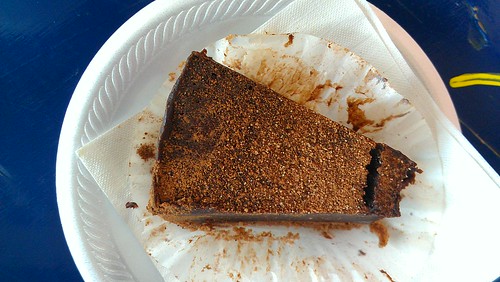
We got a flourless chocolate cake, too. It was on the drier side than a decadence cake, but overall quite nice.
Was there room for an almond filled cookie? Yes, of course. And it tasted like a marzipan pop-tart (aka, AWESOME). We also got a filled speculaas and an almond tart.
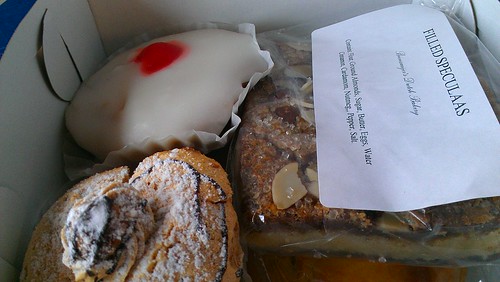
We also got this thing. I'm not usually one for light as air desserts, but it seemed an exception could be made.
The bakery also had a Euro retail area featuring licorice both sweet and salty and several mixes and candy. Overall, a wonderful stop in Colorado Springs. I could not have been more charmed or sated. Go there.

Returning to Santa Fe, my sweetie surprised me with a belated yet still welcome birthday cake. Believe it or not, it's one of our favorites: the chocolate decadence cake from the local Whole Foods bakery. They do a very good job, and this one tasted especially sweet.
Now, I'm back in Santa Fe for a while, and I'm happy to be settled in one place for a bit. What I'm not quite ready for yet is fall--while I love a nice pumpkin latte or pastry, I'm still ready for summer to go on a bit longer. Ice cream and warm days for liiiiiiiiife!
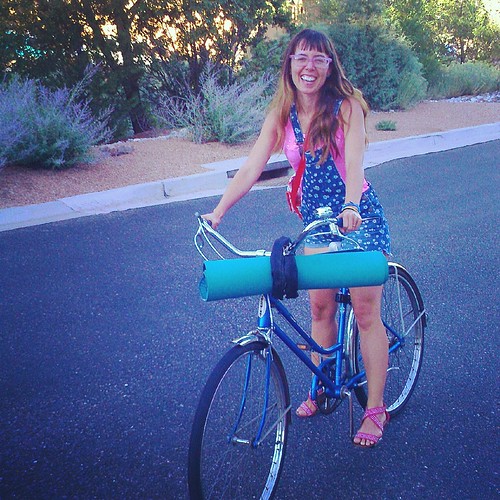
Oh! I just realized I forgot to tell you, I was reunited with my favorite bike (it's been in storage for close to 2 years!)
Hope it's been a magical summer for you.
Happy summer, happy belated birthday to me, and thank you for sharing my summer adventure, sweeties!
Love, CakeSpy

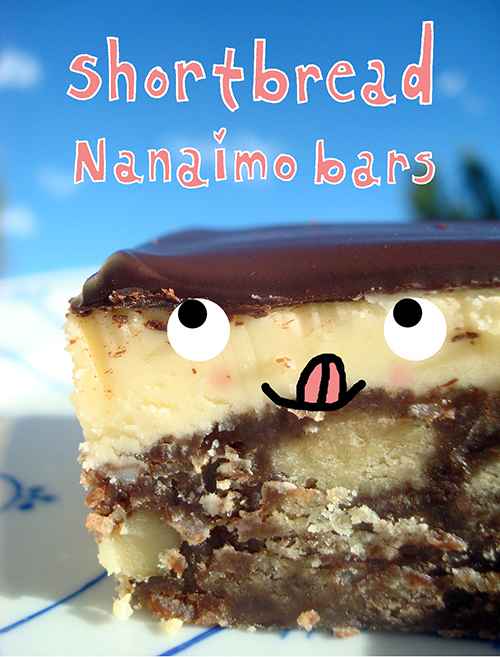
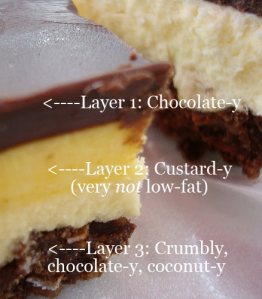
 Learn how to make these and more!UPDATE: THE WINNER!
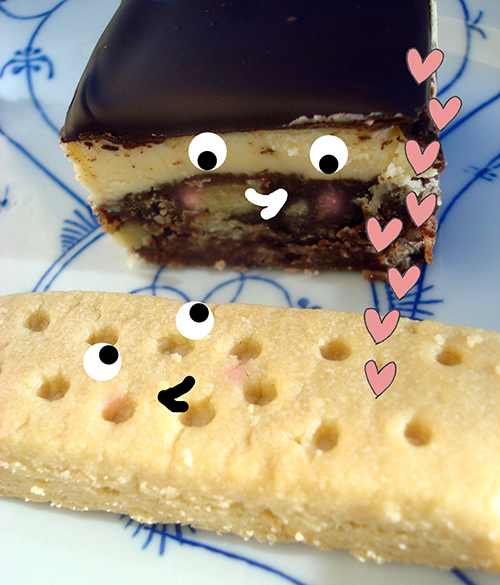
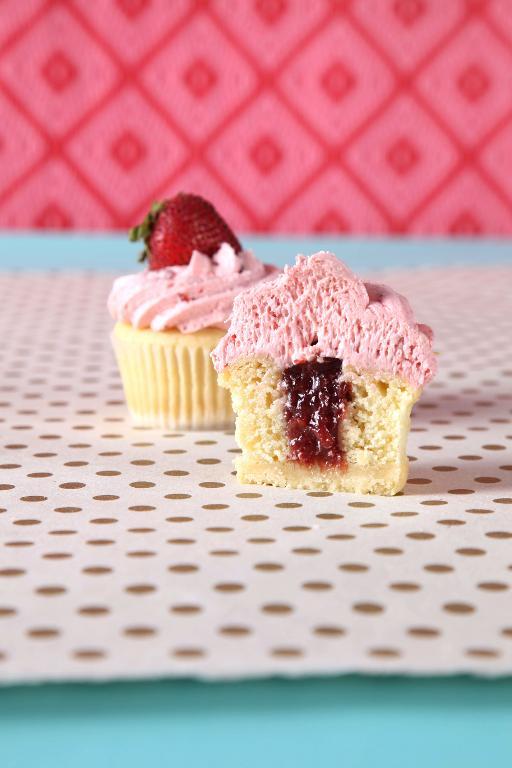 Learn how to make these, too!