Apple pie in a bread bowl. This is brilliant! (The Baker Mama)
Homemade oat milk. It's ridiculously good with cookies. (Craftsy)
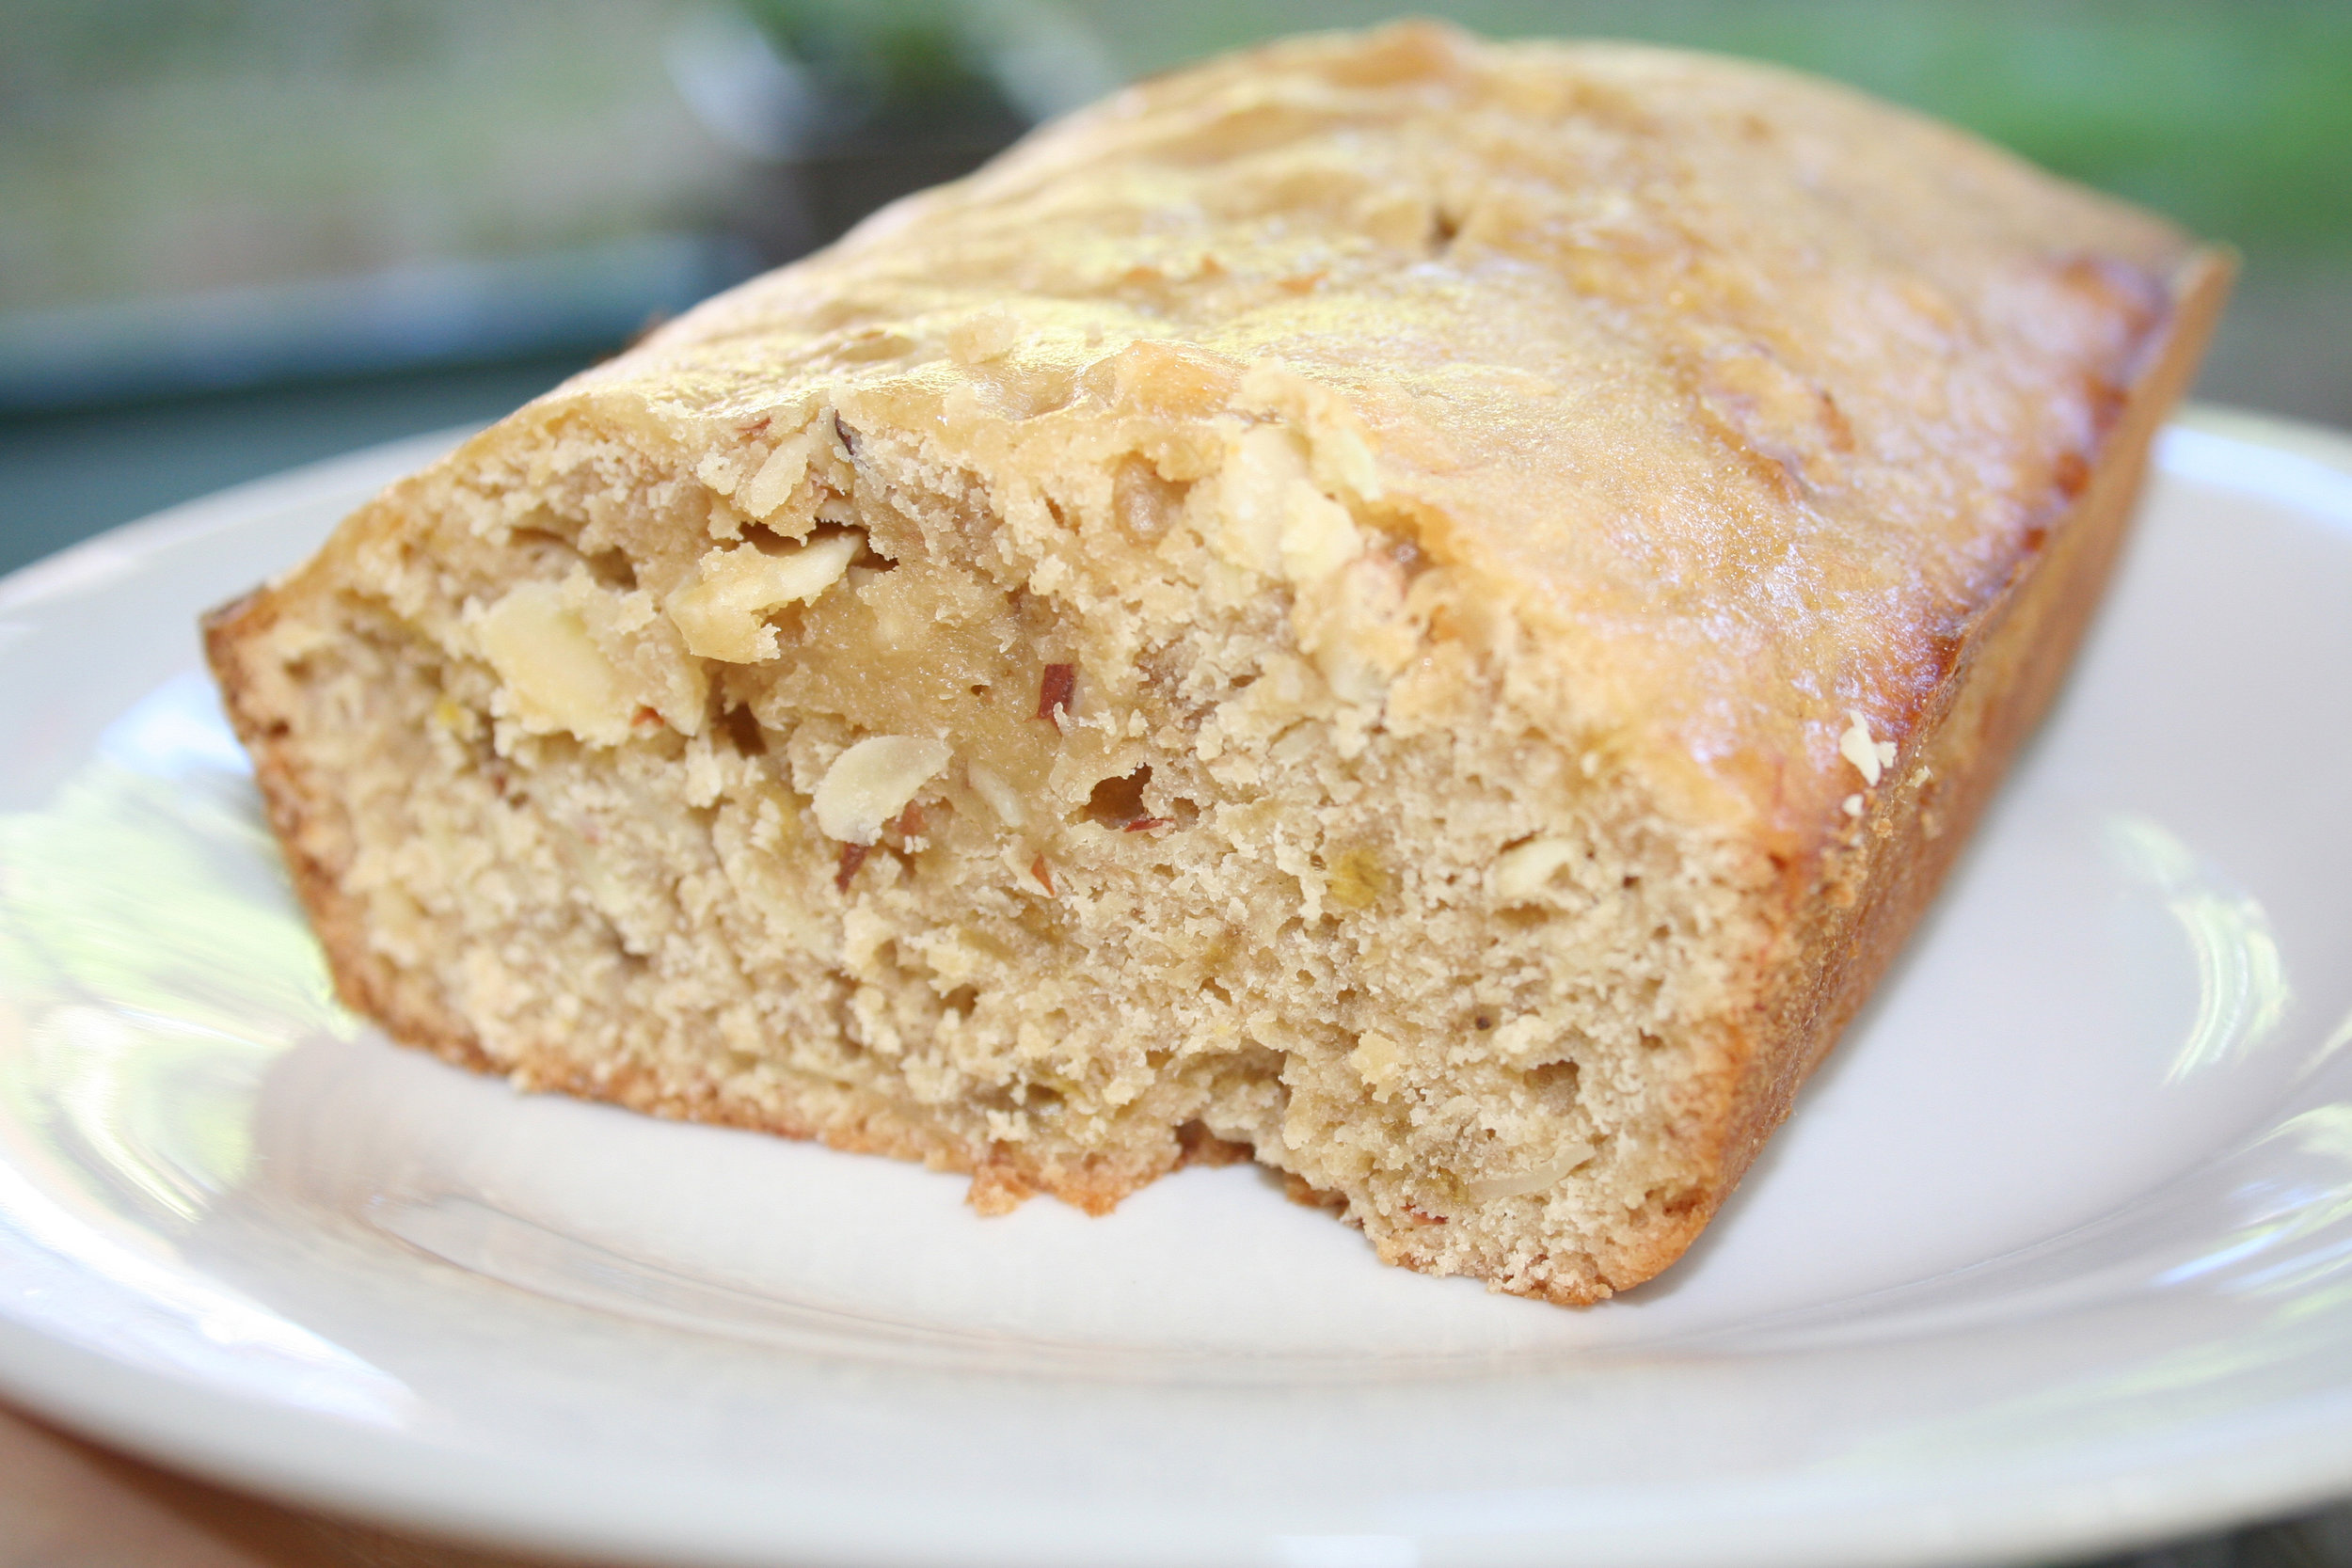
An utterly simple pumpkin poundcake. Pinkies out! (Lace and Lilacs)
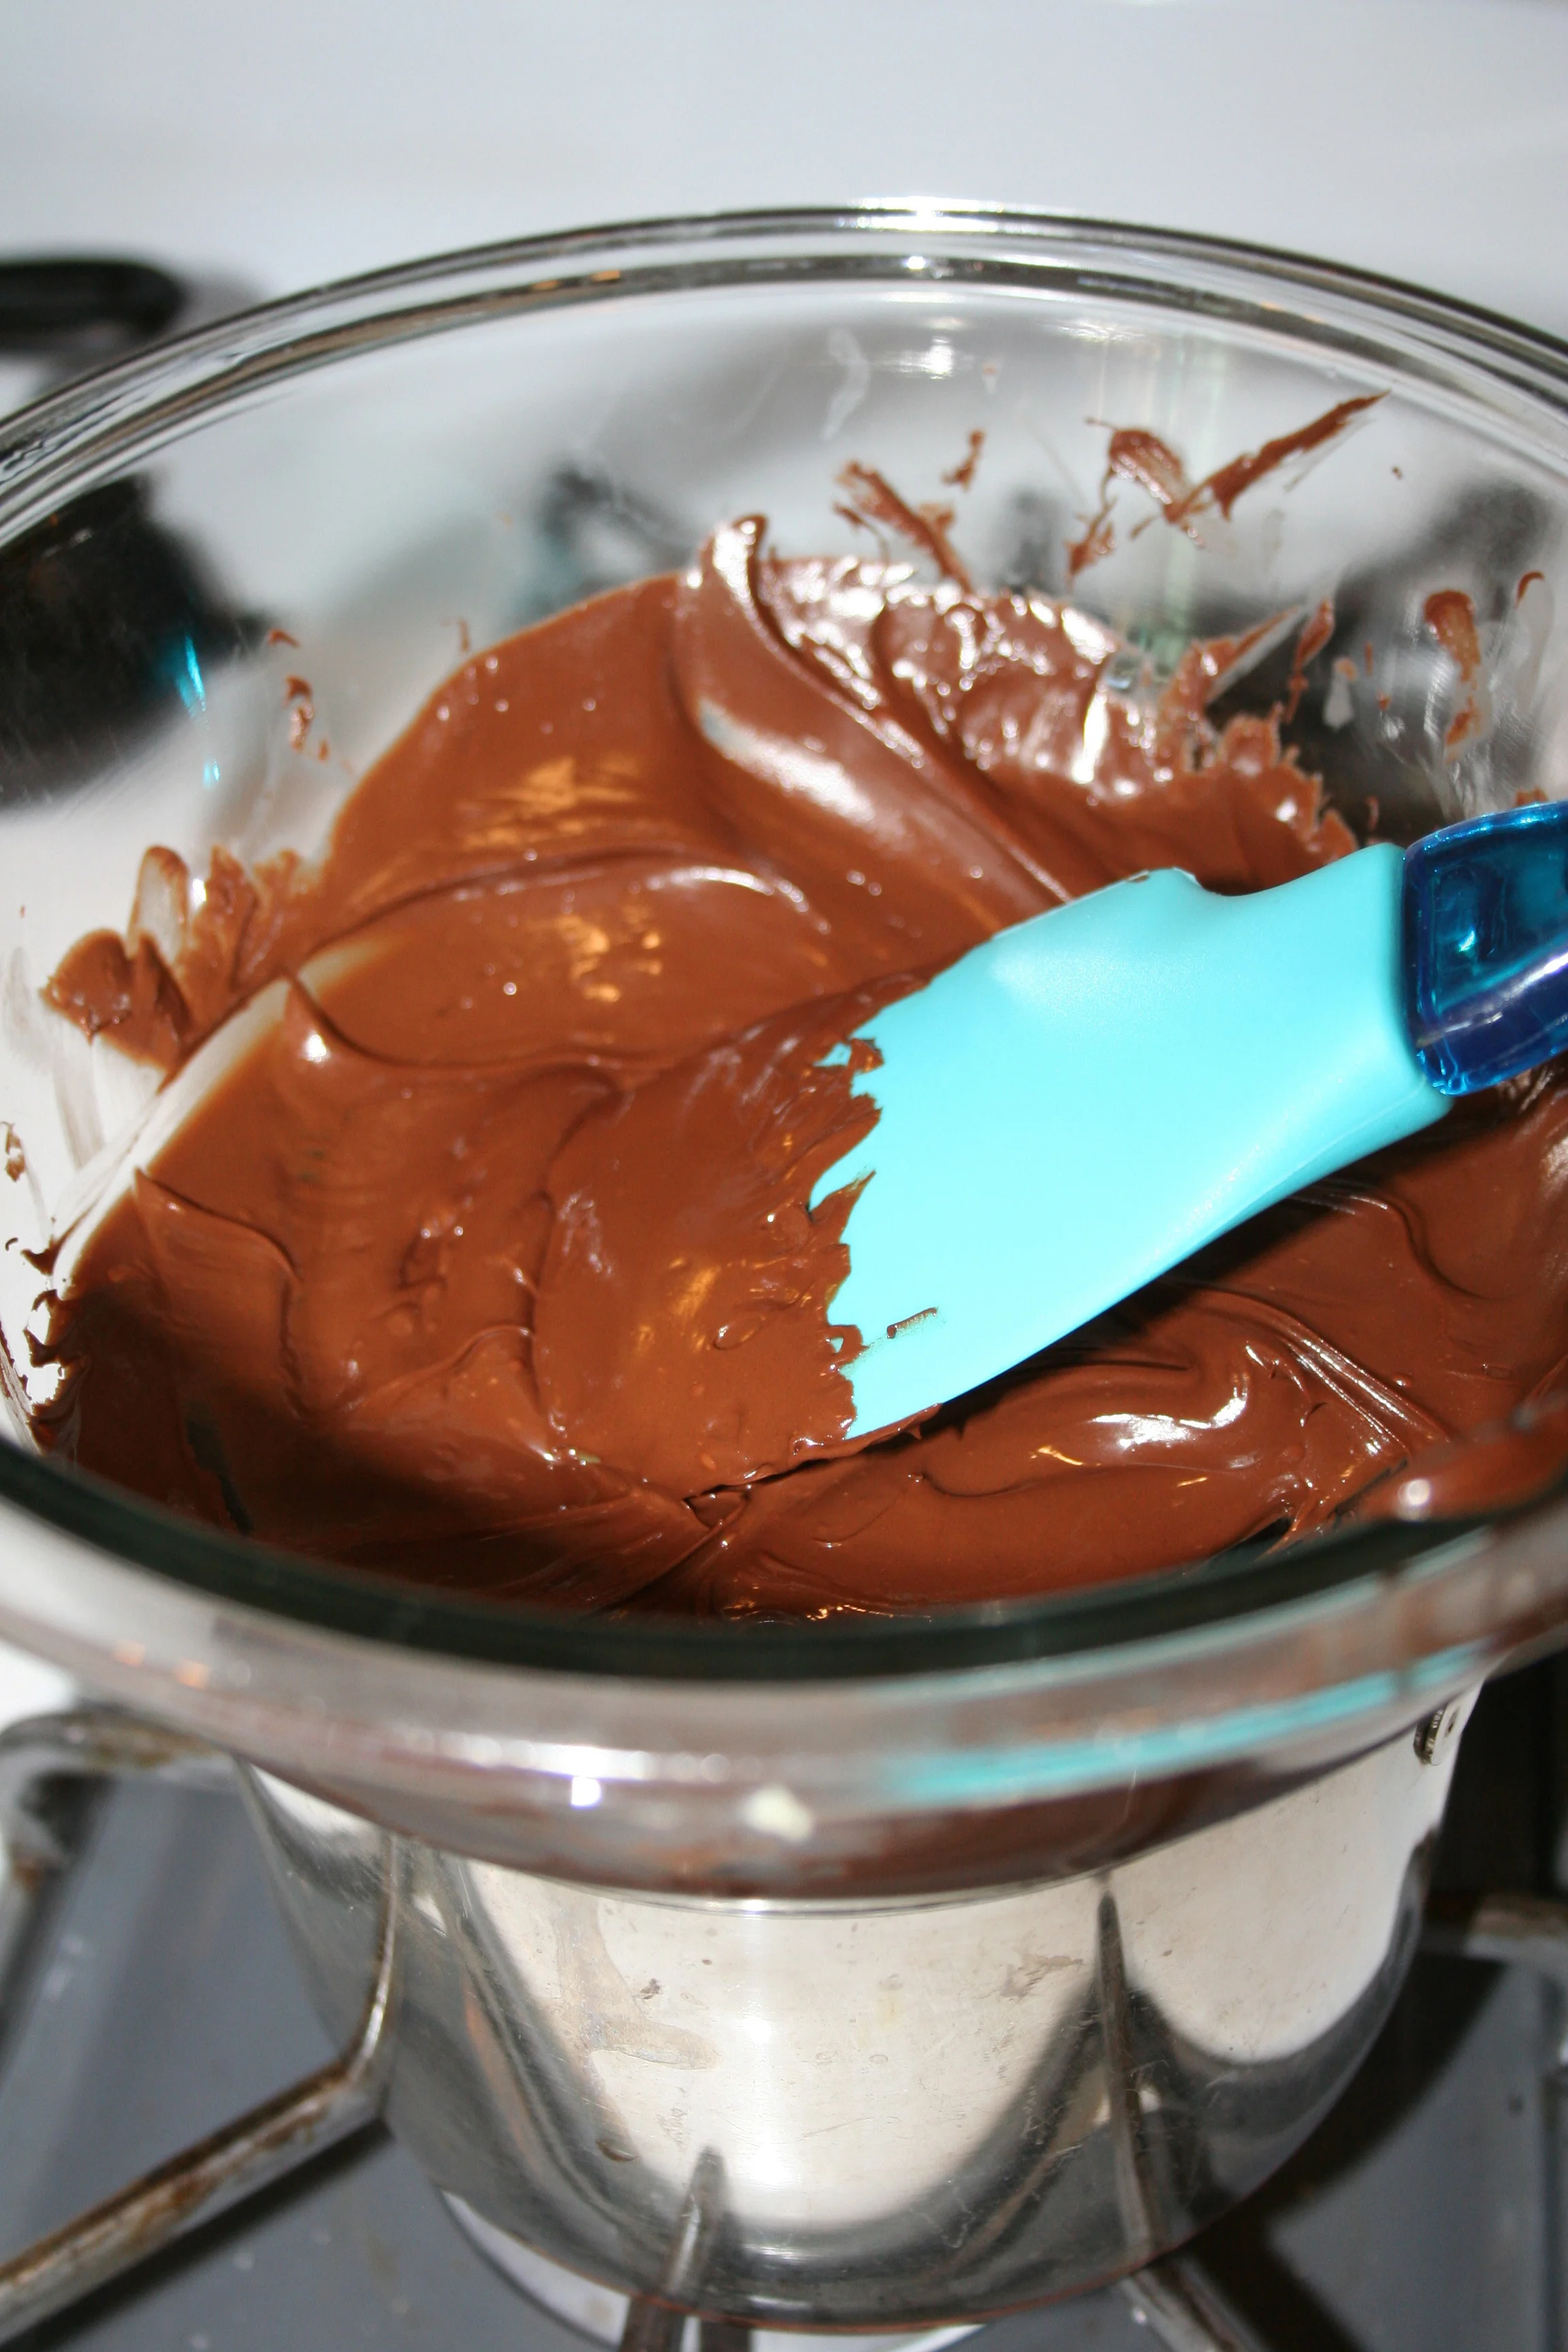
Just three ingredients, and you can make a fancy ganache tart for dessert. (Craftsy)
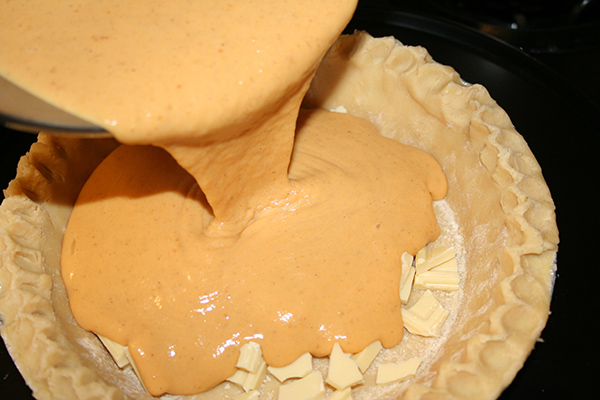
Pumpkin and butter pecan ice cream pie. OMG. (Taste and Tell)
Canadian maple pie. I want this. (Tastefully Julie)
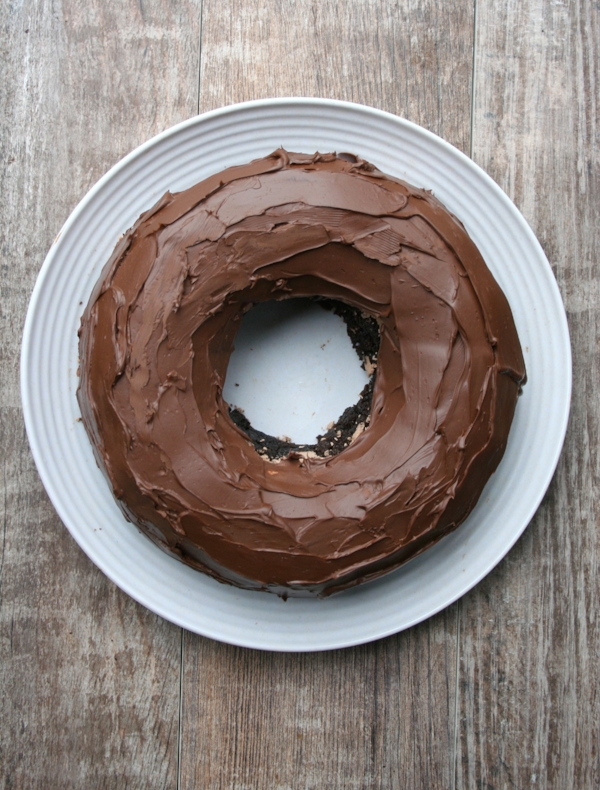
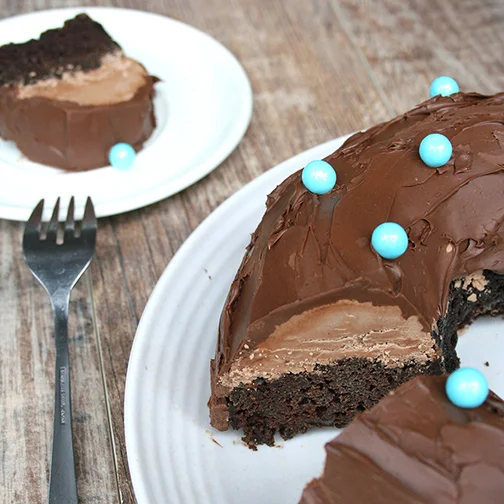
This recipe is for a thing called "chocolate explosion" and I want it. (Recipe Rebel)
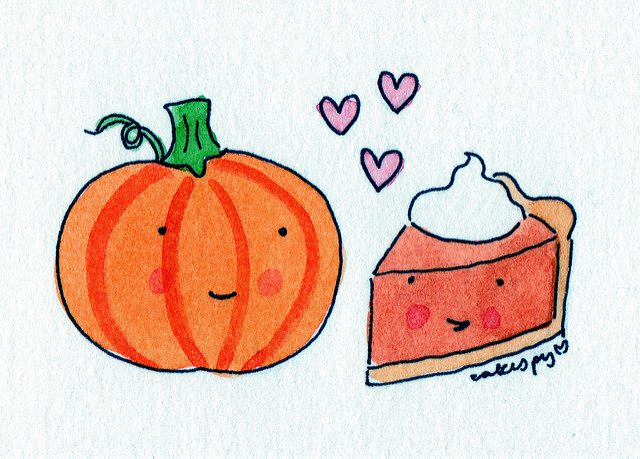
I don't know if you missed it, but this post about how to make pumpkin pie incredible is worth reading. (CakeSpy)
Caramel apple pudding shots. Clever! (Dad What's 4 Dinner)
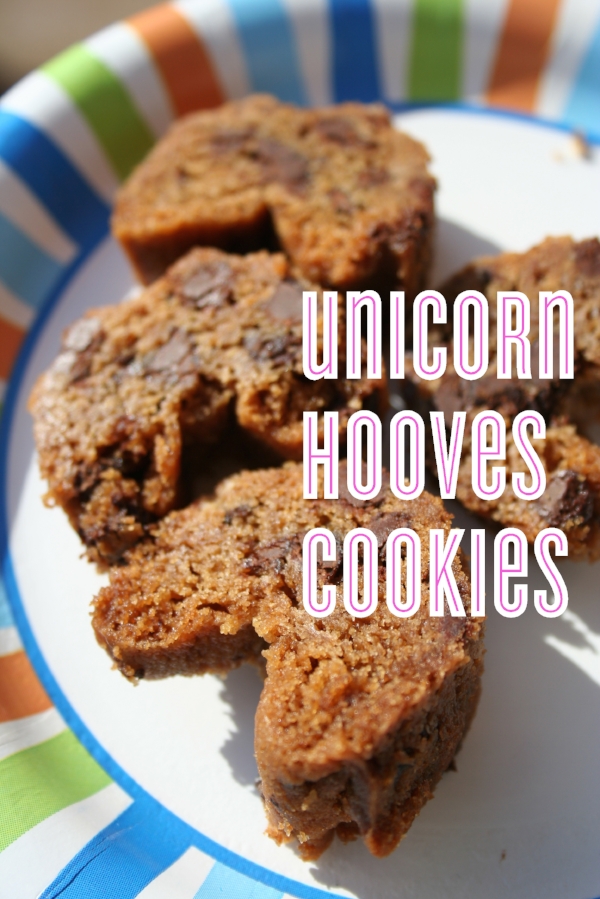
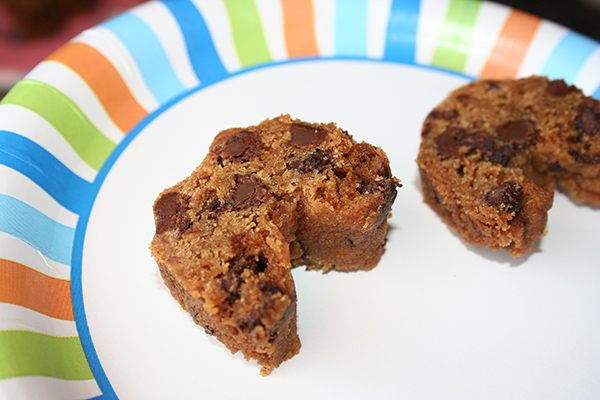
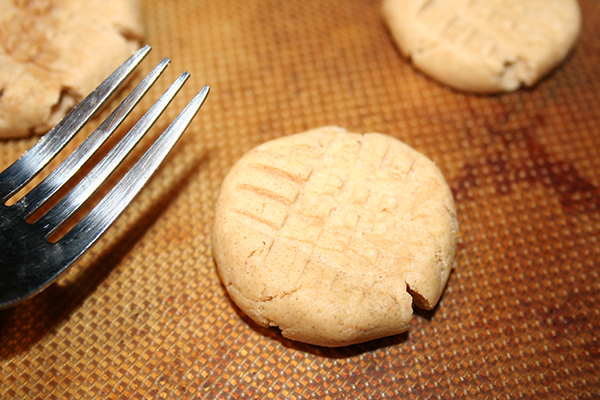
Never fail chocolate chip cake cookies. (Weary Chef)
Cardamom rhubarb bars. I must have these when rhubarb is back in season. (Culinary Tribune)
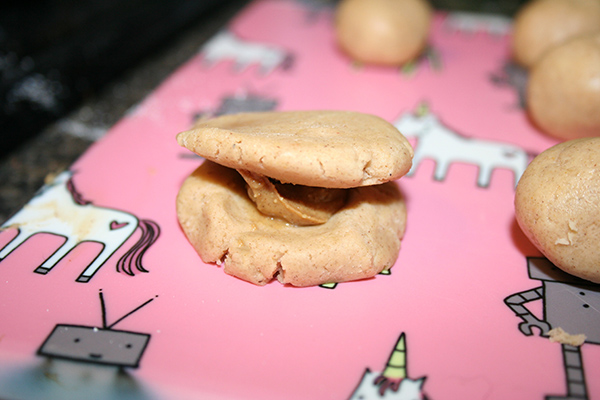
Single serving skillet brookie. YES! (Well Floured)
Apple roses from puff pastry. Pretty! (Coco in the Kitchen)
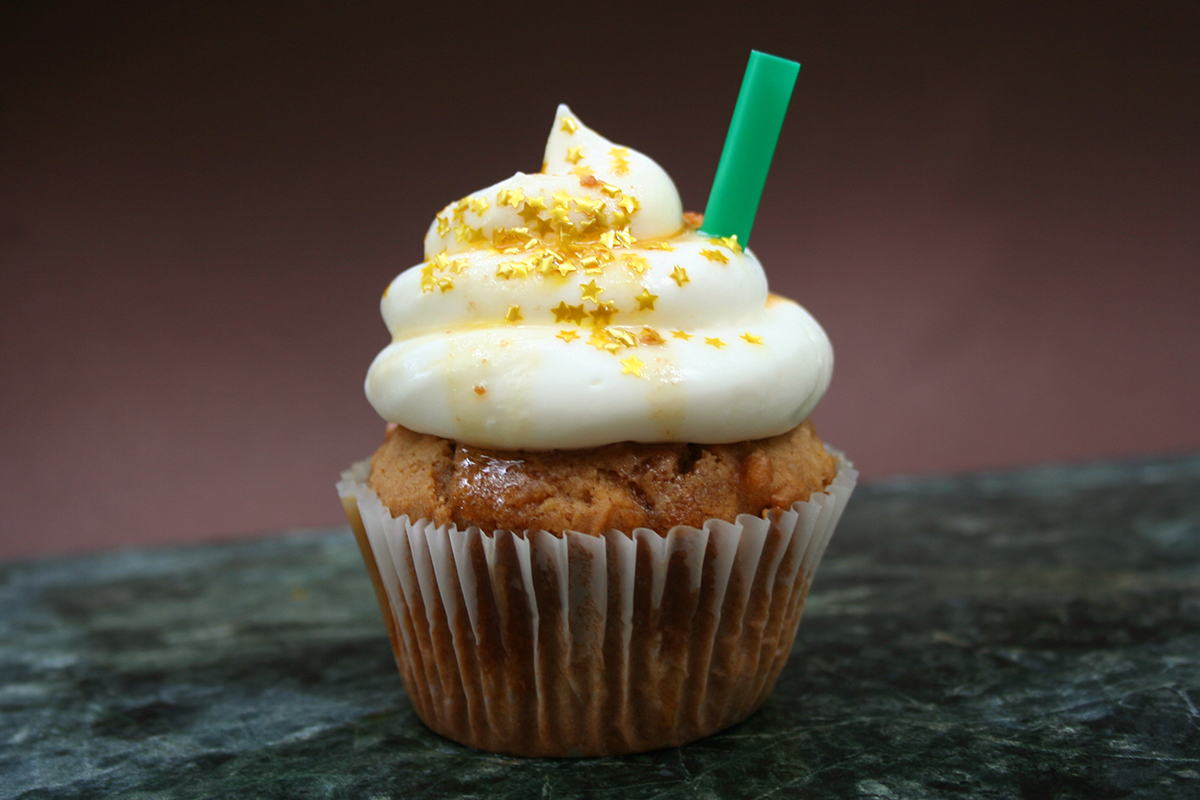
Coca cola cupcakes with Ritz crust. Fascinating! (Pies and Plots)
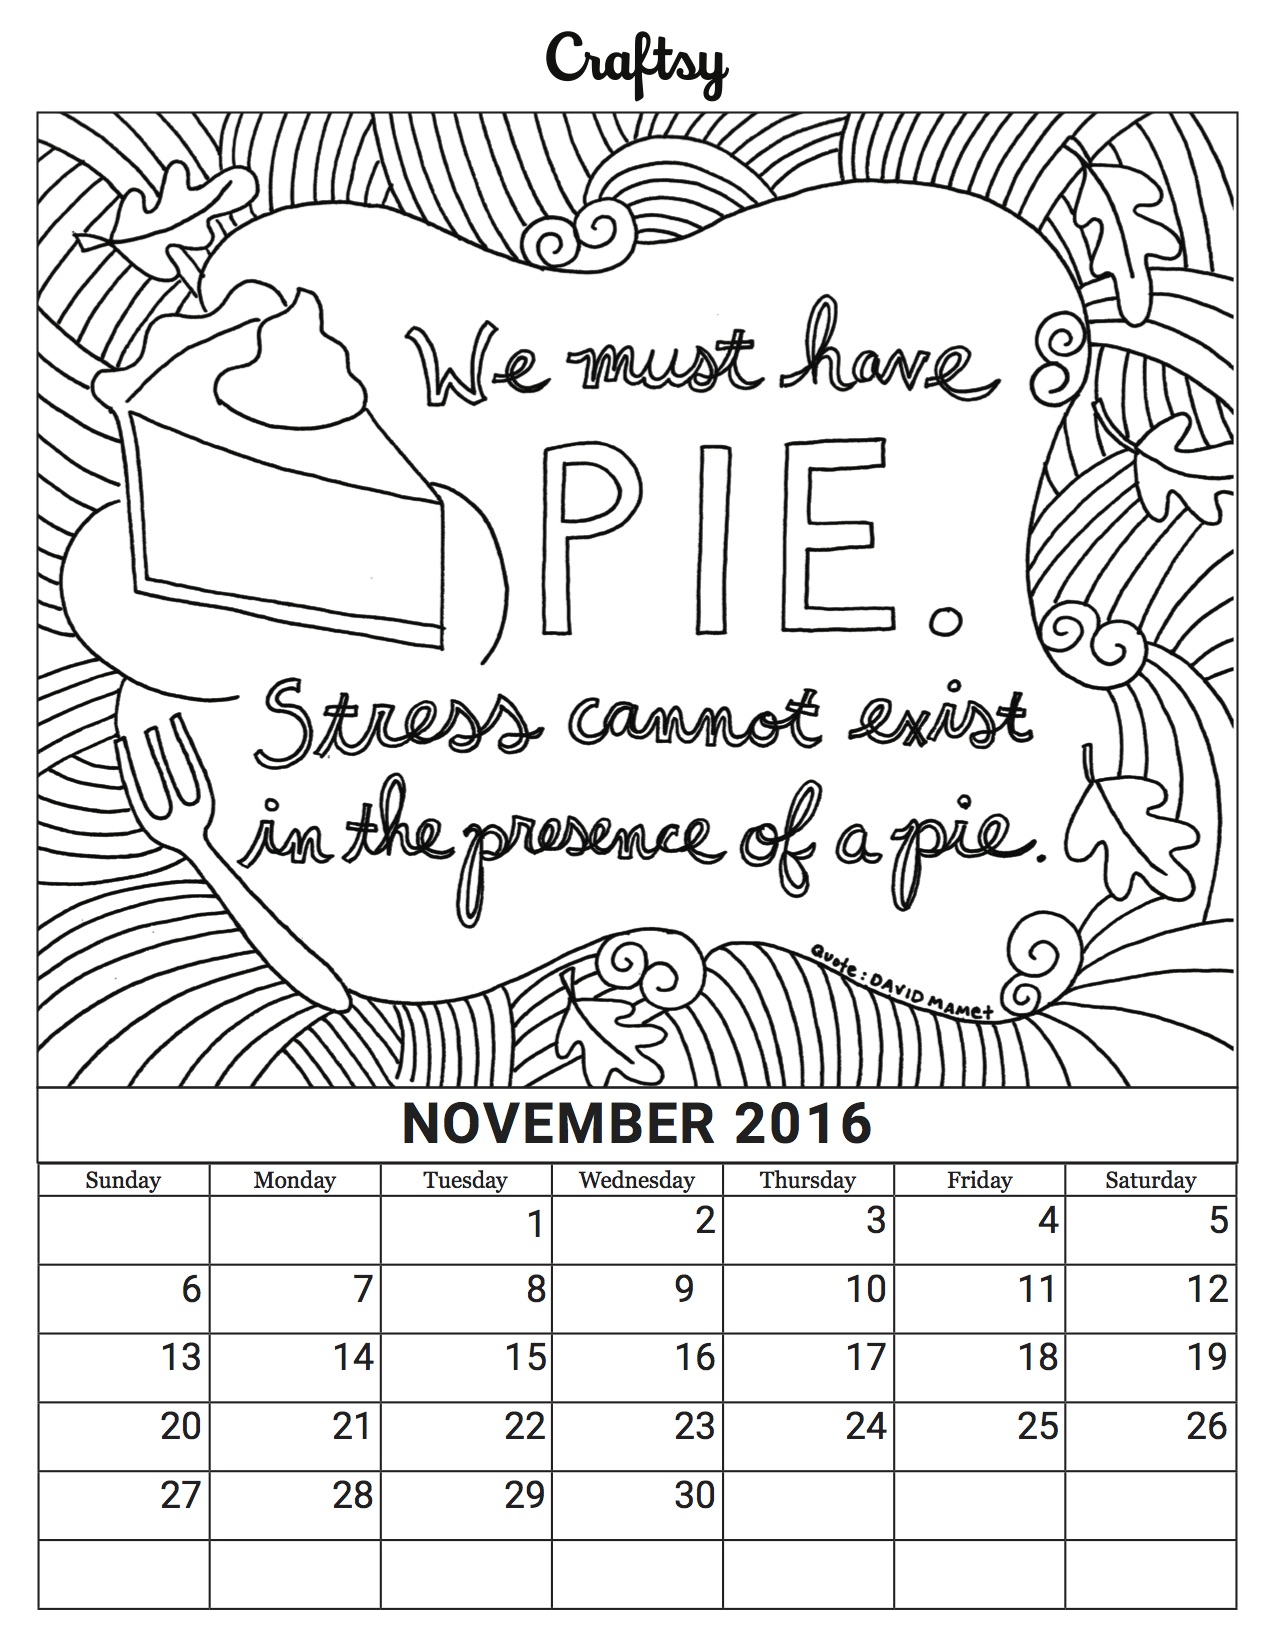
How to draw cartoon ears. Helpful if you want to, you know, let your cartoon characters hear things. (Craftsy)
Object of the week: Unicorn wall decal. I purchased this and put it above my sofa and it's the best thing ever. I had to share!