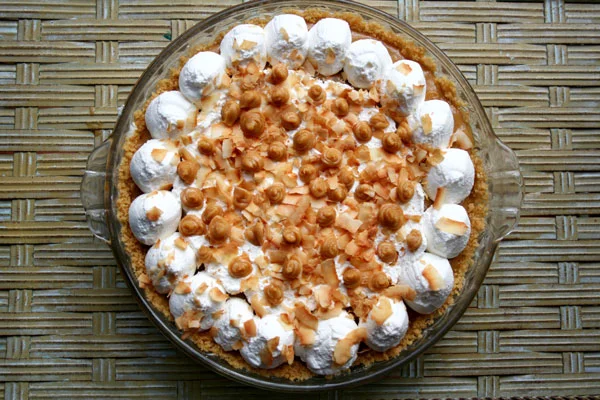
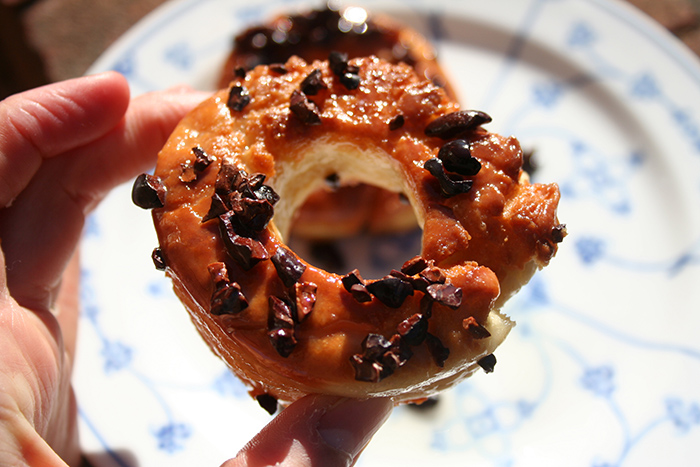
Guess what? There's no egg white on top of this lemon meringue pie. That's freaking chickpea water! (AKA "aquafaba", but I think you know which name I prefer).
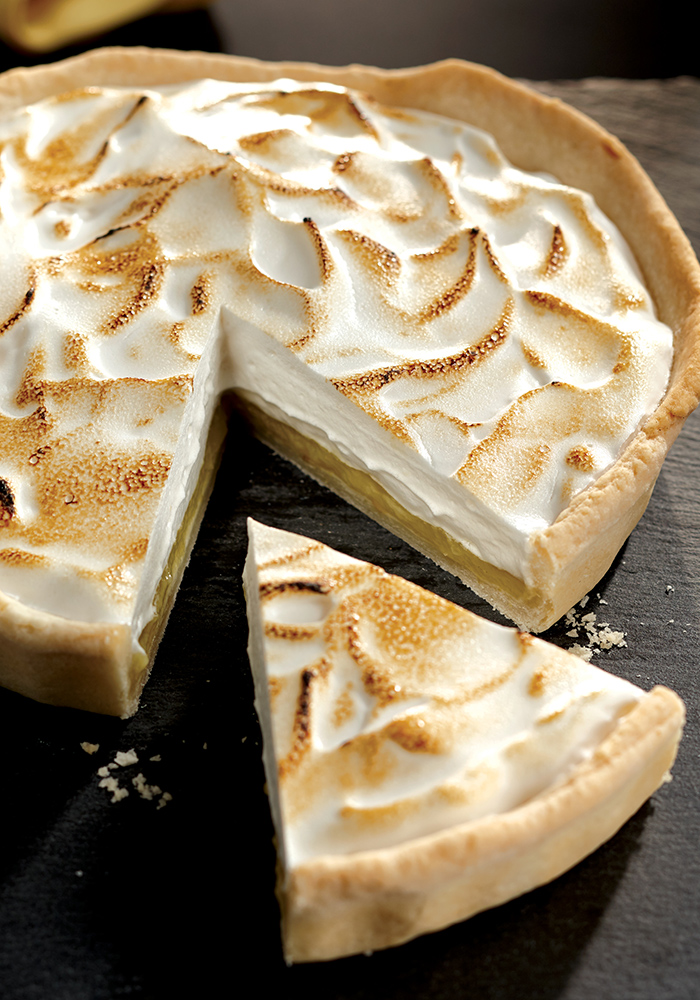
Image credit: Colin Erricson
It's from the new book Aquafabulous! 100+ Egg-Free Vegan Recipes Using Aquafaba by Rebecca Coleman © 2017. The publisher, Robert Rose, was kind enough to share this recipe for excerpt.
Believe it or not, this pie is totally vegan! No eggs were employed in the recipe at all. I find that kind of incredible, don't you?
But I digress. Let's hear what the author has to say, then get to the recipe!
"I love lemon curd. Although it’s normally made with butter and eggs, olive oil works very well here to replace the fat of the butter, and the curd is thickened with cornstarch instead of egg yolks. I challenge you to feed this to your omnivore friends and have them tell the difference."
Before you bake, assemble/do the following:
• Preheat oven to 350°F (180°C)
• Stand mixer fitted with wire whisk attachment
• 9-inch (23 cm) pie plate
• Propane or butane torch (see Tips, at left)
Crust
- 1 cup all-purpose flour (250 mL)
- 1⁄2 tsp salt (2 mL)
- 1⁄4 cup vegetable oil (60 mL)
- 2 tbsp cold water (30 mL)
Lemon Curd
- 1⁄3 cup water (75 mL)
- 1⁄3 cup unsweetened non-dairy milk (75 mL)
- 1 tbsp cornstarch (15 mL)
- 6 tbsp granulated sugar (90 mL)
- Pinch salt
- Grated zest of 1 lemon
- 6 tbsp freshly squeezed lemon juice 90 mL (about 2 to 3 lemons)
- 1⁄4 cup olive oil (60 mL)
Meringue
- 1⁄3 cup aquafaba (75 mL)
- 1⁄3 cup granulated sugar (75 mL)
- 1⁄4 tsp cream of tartar (1 mL)
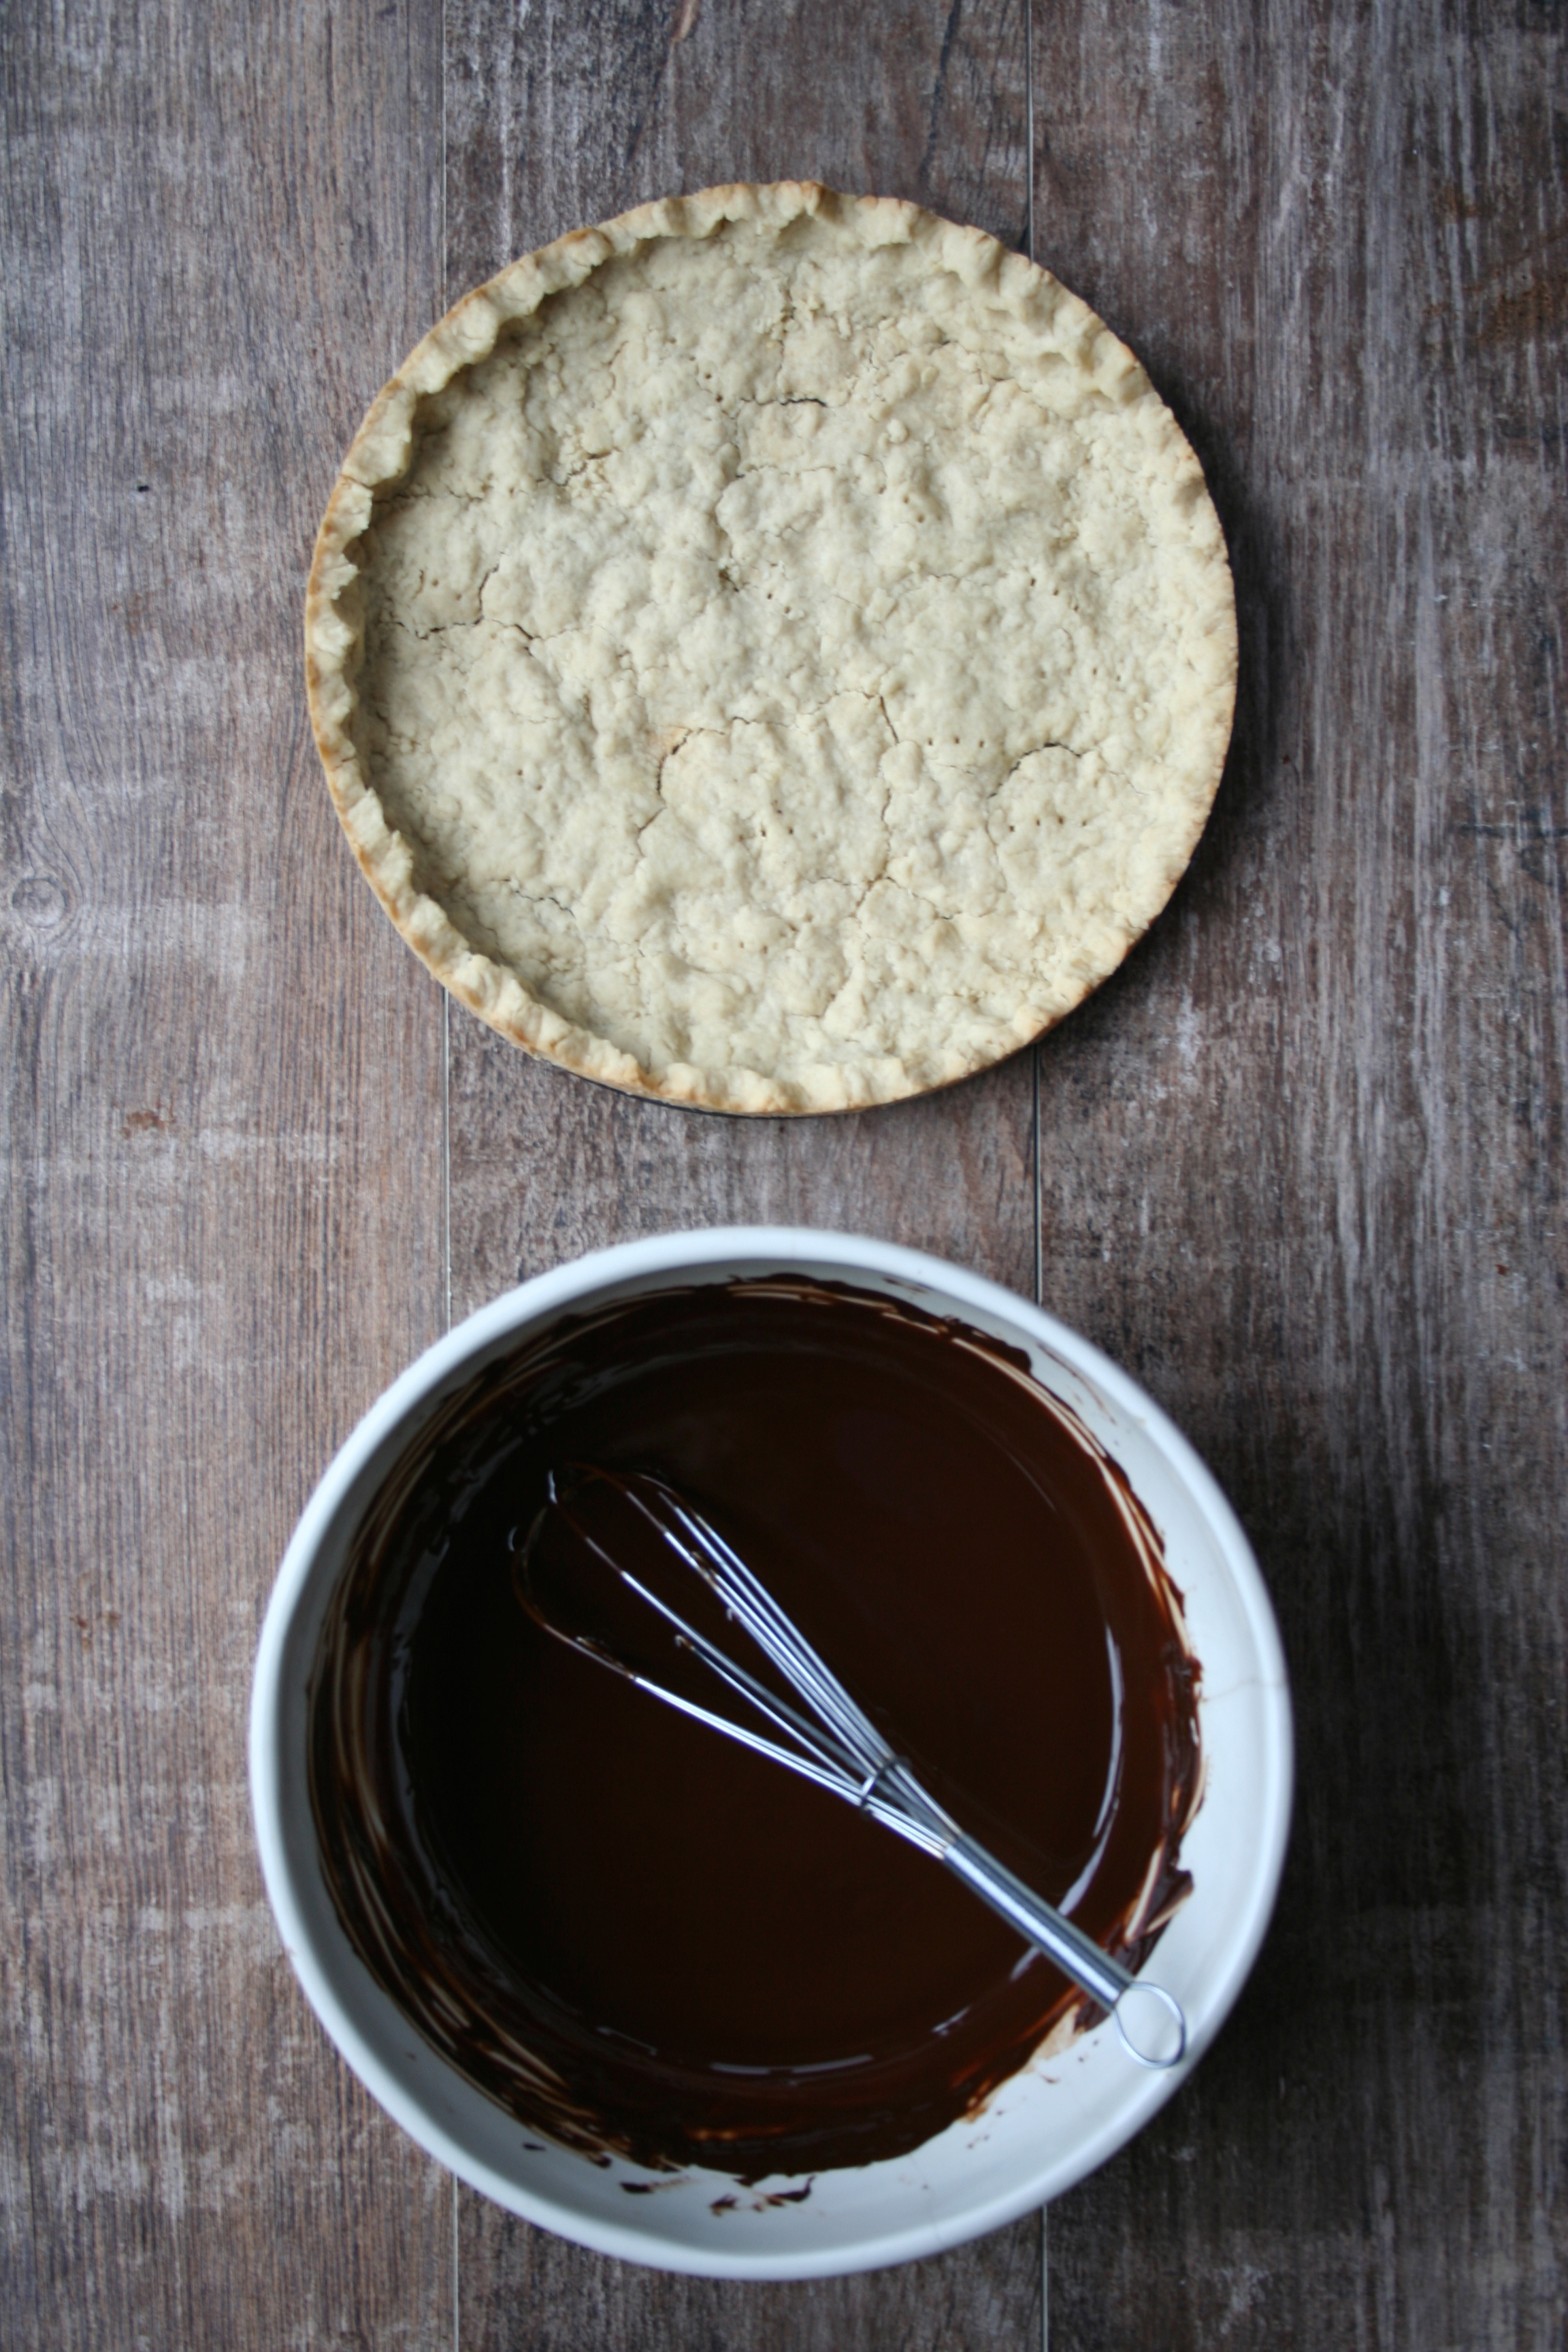
1. Crust: In a large bowl, combine flour and salt. Add vegetable oil and stir well. Add water and stir to combine. If the mixture seems too dry, add a bit more water until it sticks together and forms a cohesive ball. The mixture should not be very sticky on the outside.
2. Roll mixture into a ball and place it in the center of a large sheet of wax or parchment paper. Place another sheet of paper overtop. Using a rolling pin, roll out to desired thickness (and so that crust is big enough to fit your pie plate with a little left over). Remove top layer of paper and flip upside down into pie plate. Trim.
3. Bake pastry crust in middle of preheated oven until lightly golden brown and a bit crispy around the edges, about 10 minutes. Remove from oven and let cool.
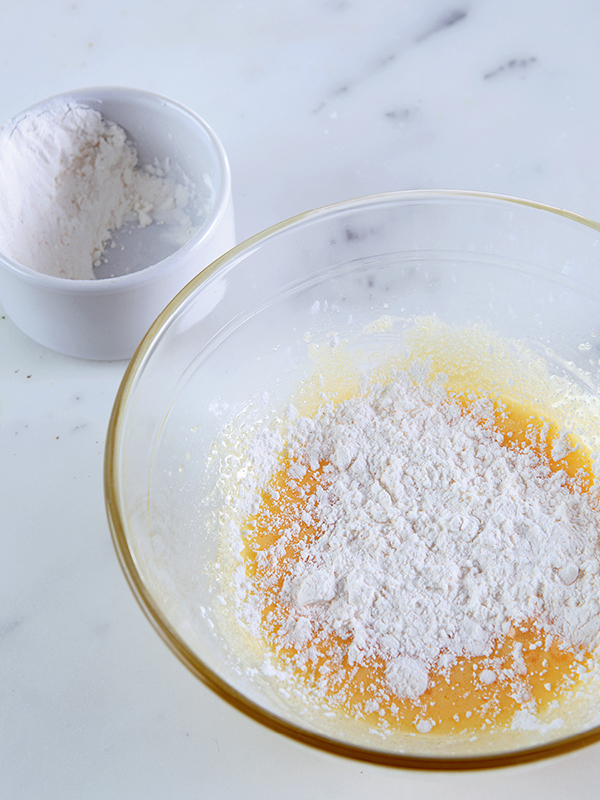
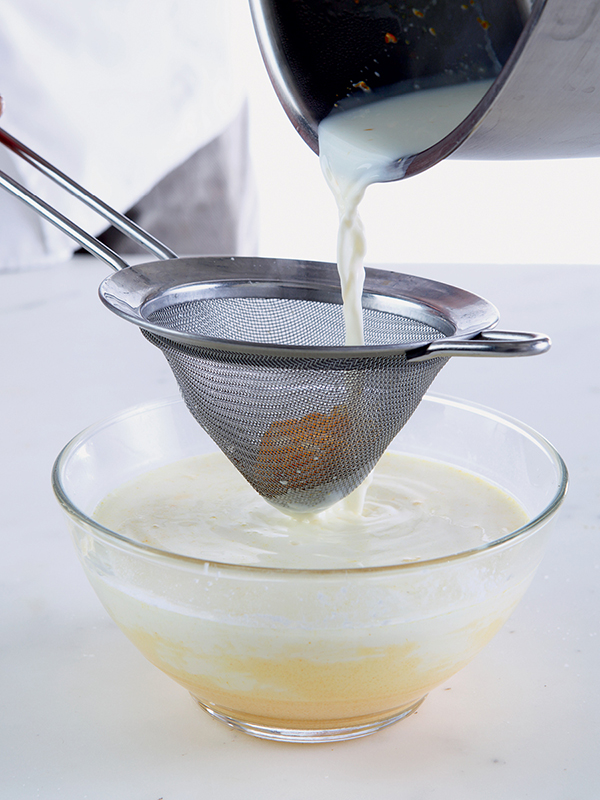
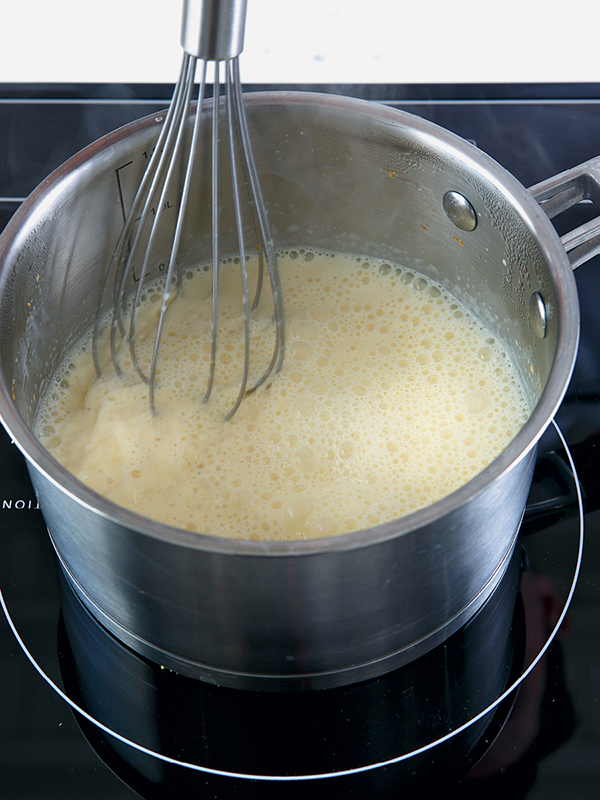
4. Lemon Curd: In a small bowl, combine water, non-dairy milk and cornstarch. Whisk well to combine. Pour into a small, heavy-bottomed saucepan and cook over medium heat, stirring well with a whisk, until it starts to bubble, about 5 minutes.
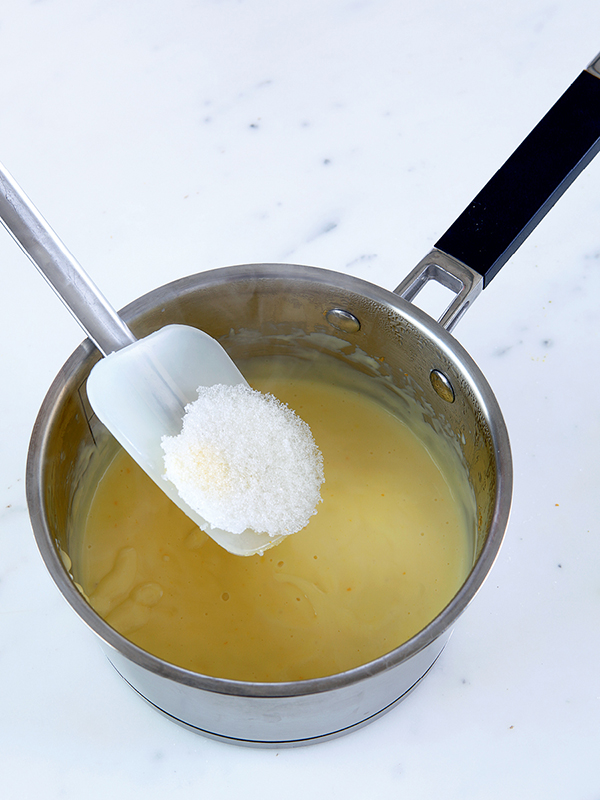
5. Add sugar, salt, lemon zest, lemon juice and olive oil. Continue to cook, whisking, until it thickens and bubbles, about 3 to 5 minutes. You’ll know it’s done when it coats the back of a spoon and you can run your finger through it without it running back together. Transfer to a separate bowl, cover and let cool in the fridge.
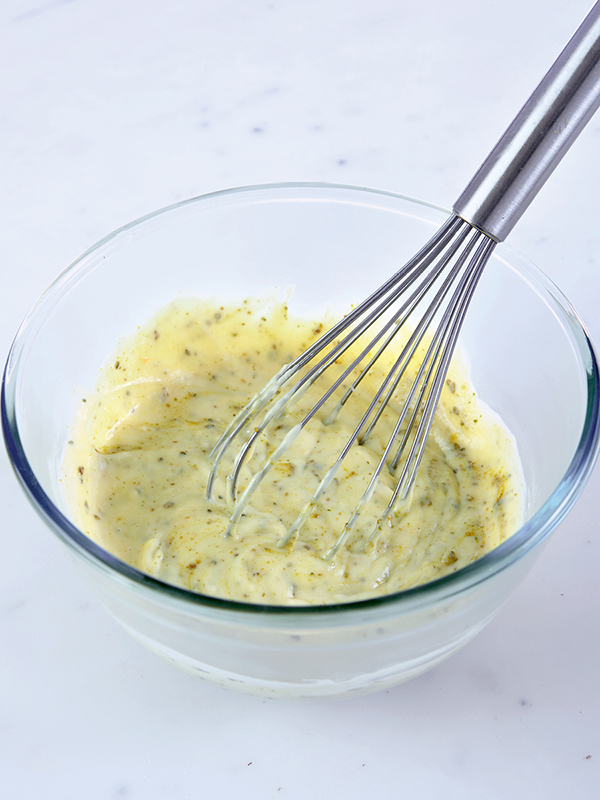
6. Meringue: In mixer bowl, combine aquafaba, sugar and cream of tartar. Set mixer speed to low and beat for 2 minutes. Turn speed up to medium and beat for 2 minutes. Set to highest speed and beat mixture until fluffy and peaks form, about 4 to 6 minutes. It will have a similar texture to marshmallow fluff.
7. Spread lemon curd in an even layer in pie shell. Top with meringue. With torch at full blast, holding it 2 to 3 inches (5 to 7.5 cm) from surface, toast top of meringue until golden brown. Serve immediately.
Tips
You can make individual lemon meringue tarts by following the same process, substituting a 12-cup muffin pan for the pie plate.
The pie crust and lemon filling can be made up to 1 day in advance and stored in an airtight container in the fridge, but the meringue should be made shortly before serving.