 Every year around this time, I feel the need to rage against Fun-Size candy bars. I mean, come on people! There is nothing fun about a teeny-tiny candy bar.
But then, I had the most incredible idea to make the tiny bars more fun: I'd melt together about 100 of the mini bars to form a monstrous Mega Fun-Size Bar! Now that sounds like fun.
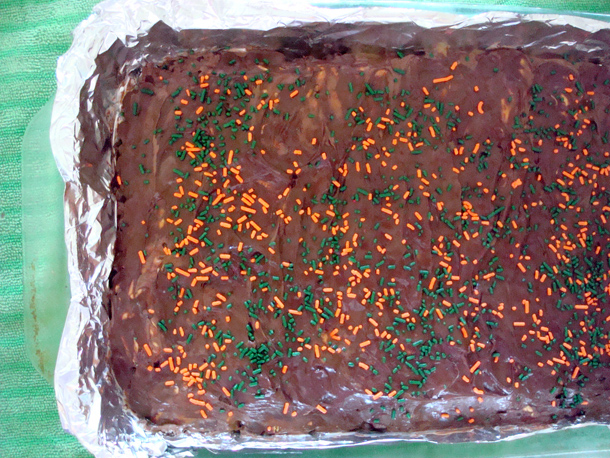
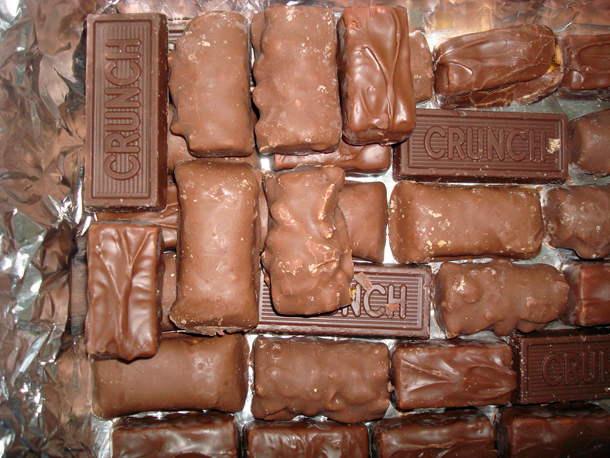
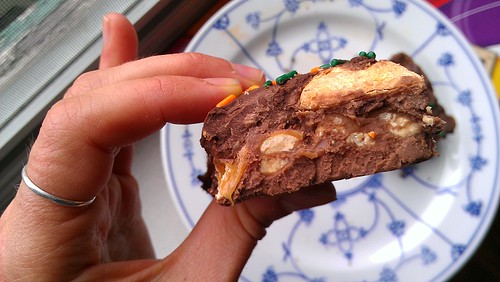
 After practically breaking a five-minute mile running to the store to pick up a bushel of bags of the tiny bars, I set to work. I lined a 9x13-inch pan with a patchwork of small Snickers, Nestle Crunch, Butterfinger and Baby Ruth bars, gently heated it in the oven until it melted together, smoothed over the top with melted chocolate chips to make it a cohesive chocolatey mass, and decorated it with some festive sprinkles. I consider it a masterpiece: the different textures and flavors of the candy bars meld together in your mouth to form a treat that is mega-fun to eat. Say hello to the new fun-size.
Mega Fun-Size Bar
Makes 1 bar
Ingredients
- 4 bags (approximately 12 ounces each) Fun-Size candy bars; about 80-90 bars
- 2 cups (about 12 ounces) milk chocolate or semisweet morsels
- Preheat the oven to 300°F. Line a 9- by 13-inch pan with aluminum foil. Unwrap all of your fun-size candy bars. This may take a while.
- Line the bottom of the pan with your unwrapped candy bars. To keep things interesting, alternate the styles so that the different flavors are mixed up, forming a sweet sort of chocolate patchwork.
- Once you have lined the bottom of the pan with candy bars, make a second row, aligning the candy bars perpendicular to the ones below. This will help things melt fairly evenly.
- Place the pan in the oven until things start to get shiny and melty, about 10 minutes.
- Remove from the oven and scatter the chocolate morsels evenly on top of the candy bars. Return the pan back to the oven until the morsels have begun to melt, about 5 minutes longer.
- Remove the pan from the oven and place it on a towel or heatproof surface. Very gently, so as not to burn yourself on the sides of the pan, use a butter knife or spatula to evenly smooth and spread the chocolate. You'll want to do this gently but fairly quickly.
- If desired, garnish with sprinkles. Let cool completely before serving (otherwise it will be very messy). Enjoy!


