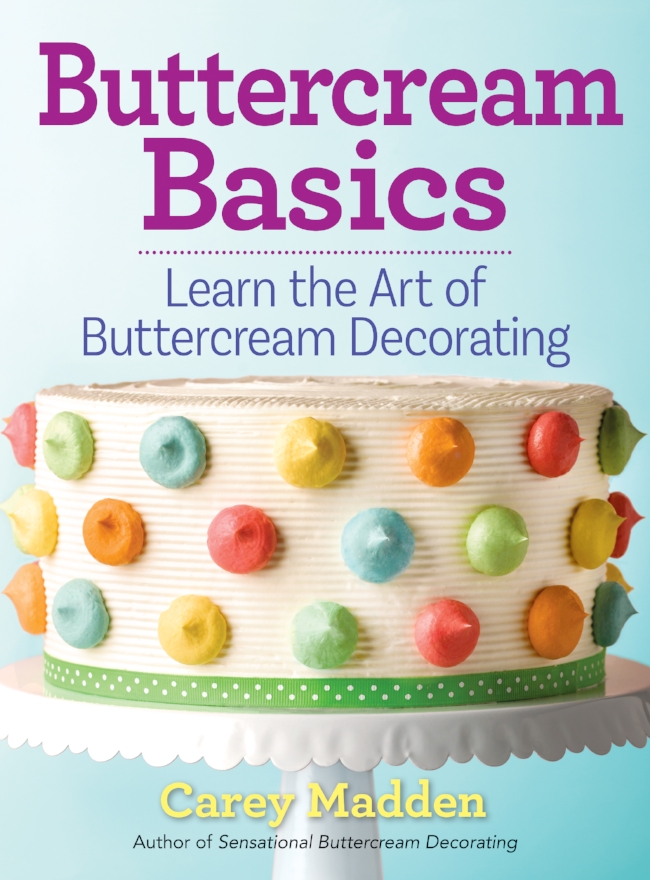
I wish I could say that I could take credit for this cake. But it's actually an excerpt guest post from the great new book Buttercream Basics.

If you have been wanting to refine your piping, spreading, and decorating skills with buttercream, you need to buy this book. It's a really good one.
I chose this cake to feature from the book because it's striking, wow-worthy...but actually pretty easy to make. So without further ado, here's the tutorial for this "Cinematic Cake"!
From Carey Madden, the author:
This cake is ready for its close-up. It’s every kid’s dream: a double feature spotlighting both movie candy and cake, for twice the sweetness and twice the fun.
- Cake: 8-inch (20 cm) cake, roughly iced in red
- Pastry Bags: 1 bag, fitted with a coupler
- Tips: #30 (or similar) star tip
- Buttercream: 3⁄4 cup (175 mL) red
- Other Stuff: Corn syrup, Straight spatula, 16-oz (500 g) bag of black licorice ropes, 16-oz (500 g) bag of red licorice ropes, 15 black nonpareil-covered gummy berries (approx.), 15 red nonpareil-covered gummy berries (approx.)
Bag Prep: Fit the pastry bag with the star tip and fill it with red icing.
Cake Prep: Center the cake on the presentation surface, securing it with a dribble of corn syrup, and place it in the center of the turntable.
Bits & Nibbles
• If you’re unable to get your hands on nonpareil-covered gummy berries, shoot for vintage movie candy such as Dots or jujubes. But anything that’s edible and that matches the cake will do.
• When you go to place your last rope in step 6, you may find that your last rope is the same color as your first. In this case, I like to split the difference. Cut one of each color rope in half and place the half-ropes tip to tip as the last rope in the ring.
Decorating Steps
1. Using a straight spatula, make a spiral on the top of the cake in buttercream.

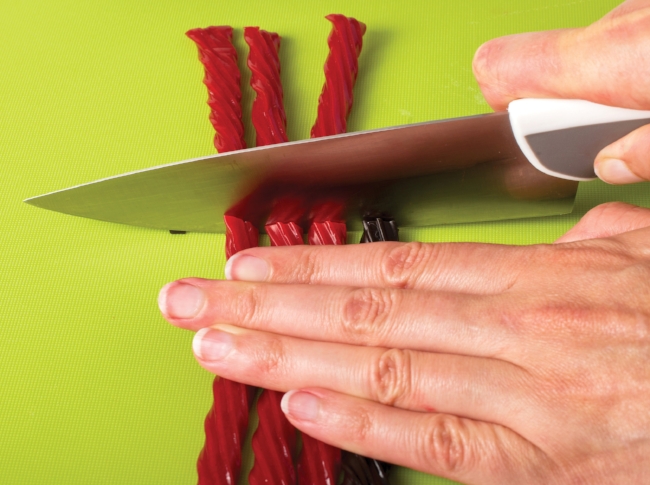
2. Snip off the squashed flat end on one side of each licorice rope.
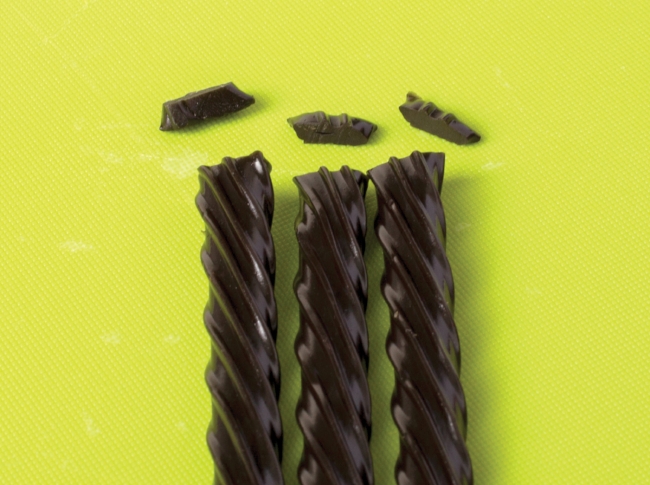
3. Hold one licorice rope at a slanting angle against the side of the cake to determine how long the ropes should be cut. Pinch the rope with your fingers to mark where to make the cut.

4. Cut the rope, then hold it against the cake to double-check that it is the correct length. Use this rope as a measuring stick and cut the remaining ropes to the same length. You can cut several ropes at once.
5. Keeping your measuring stick rope back in case you need to cut more ropes, begin to place the ropes at a slanting angle against the side of the cake, alternating between red and black.

6. Continue to place ropes until the cake is fully ringed with licorice ropes.

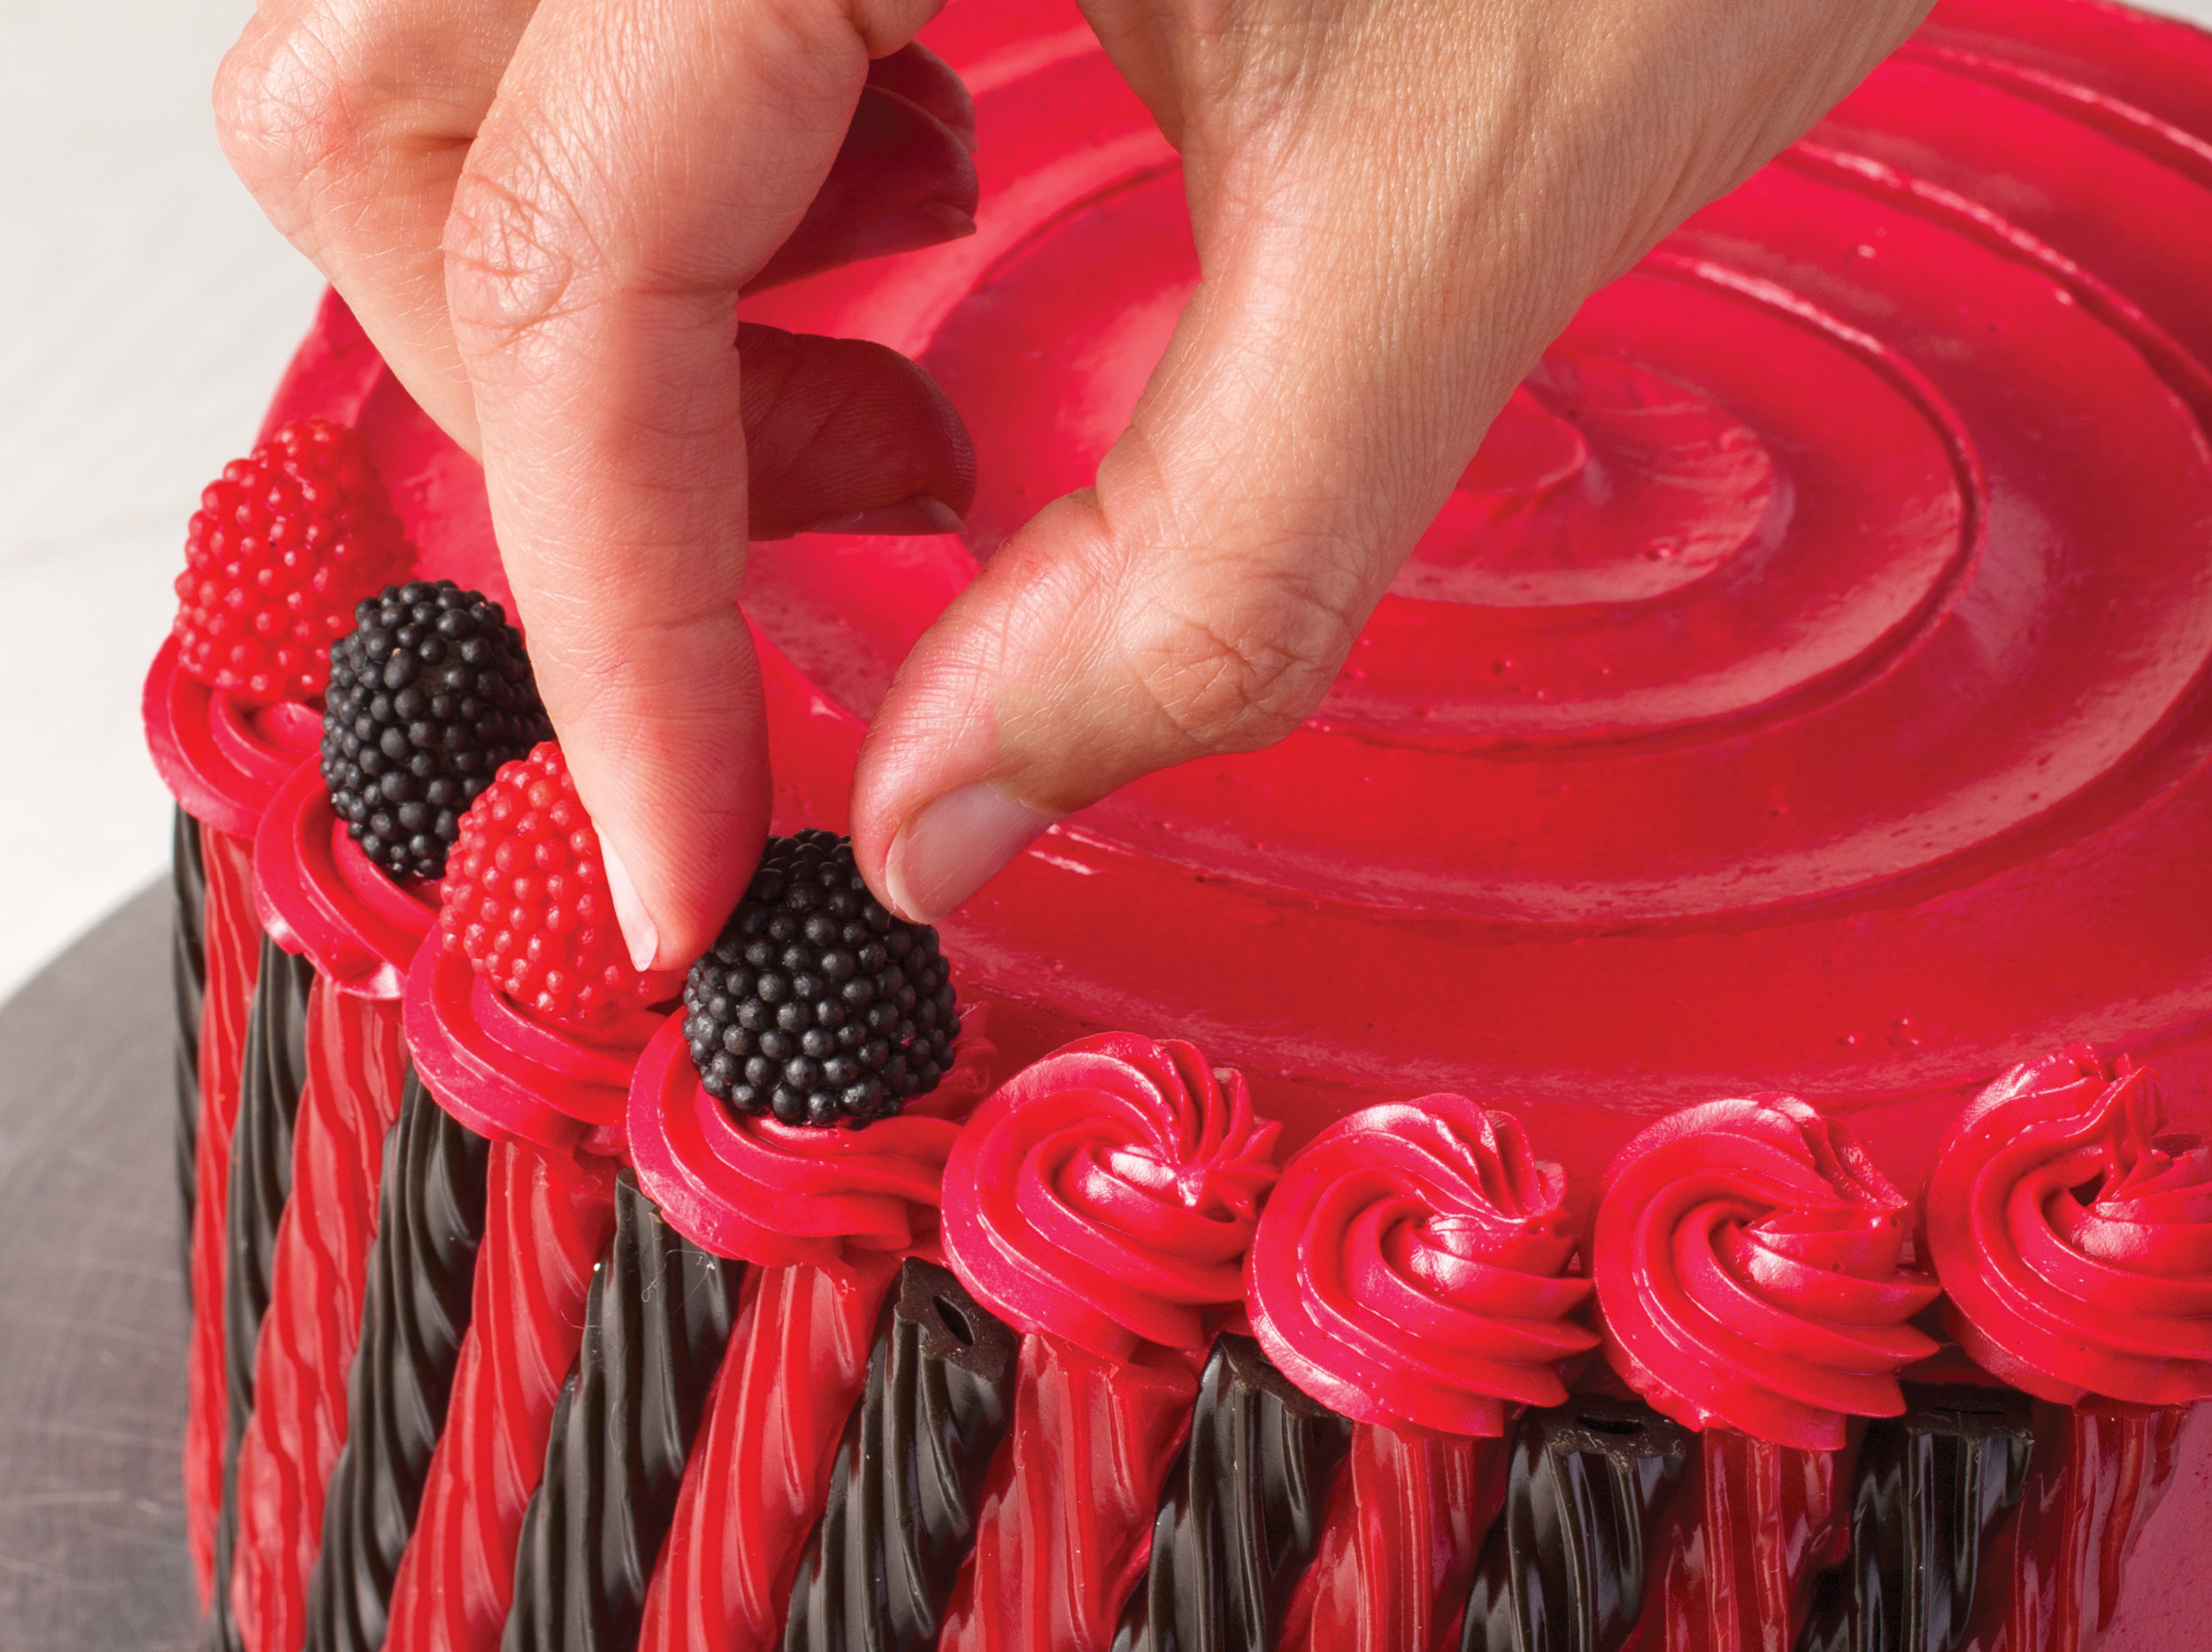
7. Using red icing, pipe small rosettes snug up against each other around the perimeter on top of the cake. The rosettes should be larger than the base of a gummy berry.
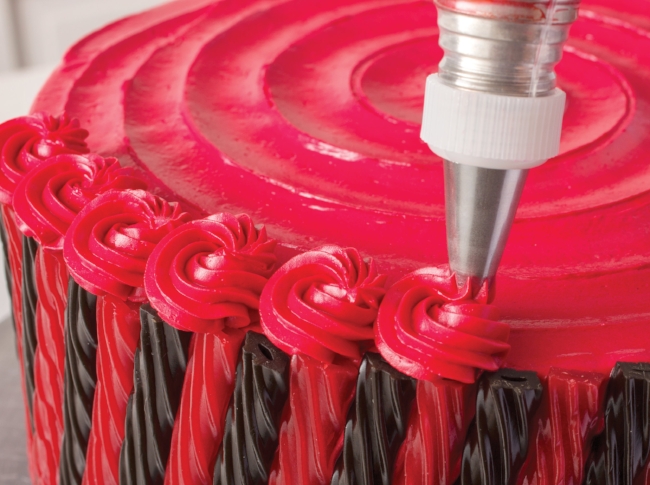
8. Place a gummy berry in the center of each rosette, alternating between red and black.
And voila, your cake is ready for its close-up!
This recipe/tutorial is an excerpt from the amazing and informative new book Buttercream Basics. It's truly accessible to even newbie decorators. If you're curious about how to do things like spread buttercream on in an even layer, creating the pretty spiral on top of this cake, or more sweet touches, this is the book for you!