 CakeSpy Note: Talk about knowledge you could have used in college: Cake Gumshoe Sarah (a student at Seattle University) dishes with a baker's dozen of sweet tips for the dorm-room baker!
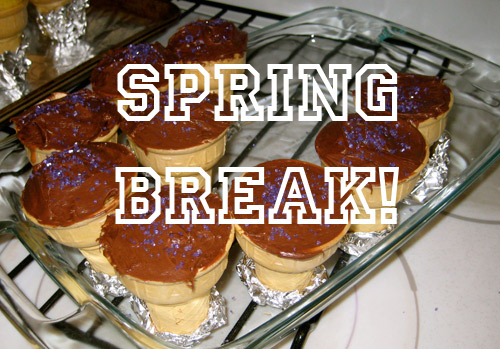
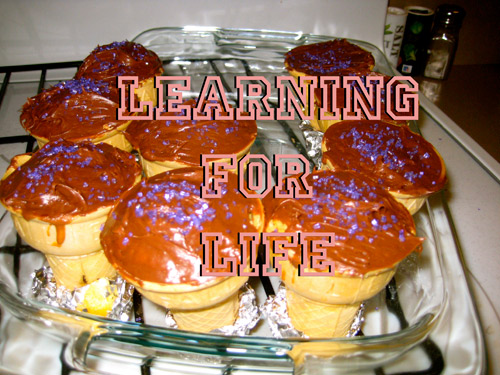
 College kids are hungry, and there is nothing they love more than baked goods. Baking at school is the perfect way to make your tummy and your friends happy. Walk through the library at 11pm handing out ice cream cone cupcakes and you might even be deemed a hero. (Plus giving away your sweet treats helps you from eating them all yourself – hello freshman 15). Here are a few tips for baking on the cheap without sacrificing homemade quality.
Oven mitts! You probably don’t give a second thought to oven mitts at home but your dorm kitchen may or may not have them. Mine doesn’t, which I learned the moment I needed to take a hot pan out of the oven. While your friend’s sweatshirt does work, it’s not ideal – invest in some oven mitts, for your hands’ sake.
Keep it simple - if you’re anything like me (a poor college student), you can’t drop twenty bucks at the grocery store on every recipe. This means saying no to recipes with a laundry list of ingredients, try to keep it under ten or so. You can make that five-layer coconut buttercream dream cake when you go home for break.
Be resourceful! If you have a meal plan (aka your parents' money), use it to your full advantage. Buy fruit at the cafeteria and if your campus has a convenience store, snag any baking products you can there. The more you can acquire on campus, the better.
 Be wary of recipes that require lots of whipping or beating. I’m guessing you probably left your precious Kitchenaid mixer at home, and may not even have a hand beater. You’ll have to rely on mixing with a spoon or whisk - so sadly, fluffy frostings and meringues must wait for summer break.
Invest in the essentials – two or three mixing bowls, a wooden spoon, a spatula, a whisk, one or two pans, measuring cups, and measuring spoons can take you a long way.
No rolling pin? No problem! Remember that bottle from last night… Voila! Say hello to beautiful piecrusts at college – sometimes dreams do come true.
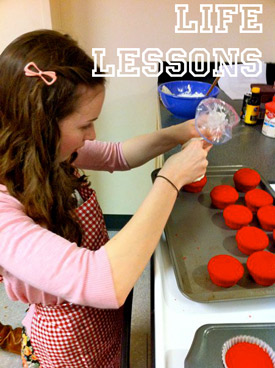
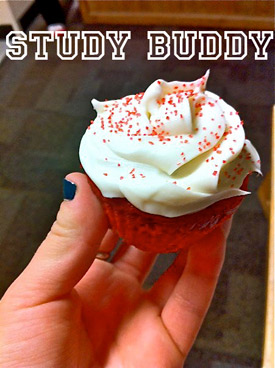
A lack of equipment doesn’t mean your cakes and cupcakes can’t still be beautiful. You can pipe store bought frosting from a Ziploc bag and use candy and sprinkles to create fun, delicious finished products.
Avoid ingredients that you only need a half-cup of and will never use again. I’ve been dying to make vanilla chai cupcakes, but I can’t quite justify buying vanilla bean paste and cardamom when I only need half a teaspoon of each. Recipes with just a few simple and common ingredients are your friend! And won’t make your baked goods any less scrumptious.
Use your imagination to improve boxed cake mix – saves you money and time! Add shredded coconut, peanut butter, or Nutella to chocolate cake or brownie mix. Throw some mashed up bananas and chocolate chips into vanilla cake mix. Swirl some chopped nuts, coffee syrup, mint extract, or peanut butter into vanilla frosting for an exciting and tasty topping for your cakes and cupcakes.
Frozen puff pastry is the secret key to fancy looking but super easy and yummy desserts. It’s cheap and found in any grocery store. Make homemade pop tarts, jam filled turnovers, or simply layer baked puff pastry with vanilla pudding and fresh fruit. You can also use puff pastry for savory appetizers like herb and cheese wheels or baked Brie. A simple way to bring classy to college.
If you don’t have a pie pan or a fridge to chill your dough, the galette may be your new favorite vehicle for fruit filling in a flaky crust. Super simple, fancy looking, and just as tasty as your favorite pie, the galette is just pie dough rolled out with fruit filling placed in the middle and the remaining dough wrapped up around the sides. The rustic appearance of this dish means it doesn’t have to look perfect, taking the pressure off rolling out a perfect crust. Works well with apples, peaches, and berries.
 Collaborate! Baking is easier with friends and more fun too! You can share ingredients, supplies, and the baked goods at the end. Just make sure to clean up the kitchen or face the wrath of your RA and floormates.
Depending on your level of generosity, you may need to be ready to protect your baked goods. People will see you carrying a brownie pan, detect the delightful smells from the kitchen, and try to acquire some of your treats. Be prepared to fight off these hungry dorm dwellers. Or share to your heart’s content.
Happy Baking!
About the student: Sarah Spiller is a nursing student at Seattle University, an aspiring baker, and an overall lover of food. She refuses to take sides in the pie/cake debate and can’t think of a baked good she doesn’t like.

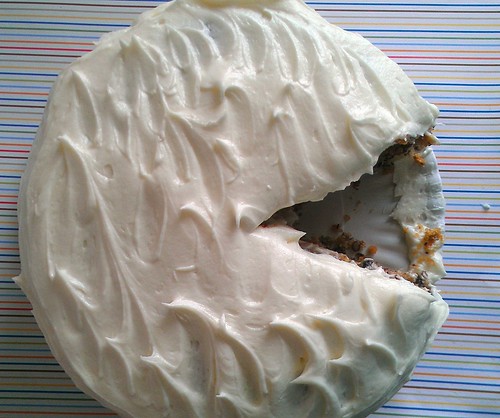
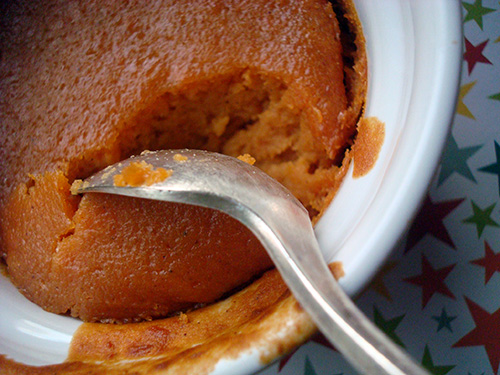 Let me say first of all that this is a public service announcement, because as a bona fide crust lover, I would never-ever suggest that you avoid crust (or carbs in general).
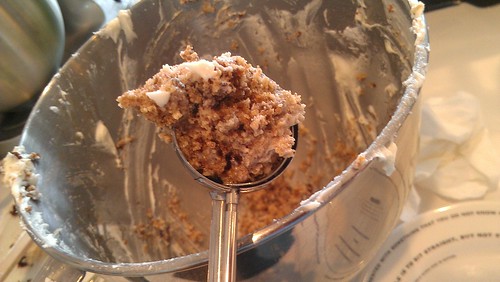
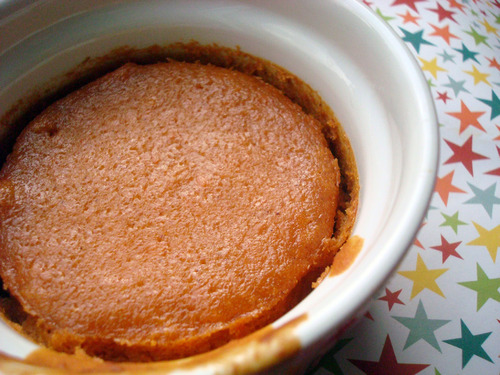 I've done this several times in the past, with pumpkin, sweet potato, and Bob Andy pie. And each time, it's turned out just fine. It occurs to me that you could make a conscious effort to do this, too, mixing up a batch of filling and baking it all in separate ramekins for a sort of sweet souffle-like dessert.