Above: doughnut from Michael's Kitchen in Taos, NM. (Michael's Kitchen)
Awesome baking trivia. Learn something fascinating! (CakeSpy for Craftsy)
Banana tarte Tatin with salted dark chocolate and hazelnuts. Whoa. (Simply Delicious Food)
In case you missed it: buttercream made with chickpea water. Not kidding. (CakeSpy)
Common mistakes to avoid when making whipped cream. (ChefWorks)
Explore how to use paint pens to make awesome art. (CakeSpy for Craftsy)
Honey earl grey fig cake. Yum! (The Little Epicurean)
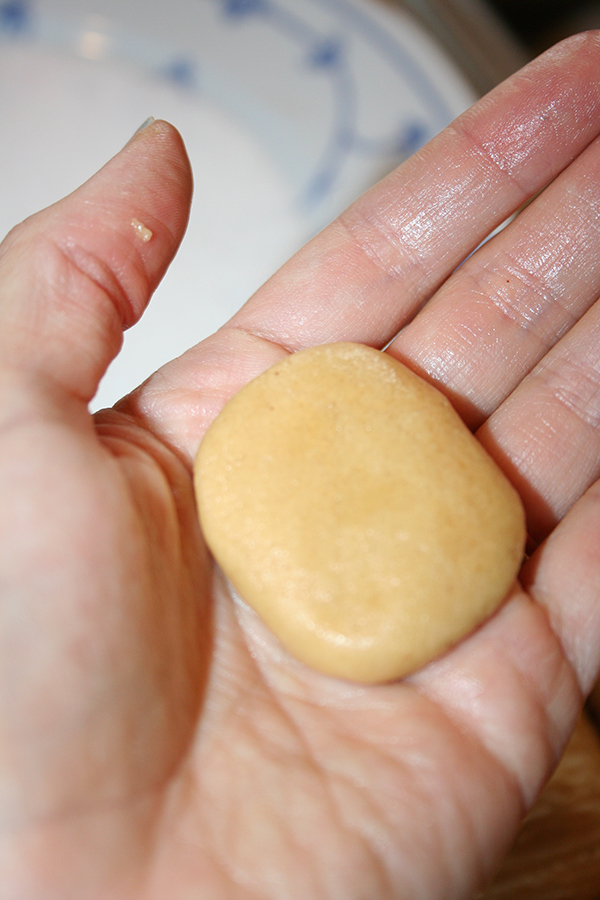
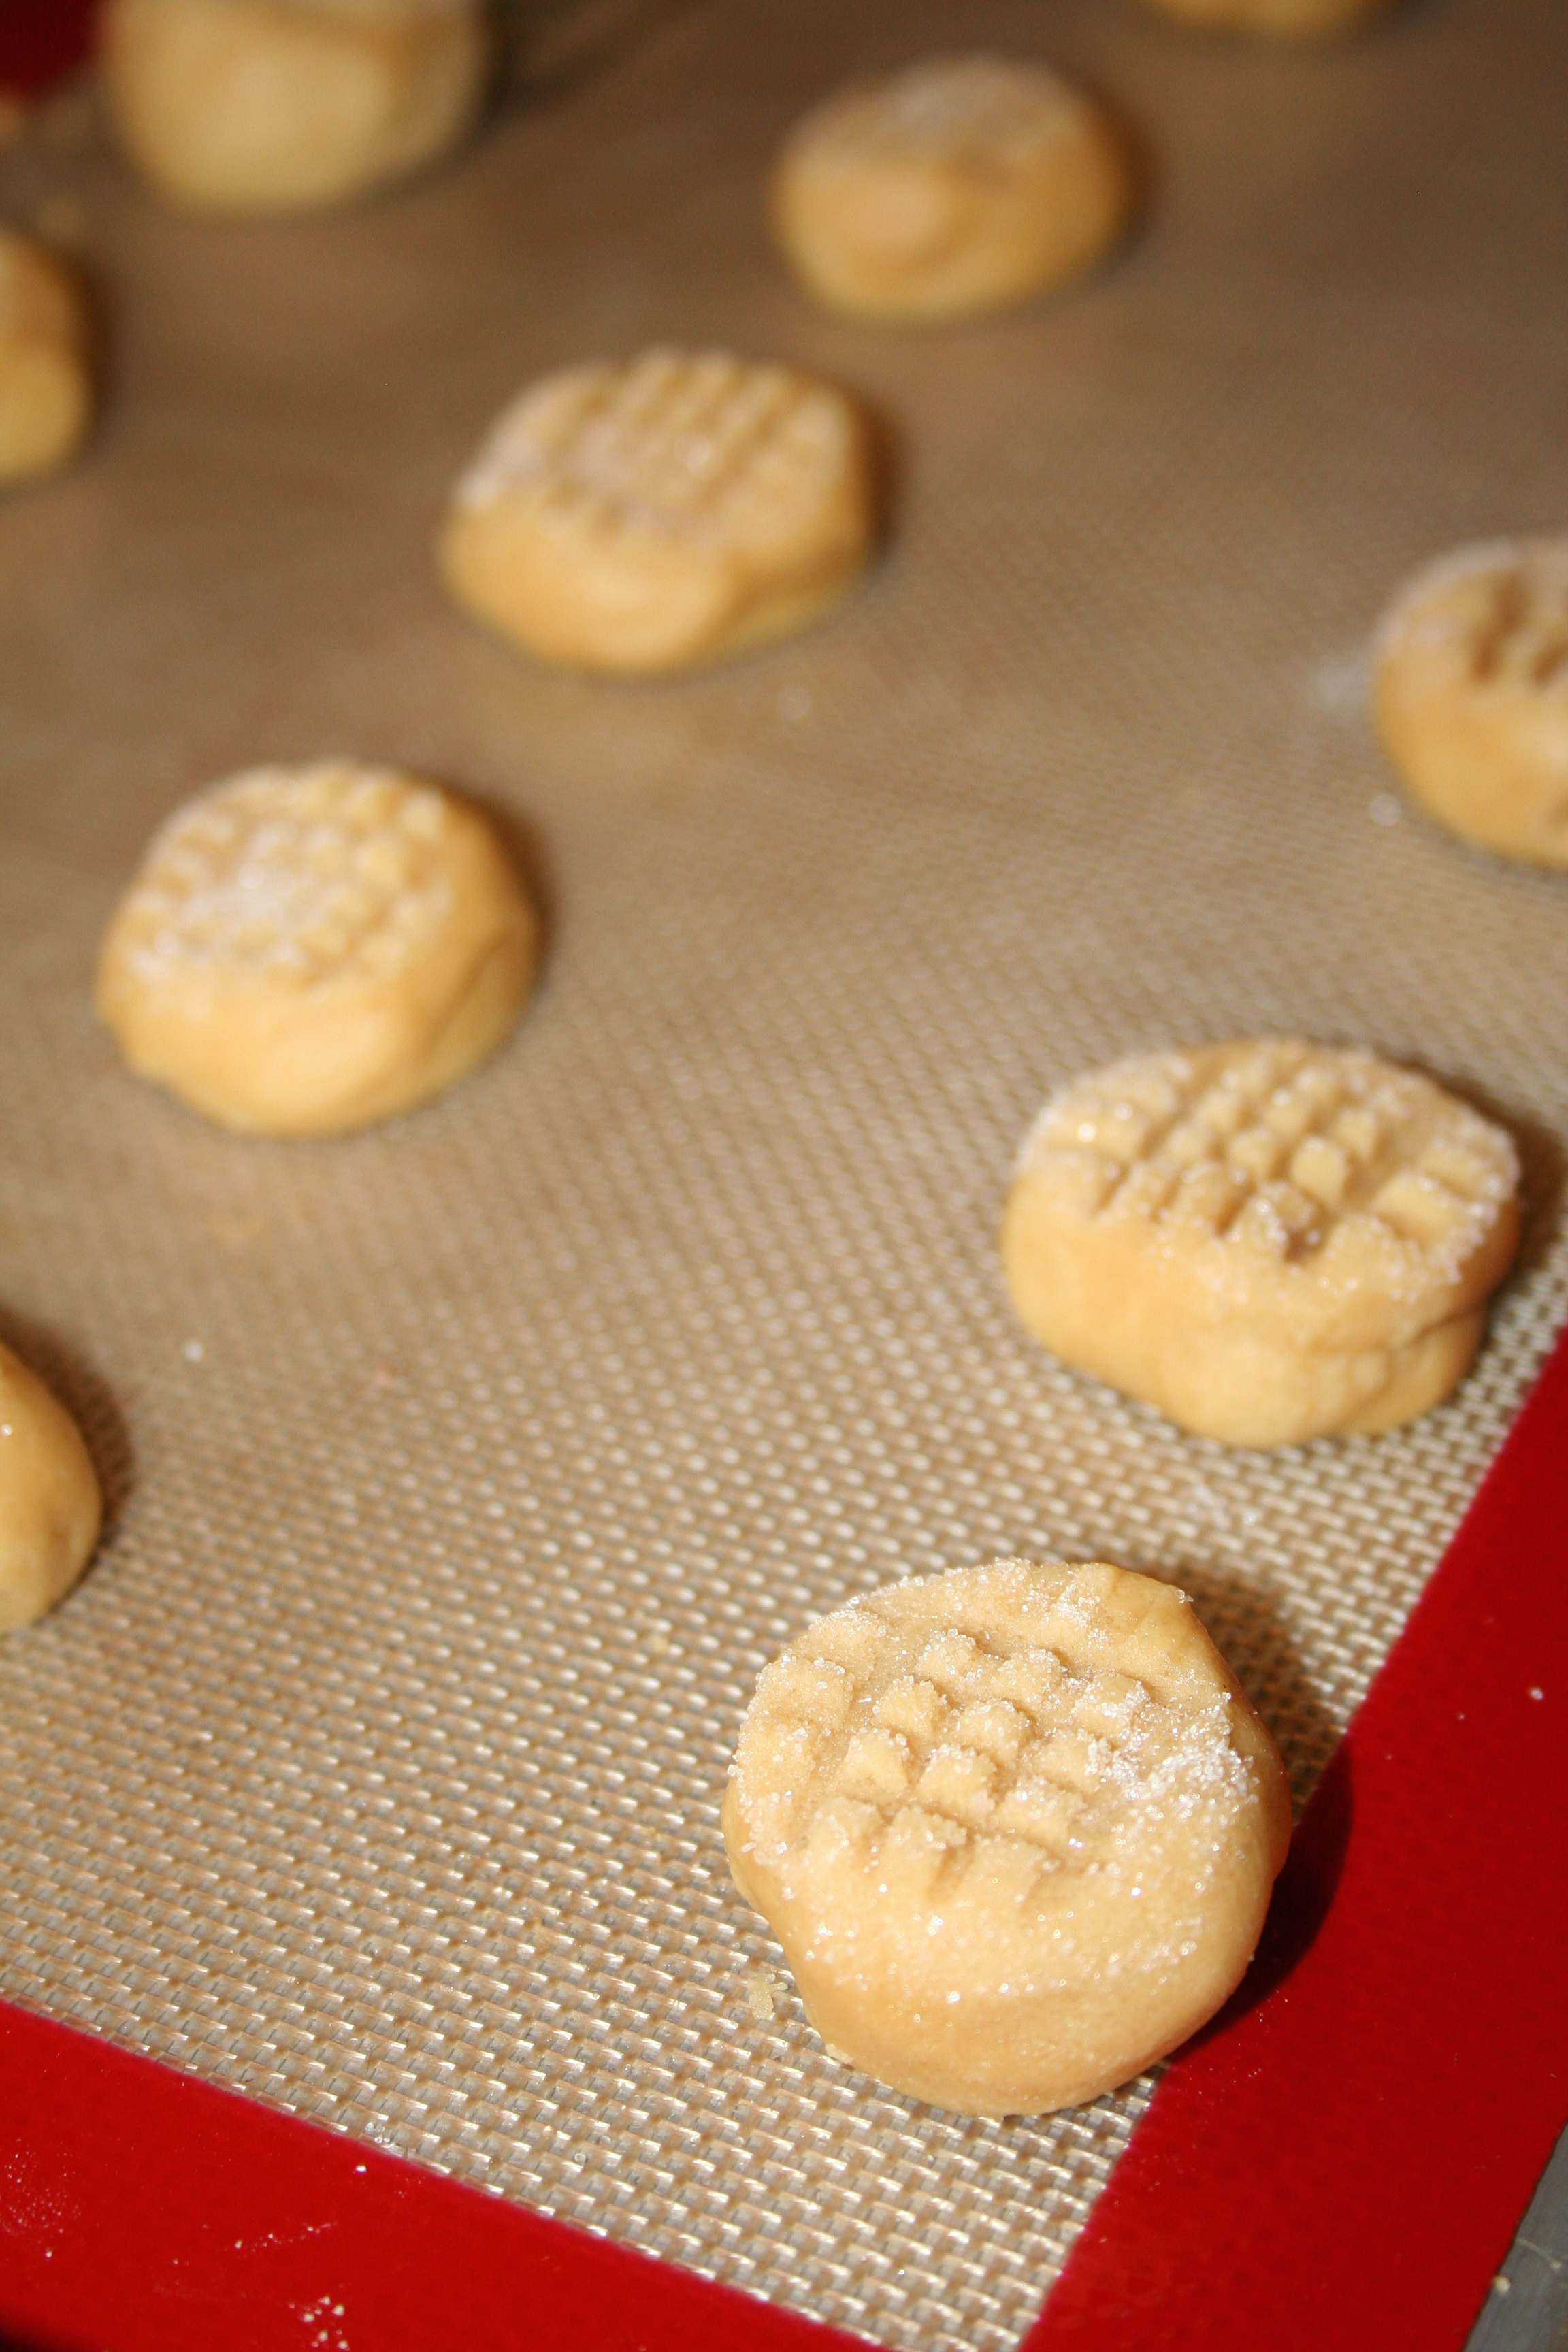
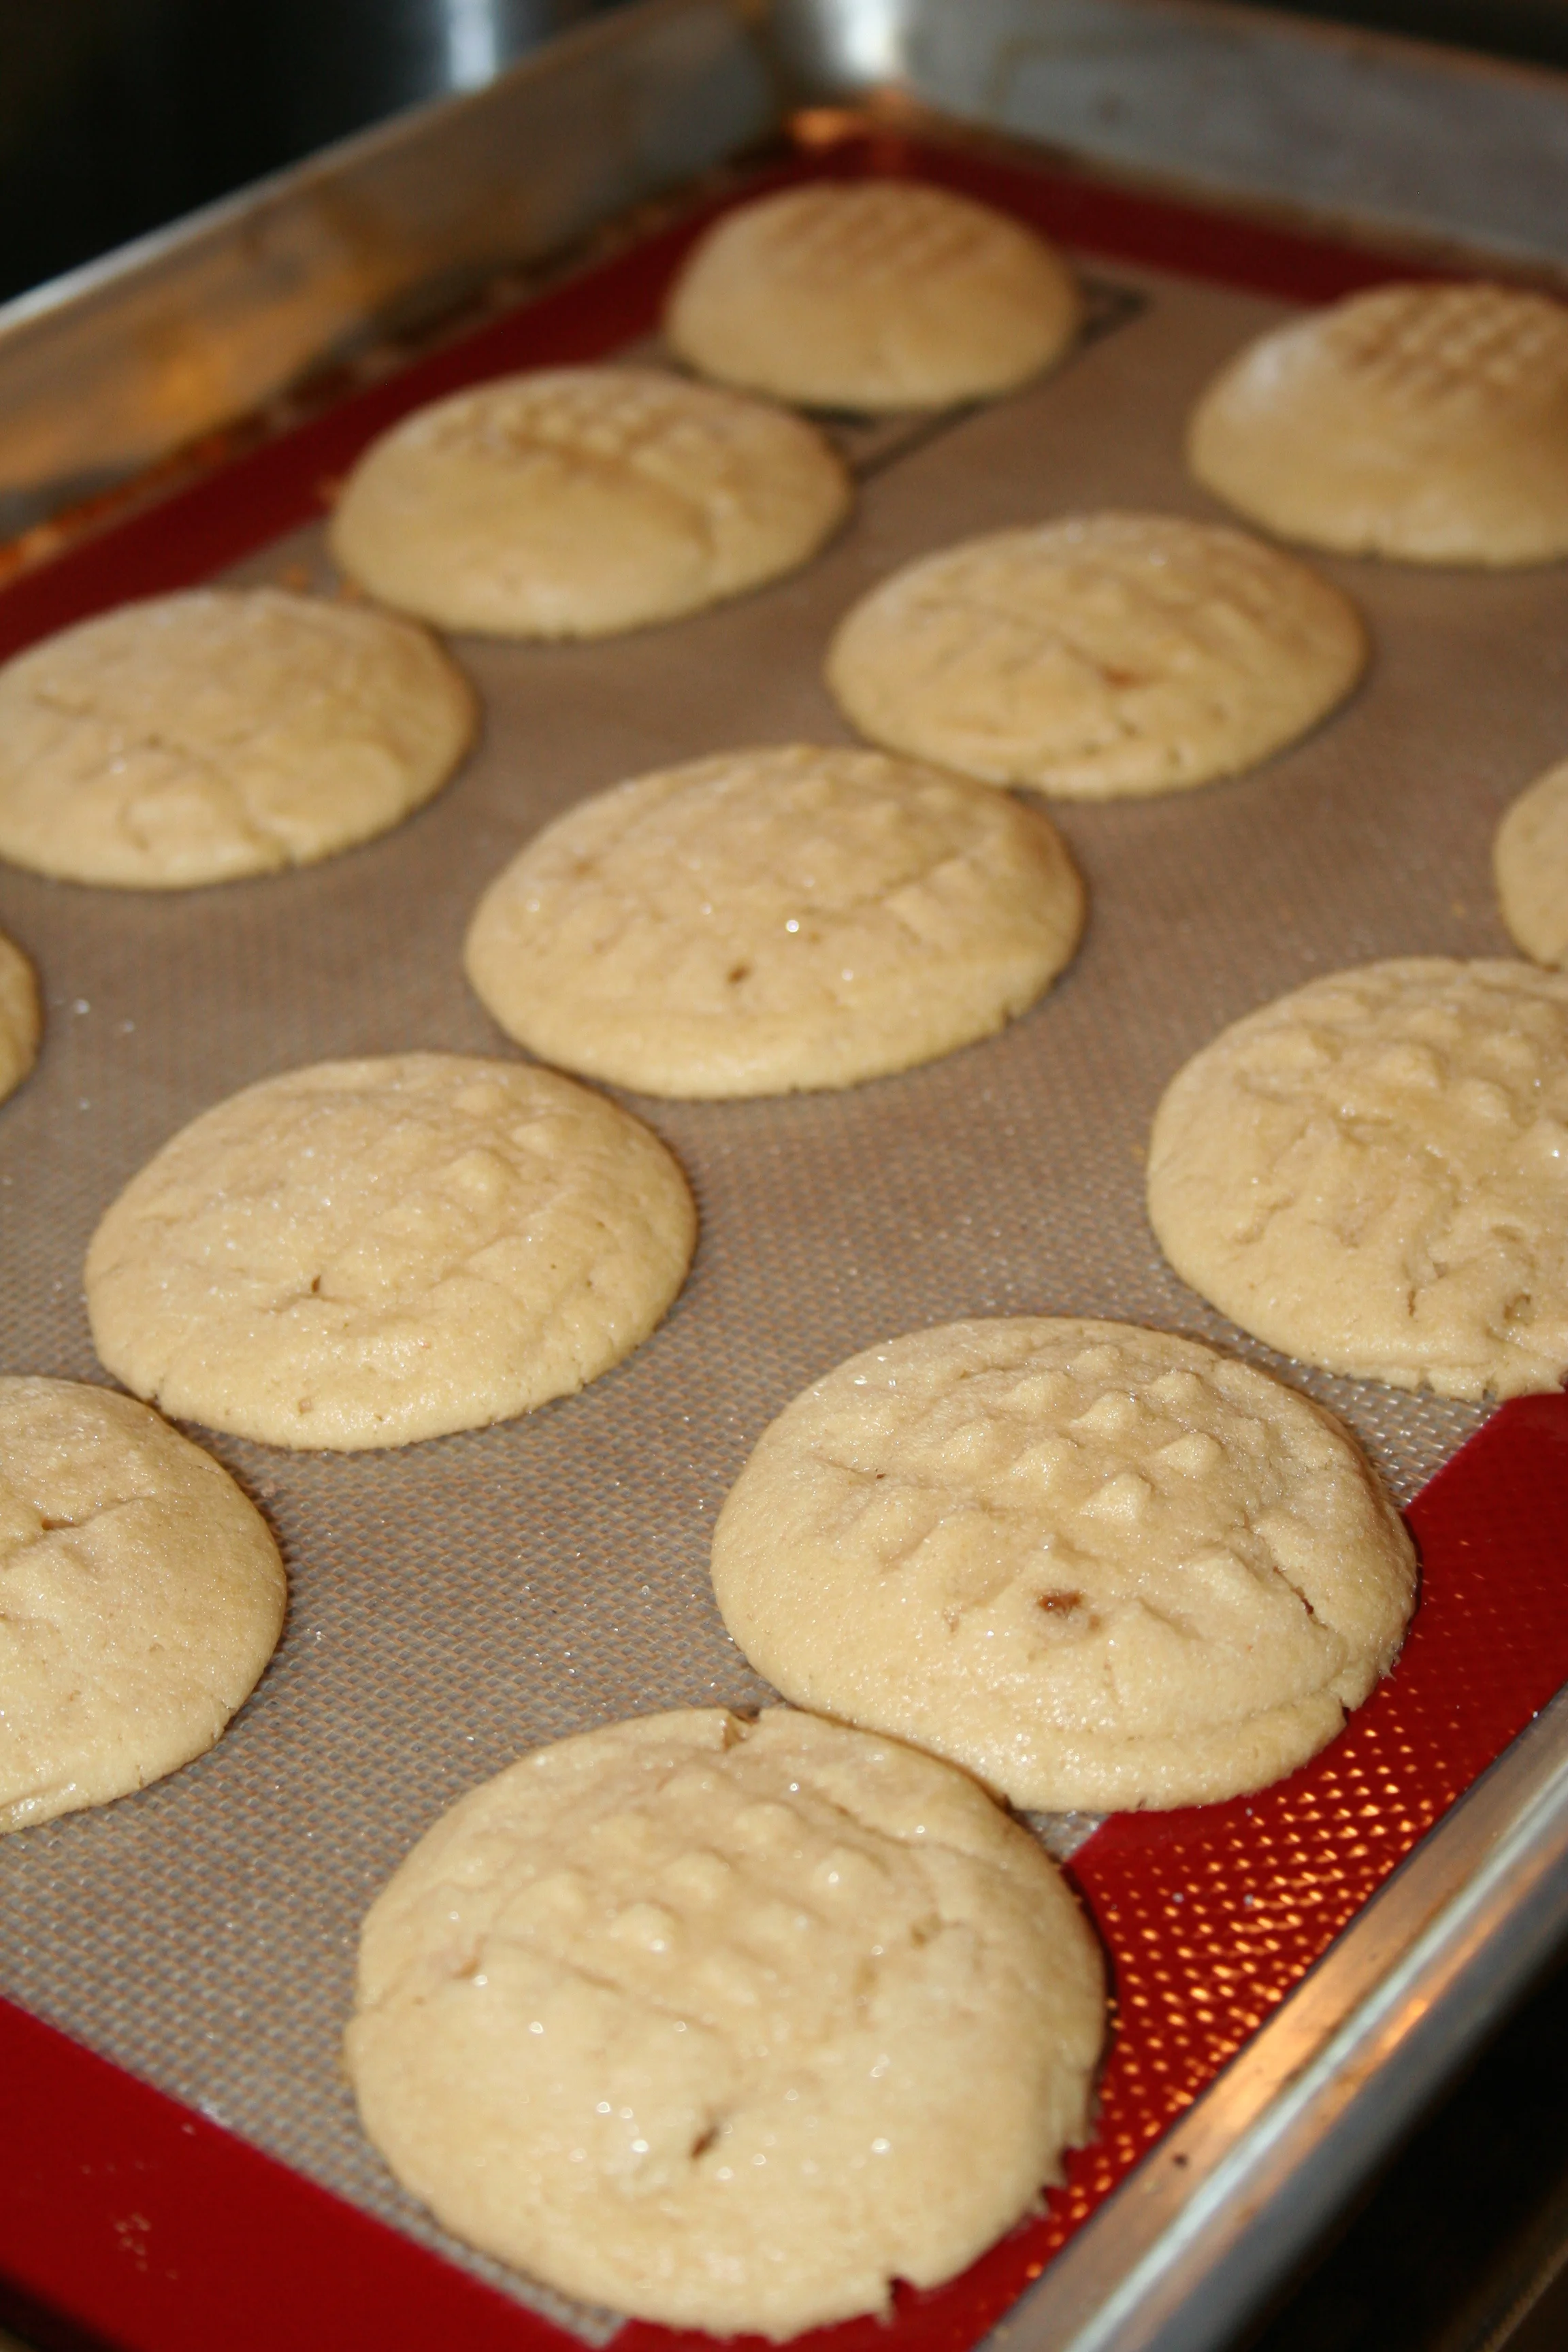
Small batch salted caramel sauce. Because sometimes, a little will do. (Eva Bakes)
Nutella rocky road bark. (The Sweetest Menu)
Salted turtle bars. Be still my beating heart! (Hey Modest Marce)
You guys...Twinkie Donuts. (Gringalicious)
Waffles: their long, delicious history. (Lancaster Online)
Book of the week: The King Arthur Whole Grain Baking Book. OMG. I freaking love the flavor that whole grain flours bring to biscuits, cakes, and baked goods. For me, it's not so much a health thing as it is a love of the nutty flavor they impart. Although sure, added health doesn't hurt. The recipes in this book are solid, as I have come to expect from KA Flour. What I love best though is how it so clearly explains the art of baking with whole grain flours--how moisture, etc, need to be adjusted for best results. This is a great book if you want to give a go to whole grain baking.