Haters Gonna Hate, and Pop-Tart Stuffed Biscuit Donuts

This week, I took a peek at my website statistics, and saw an oddly high number of click-overs from one particular web forum. Curious, I clicked over to see what was going on.

Turns out, it was a thread about totally disgusting food blogger creations, and I was prominently featured. One of my recipes even warranted a little animated vomiting emoticon (oddly adorable), and a proclamation that "Sandra Lee must be her idol". 
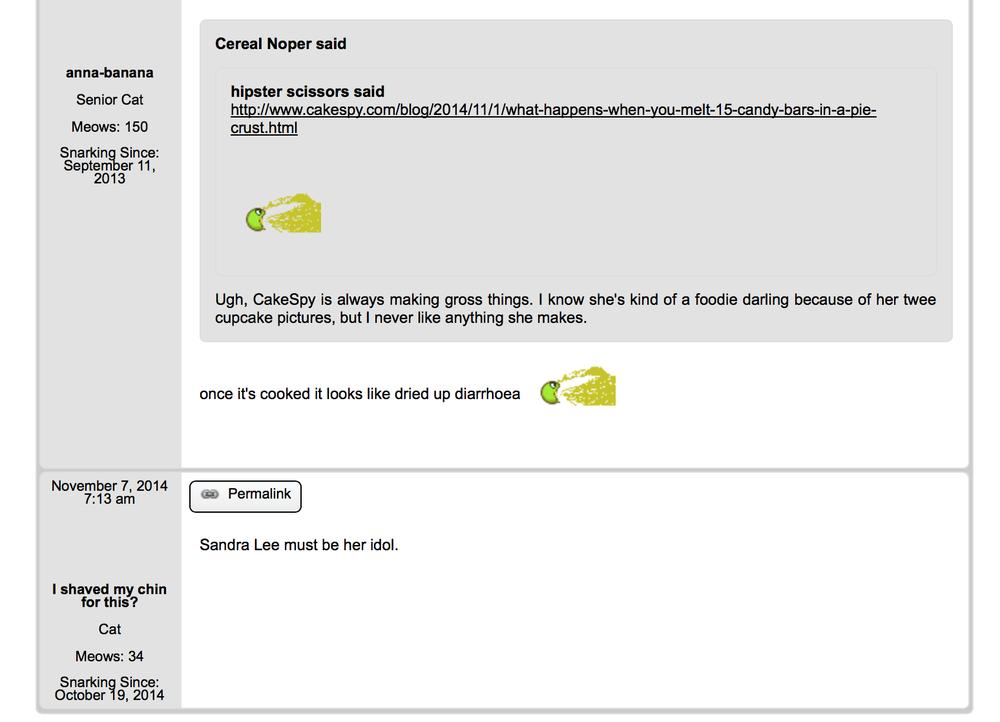
You could call these commenters nasty or rude, and I certainly wouldn't correct you.

The funny thing is, though, these so-called "haters" have actually done me quite a service with their attentions--they significantly upped my web traffic, which ultimately translates to more income for me in various ways. Most obviously, more views means more ad revenue--to a reasonable degree, ads don't care if you're horrified by the content, they just care about if their ad is viewed. But this attention can also lead to increased income in other, indirect ways. For instance: maybe someone will click over to see exactly what is so hate-worthy and then think "the recipes are awful but gosh, this artwork is cute" and click over to my webstore and buy a print.
It reminds me of when I was in art school, and there was a very controversial show at the Brooklyn Museum. It got a lot of negative attention, but this didn't mean the show was a failure. It was crowded ALL THE TIME. My takeaway was this: it doesn't necessarily matter if the reaction is good or bad to your art. The idea is that you want to GET a reaction. So, you know, the fact that people are reacting in horror to my candy bar pie or my deep-fried cupcakes on a stick doesn't bother me--I consider it a badge of pride that I am being noticed.
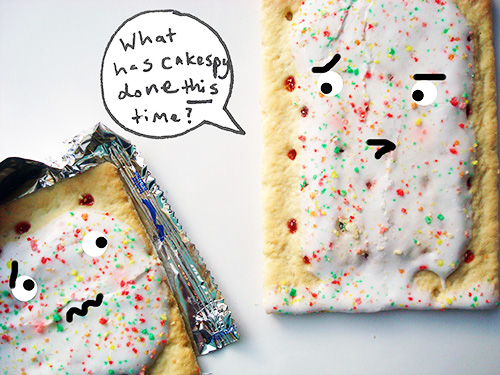
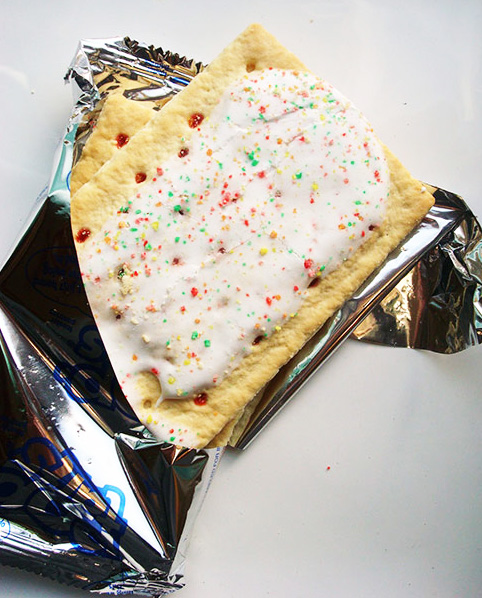
Don't get me wrong: I'm not totally zen about it. If I ran into one of these commenters in person, I would hasten to do something small and snide, like not hold a door open for them or hustle so I could get into the grocery line before them with a cart full of pop-tarts and pop-n-bake biscuits.

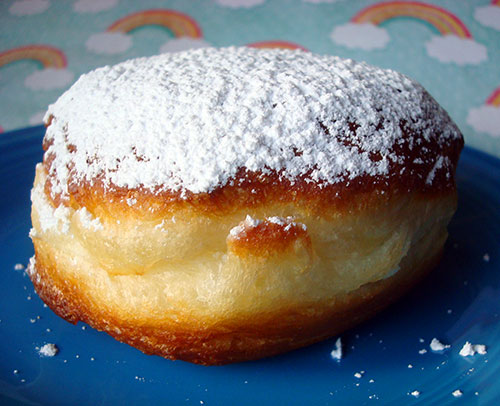
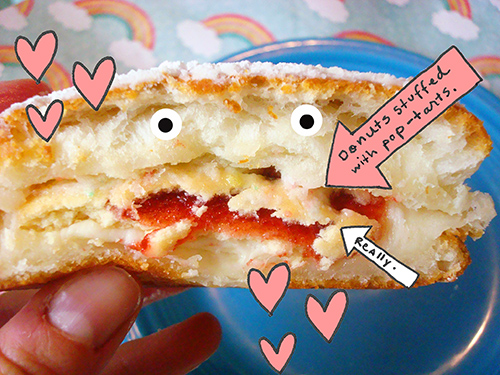
With all of the above in mind, particularly the part about pop-tarts and pop-n-bake biscuits, I'd like to present a recipe for the haters: Pop-Tart Stuffed Biscuit Donuts. 

The recipe was inspired by an actual, classy recipe, which was made by a pastry chef reader, Stephany Hicks from South Carolina. She called them "Pie-Nuts" and made them with a real yeast raised doughnut dough and homemade pies inside. Because she's classy and talented.
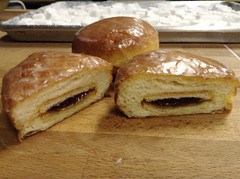
Pie-nutsOf course, I went right in and made them somewhat trashy (I can't help it! I'm from New Jersey!) by substituting pie with pop-tarts, and doughnuts with pop-n-bake biscuit dough. Luckily, Stephany wasn't offended. She found it amusing, bless her sweet little soul.

How did they taste? 

Calorie-laden, slighty synthetic, and very sweet. The type of food that you know isn't necessarily good, but that somehow you can't...stop...eating. That is to say, awful and awesome, all at the same time. But...you already knew that, didn't you?

A dedication

This recipe is dedicated to everyone who has taken enough time to take issue with what I do--I paid for the ingredients with the money I earned from your web traffic. I think that deserves a new emoticon:

Note: I've called these "donuts" rather than "doughnuts"...because when paired with Pop-Tarts, it just felt more appropriate.

Pop-Tart Stuffed Biscuit Donuts 

Makes 4

Adapted from How to Make Doughnuts Using Biscuits from a Tube 

  • 1 tube of pop-n-bake biscuits (with 8 biscuits)
  • 1 Pop-Tart, cut into 4 equal pieces (I used a strawberry frosted--classic)
  • vegetable oil, for frying
  • a skillet for frying
  • confectioners' sugar, for dusting

Procedure

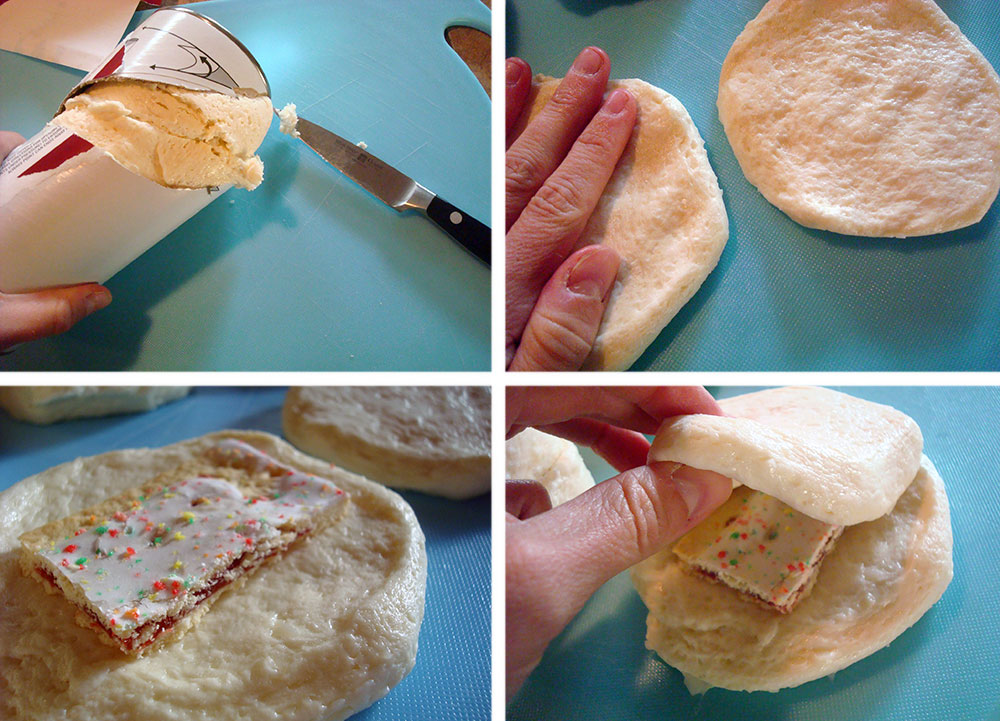
  1. Open up your tube of biscuits. Take out the biscuits, and flatten each one with your hand.
  2. Place a piece of pop-tart in the center of one of the flattened biscuits, and place a second on top. Seal the edges to keep the pop-tart contained.
  3. Repeat with the remaining biscuits and pop-tart pieces.
  4. Pour the oil in your skillet until it is about 1/2 inch thick. Heat the oil on medium heat until it has reached 375 degrees. Don't have a thermometer? You can also break a small piece of dough off and toss it into the pan. If it starts bubbling assertively right away, you're probably ready to rock and roll.
  5. Gently transfer one donut at a time into the pan. When they start to rise in the oil and turn brown, flip 'em. These are bigger than your typical donut, so they might require a little more frying time. 
  6. Once fully fried, transfer to the paper towels to blot excess oil.
  7. Gently cut one of the donuts open to check that it is cooked through. If they seem doughy inside, pop them in a 350 degree oven for 5-10 minutes until completely set inside.
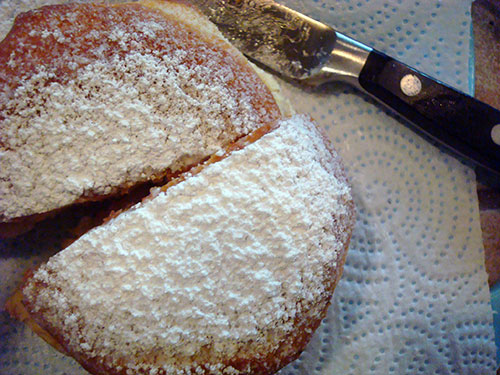
  8. Once finished, dust with confectioners' sugar and serve warm.
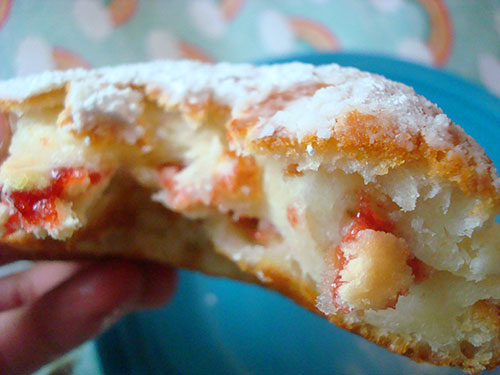
What kind of Pop-Tart would you put in these donuts?

Red Velvet Cereal and More

I need to tell you something. It's this:

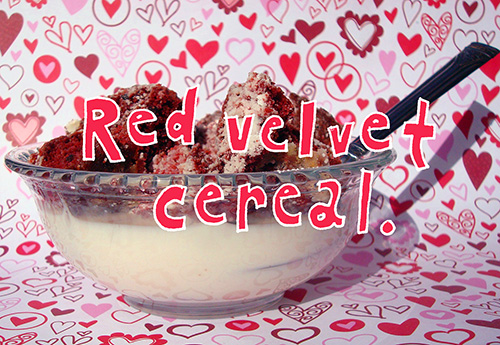
Red Velvet Cereal.

Here's the deal. When you are testing recipes, sometimes you end up with extra layers of cake. Even good, high-demand cakes, like red velvet.

I realize that having extra, leftover red velvet cake layers sounds like a luxury--nay, an impossibility. How could a red velvet cake layer be around the house and not be slathered in cream cheese and eaten?

But, well, it did happen. Maybe never again, but it did happen just this once. And I have come up with the most brilliant solution for using this cake.

Why red velvet cereal?

It started with the idea that I would do a sort of twice-baked thing with the cake cubes: red velvet croutons! Why not--you could eat them like cookies, right? 

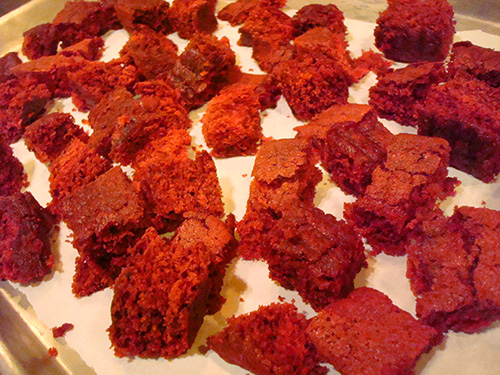
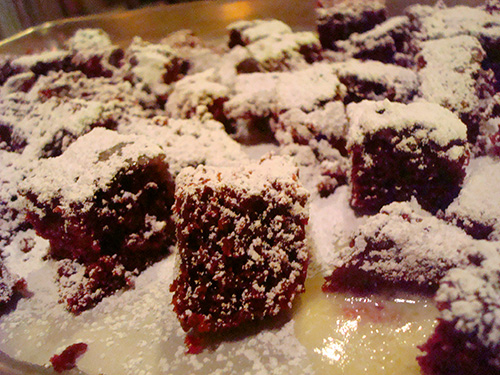
So I put a bunch of red velvet cake cubes on a baking sheet, drizzled it with butter and confectioners' sugar, and put it in the oven until it was all nice and crispy.

Then I set to using the "croutons" in various ways, all of them pleasant...

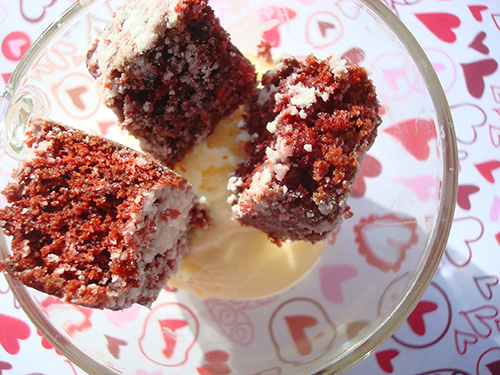
An ice cream topping: 

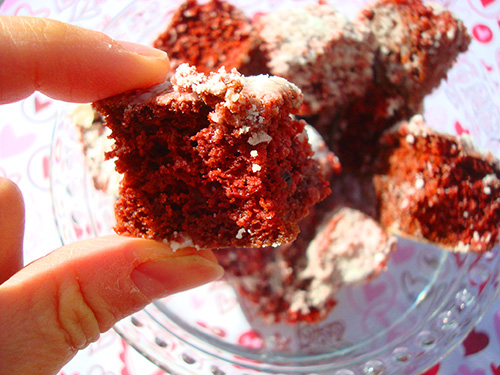
as simple sweet snacks (like cake chips):

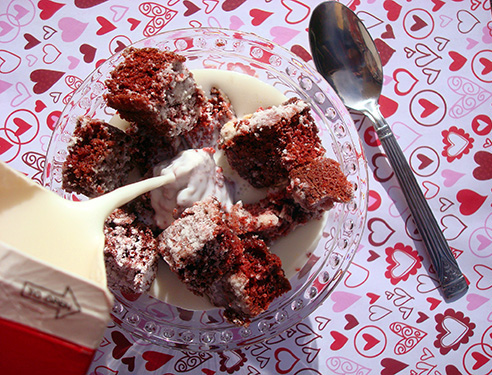
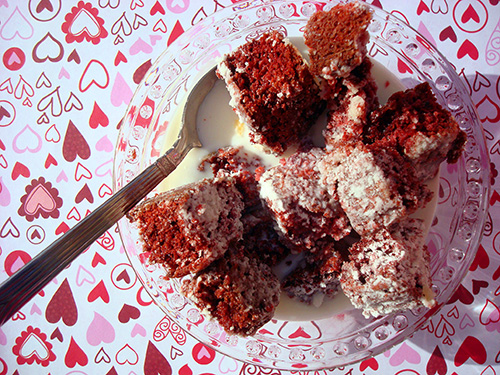
but then, I realized that hey, I could probably put milk on these and eat them as cereal.

And after that moment, all other uses for these red velvet cubes of joy disappeared. Because clearly, red velvet cereal was the winner.

Advantages of red velvet cereal

Not quite a believer yet? Well, let me try to sway your affections by telling you some of the distinct advantages of red velvet cereal. 

  • It is toasty, but the cubes soften quickly in the milk to a lightly crisp, pleasing consistency.
  • Since I've used high quality ingredients and employed homemade red velvet cake, that this might even be healthier than, say, Cookie Crisp or Froot Loops. It certainly has less hard-to-pronounce ingredients.
  • It tints the milk a light and beautiful pink. 
  • It has the advantages of cake for breakfast, but carries less possibility of harsh judgment because it is cereal
  • RED VELVET CEREAL!

If you'd like to make this magic happen at home, here's how you do it.

Red Velvet Cereal

Makes many cubes of cereal

  • 1 8 or 9-inch red velvet cake layer, unfrosted
  • 2 tablespoons melted butter
  • confectioners' sugar

Procedure

  1. Preheat the oven to 325 degrees F. Line a baking sheet with parchment paper.
  2. Cut the cake into cubes, about 1 inch. Place them on the baking sheet.
  3. Drizzle with butter, and dust with confectioners' sugar. Place in the preheated oven.
  4. Heat for 20 minutes, then remove from the oven and flip the croutons. Put back in the oven for 20 more minutes, or until nice and crispy.
  5. Remove from oven and let cool completely. 

 Would you eat red velvet cereal?

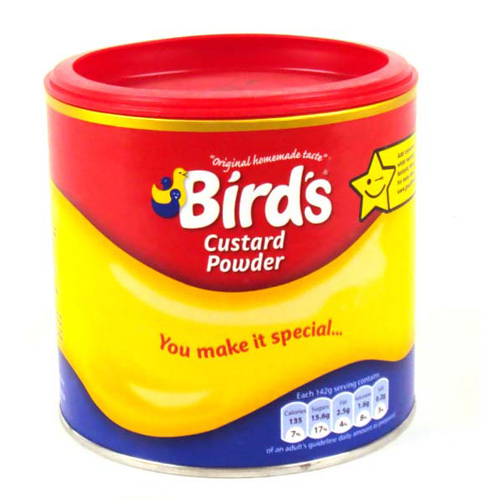
What is Bird's Custard Powder?

Given my enthusiasm for Nanaimo bars, here's a question I am often asked: What is Bird's custard powder?

I understand the question, because it is one I had, too, in the beginning of my Nanaimo-bar-making journey.

The general consensus in Canada and beyond is that this stuff is a vital ingredient in the bars...but why? 

Bird's Custard Powder

Traditionally, the middle section of Nanaimo bars is made with Bird’s Custard Powder. This is a popular custard powder invented in the UK that immigrated to British Columbia in the early 1900s when there was a large wave of new immigration from Europe. This would have been well timed with the advent of iceboxes as a common household item in Canada, which would explain for the bar’s UK influence.

Instant vanilla pudding powder will do in a pinch, but do try to find Bird’s Custard Powder for a truly authentic taste. It’s not extremely difficult to find: look for it in the international aisle of your local grocery store, or online.

These may be of interest with that knowledge in mind:

Have you ever tried a Nanaimo bar?

Meat of the Moment: Meatball Bubble Gum and More

Bacon? Yawn. There's a new meat of the moment: meatballs. And its cult status is reflected in a slew of new products which employ meatball as muse, from phone cases to t-shirts to, yes, bubble gum.

I found out about this fantastic new product via In Touch Weekly, where it was listed as one of the "losers of the week". Well, In Touch, as much as I adore your hard-hitting coverage, on this note, I will have to respectfully disagree. Bubble gum that looks like nubbly little meatballs? That's hiliarous and charming!

This "Hearty Italian-Style Meatball Gum" is a perfect treat for me to bring back to my Italian-leaning family in New Jersey for the holidays. 

It appears out of stock on Amazon at the moment, but I have already signed up for updates about when it's available again.

Of course, if meatball gum isn't your style, you could go for some other products by the same manufacturer, including Thanksgiving-themed gum:

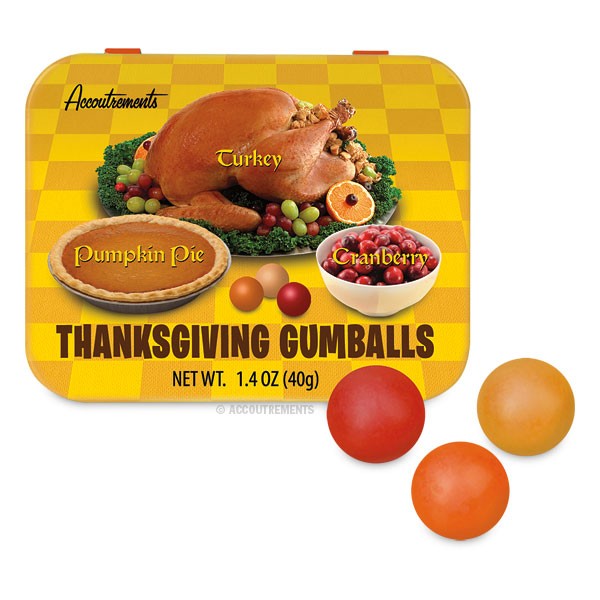
Thanksgiving themed gumballs

this includes "twenty-two delicious gumballs in the classic flavors of Thanksgiving - turkey, cranberry and pumpkin pie! Enthusiastically approved by pilgrims. Twelve shrink wrapped tins in each illustrated display box."

If you're looking for something you can enjoy year-round, try the TV dinner gumballs.

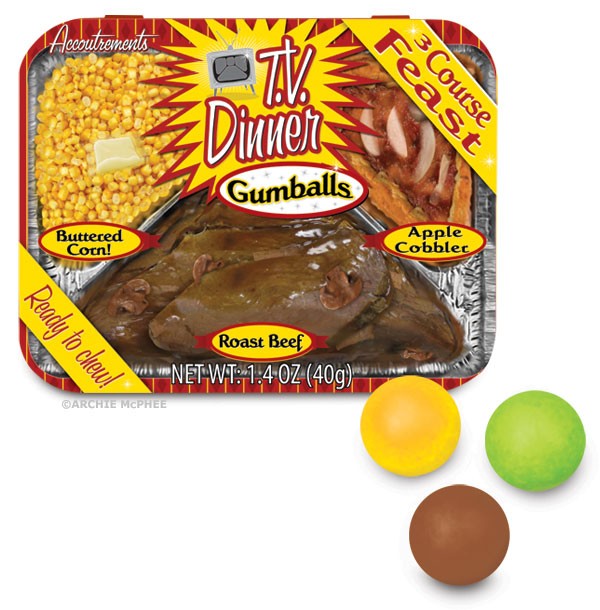
TV Dinner Gumballs

The product description: "Remember when there were only three networks and you had to get up out of your chair to change the channel? This is the gum for you! Your vegetable is buttered corn flavored gum, your main dish is roast beef flavored gum and for dessert, apple cobbler flavored gum."

Find all of these sweet treats at accoutrements.com.

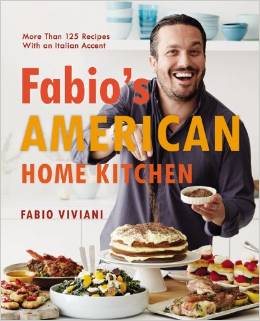
Breakfast by Fabio: Buttermilk and Black Pepper Biscuits

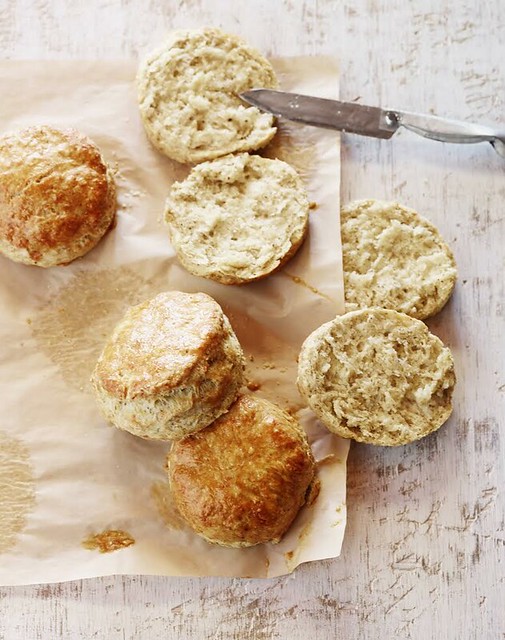
Biscuits from Fabio book

There are carbohydrates that are biscuits, and then there are carbohydrates that are not biscuits.

These are biscuits. They are from the new book Fabio's American Home Kitchen: More Than 125 Recipes With an Italian Accent. Look at this guy, I trust his biscuits!

Sounds like the perfect holiday weekend breakfast to me!

Buttermilk and Black Pepper Biscuits

America loves biscuits. I love them with gravy, I love them without. I love biscuits with savory ingredients like roasted ham and sun-dried tomatoes on them. But when you add a lot of black pepper to the biscuits, that’s really taking it to the next level. This is a very simple recipe, perfect for the morning.

MAKES 1 DOZEN BISCUITS

  • 2¼ cups flour, plus more for dusting
  • 2¼ teaspoons baking powder
  • 2 teaspoons sugar
  • 1 teaspoon kosher salt
  • ½ teaspoon baking soda
  • ¼ cup grated Parmesan cheese
  • 3 teaspoons freshly ground black pepper
  • 6 tablespoons (¾ stick) cold butter, cut into small pieces
  • 1 cup buttermilk

Procedure

  1. Preheat the oven to 450°F. Butter a baking sheet.
  2. Sift together the flour, baking powder, sugar, salt, baking soda and Parmesan and pepper into a bowl.
  3. Work in the butter with your fingers, or pulse in a food processor, until the mixture resembles coarse meal. Mix in buttermilk until just combined.
  4. Turn out the dough onto a lightly floured surface and pat into a 7-inch disk about 1 inch thick. Cut out 12 rounds with a floured 2-inch biscuit cutter, collecting and reshaping the scraps as necessary.
  5. Arrange the biscuits on the buttered baking sheet. Bake until cooked through and golden brown, 10 to 15 minutes, rotating sheet halfway through.

Photo and recipe from Fabio's American Home Kitchen: More Than 125 Recipes With an Italian Accent by Fabio Viviani; published by Hachette Books, a division of the Hachette Book Group. Copyright ©2014 FV Legacy, LLC. All Rights Reserved.  Used with Permission. 

Baker's Dozen: A Batch of Sweet Links!

Painting

I'm teaching a cookie class for kids in Santa Fe! (SF Culinary Academy)

This olive oil cake is seriously the bomb. (CakeSpy for Craftsy)

As my friend Jameson says, "tired of having to choose between brownies and cinnamon buns?" Pecan brownie buns with espresso glaze are the solution. (Sugar Hit)

Into getting funding? Chobani has a cool new incubator to fund your foodie ideas. (Chobani)

Unicorn alert!! Apparently, I have to move to Texas now. (Grapevine Courier)

Pumpkin mousse cruller black-bottom tart. (Joanne Eats Well With Others)

Ever heard of rooghan jooshi bread? (Coco in the Kitchen)

Supreme sweet potato cupcakes. (Confessions of a Cookbook Queen)

Two words: chocolate ricotta. (Heather's French Press)

Peanut butter and sprinkle sandwiches. The best. (John and Elana)

Knead to know basis: tips for making whole grain bread. (CakeSpy for Craftsy)

How fast food targets you: it doesn't know what you desire, it creates what you desire. (Salon.com)

Baked funfetti doughnuts: I'm feelin' it. (Savor the Baking)

Ever heard of mawa cakes? (Spice in the City)

My new favorite thing: Food Psych Podcast. (Food Psych)

Book of the week: 

kate spade new york: places to go, people to see

From the new Kate Spade bookTechnically, this isn't a food book, but it is a gorgeous and aspirational coffee table book that really evokes the lifestyle of places I wish I could go, people I wish I could look like, and it includes plenty of lovely artful pictures of food and faraway places. I highly suggest it! 

Giveaway: 20 Mini CakeSpy Paintings!

** UPDATE: THIS GIVEAWAY IS CLOSED! THE PAINTINGS HAVE ALL BEEN SPOKEN FOR. Thank you for your interest and rapid replies, sweet friends! **


I have a really nifty giveaway for you guys today. But act fast--it's first come, first served!

Here's the deal.

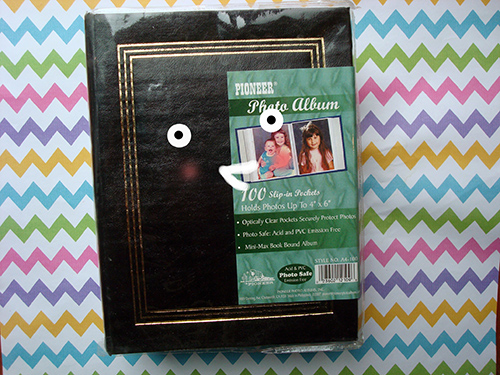
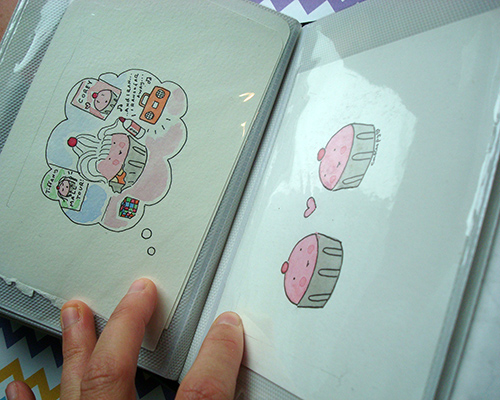
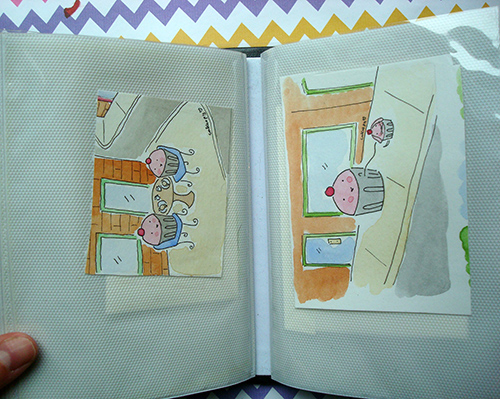
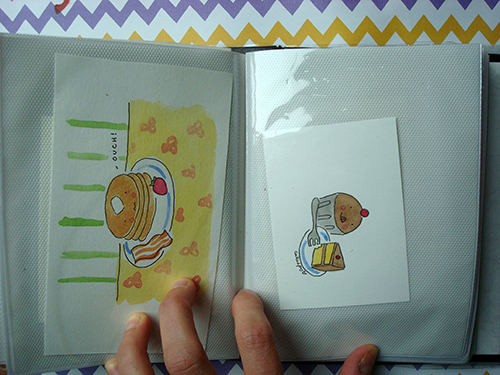
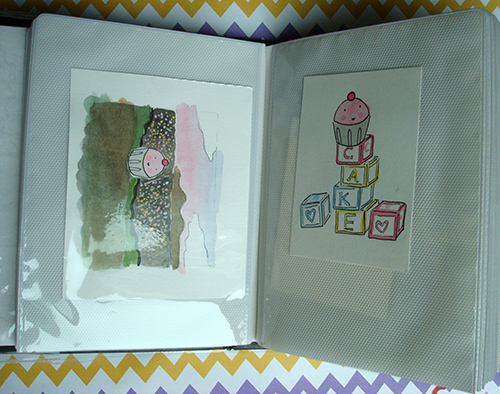
  • I just found this little photo book full of older mini paintings (a little larger than business card sized). 
  • AND, I also just bought a book of 20 postage stamps. 

I'd like to unite these two facts by sending a mini painting to the first 20 people who email me their domestic US address! My email: jessieoleson@gmail.com.

For your own privacy, please do not leave your address in the comments section (although it's fine to leave other comments). I will not use your address for anything other than mailing this mini painting.

That's it! A sweet little giveaway to give these baby-paintings a good home. Because this is a giveaway, unfortunately I am NOT able to field requests about which one you receive. But here are a few that you might come across:


Enjoy! 

CakeSpy's Recent Craftsy Posts

I've done a bunch of truly awesome posts for Craftsy lately. Take a moment and check some of them out! You might just learn something.

Take a tour of the color wheel with this post on color theory. It includes the basics, which will inform your color choices for creating art. It's fun to see how there is a science behind it all!

I realize that chicken is not sweet, but this recipe for pan-fried chicken legs is the stuff of sunday supper dreams. 

Totally brilliant: a recipe for homemade nougat.

Sandwich bread. This is the best recipe, hands down. Do it! 

If you want to make that bread with whole grains, here are some tips for working with whole grains in bread-making.

Creative ways to ice a cake with a palette knife. Artful and sweet!

Curious about how to make a homemade artisan pizza? I've got you covered. I love this recipe and hope you will, too!

Make your maple syrup swoon with these pancakes stuffed with bacon!

Lemon Heaven: Crêpes au Citron Recipe

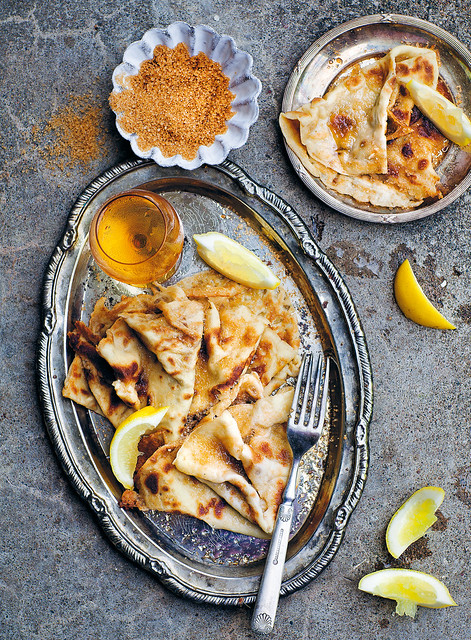
Crepes with lemon sugar

Crêpes au citron: roughly translated, it means "lemon heaven". Technically, they are crepes made with lemon, but I have made my decision. 

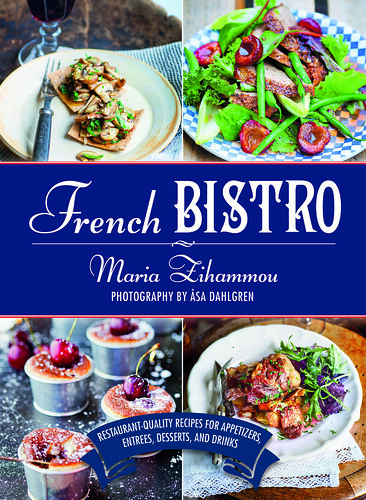
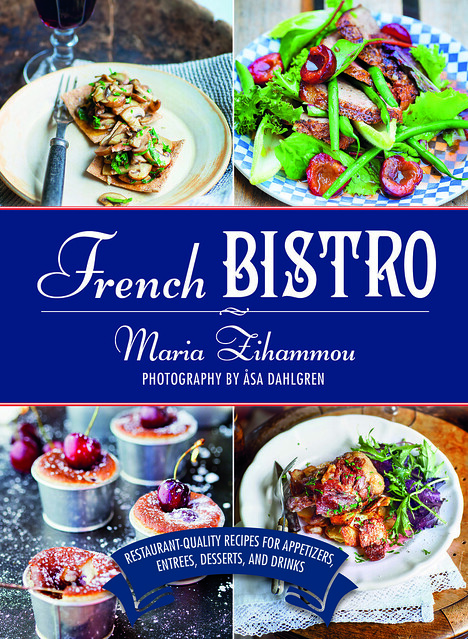
This lovely recipe is excerpted from French Bistro: Restaurant-Quality Recipes for Appetizers, Entrées, Desserts, and Drinks.

French Bistro Maria Zihammou

*crêpes au citron*

Crêpes with lemon sugar

What would a French cookbook be without crêpes? Those soft, buttery, and thin pancakes you can buy just about anywhere in France. So simple and delicious with just freshly squeezed lemon and raw sugar on top . . . or filled with my amazingly good noisette crème.

serves 4 people

  • 3 eggs
  • 1¼ cups (300 ml) wheat flour
  • 3½ tbsp (50 g) butter, melted
  • 1 pinch salt
  • 1 cup (250 ml) milk, 2%
  • 1 cup (250 ml) cold water
  • butter, for pan-frying
  • 2 lemons, cut into wedges
  • ½ cup (100 ml) raw sugar

Procedure

  • Whisk the eggs until fluffy. Add the flour gradually and continue whisking until all clumps have disappeared. Add the butter and salt; whisk together. Finally, pour in the milk and water, and whisk the mixture into a runny pancake batter. Place in the fridge to cool for at least an hour.

  • Pour a thin layer of batter into a frying-pan with butter, and cook until it takes on a light golden color. Serve with sugar and lemon.

Enjoy!

CakeSpy Does the Bake-Off, Volume 3

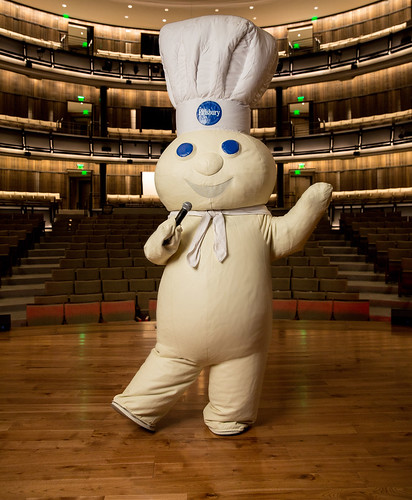
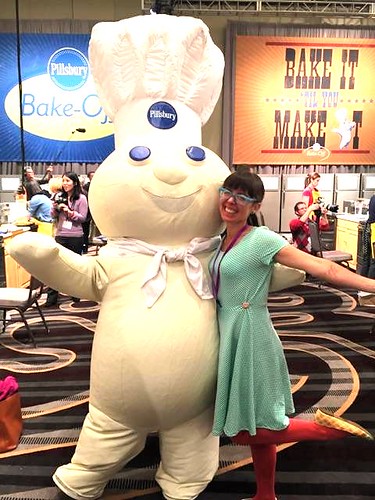
I feel pretty cool being able to say this: I have attended the Pillsbury Bake-Off not one, not two, but a whopping three times. This means I have also accosted--I mean HUGGED!--the Pillsbury Doughboy not once, not twice, but thrice. This time, it happened in Nashville, Tennessee.

I rule!

OK, now that I've gotten the self congratulatory part of the post done, let me give you some important links:

  • If you're keen on reading about the other Bake-Offs I've attended, here's Las Vegas and here's Orlando.
  • If you want to see all of the sweet recipes from this year's Bake-Off, click the bakeoff tag
  • If you want to see the four finalists for the million dollar prize, click here.

OK. NOW, I am ready to tell you about the 47th Bake-Off, in Nashville.

Bake-Off, Nashville

Have you ever been to Nashville? I hadn't, but have been hearing over and over how it's the "it" city. Taylor Swift has a mega apartment there (I read it in Life & Style Magazine), lots of cool new restaurants are opening, and everyone has a country music dream. It's really an interesting place to see. 

I arrived a bit early so I could add to my list of places I've done yoga (in case you didn't know, I want to take a yoga class in all 50 states). Here's my current map:

Woot! 

After that, I met up with my friends Megan and Robby. Megan you may know as the kind-of-big-deal baker behind Bake it in a Cake, the blog and the book, Bake it in a Cupcake. We had a wonderful time with a dinner at the restaurant The Wild Cow.

Then, we proceeded to Hot and Cold, a cute cafe that served interesting seasonal drinks. I got a hot chocolate, because I wanted to put something special in it: one of the marshmallows Megan gifted me, from Bang Candy Company.

Bang Candy Co., Nashville

They drove me by a mini parthenon. When's the last time you drove by a mini parthenon?

Bake-off

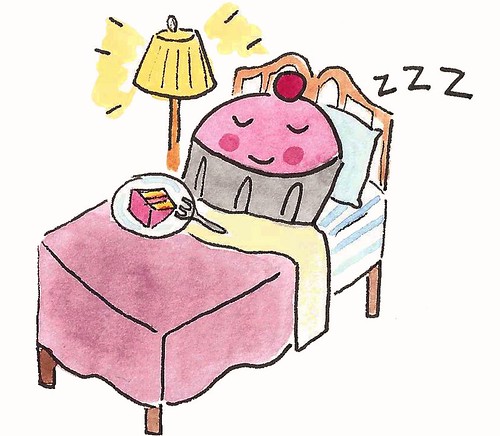
And then it was time for bed.

Cake in bed

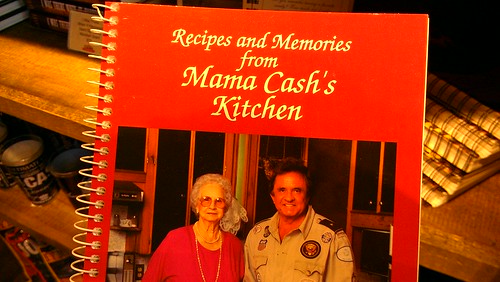
The next day, before the Bake-Off events kicked off, I had an ice long walk with my friend Nicole of Baking Bites. We checked out, among other things, the Johnny Cash Museum, where I found this treasure...

Johnny cash cookbook

and the Ryman Auditorium, a landmark with rainbow windows: Ryman theater, Nashville

...and then I saw this, which I immediately photographed just 'cause: Dolly

and the Goo Goo Cluster store, where I wanted to buy one of everything but settled for some candy.

Goo Goo store

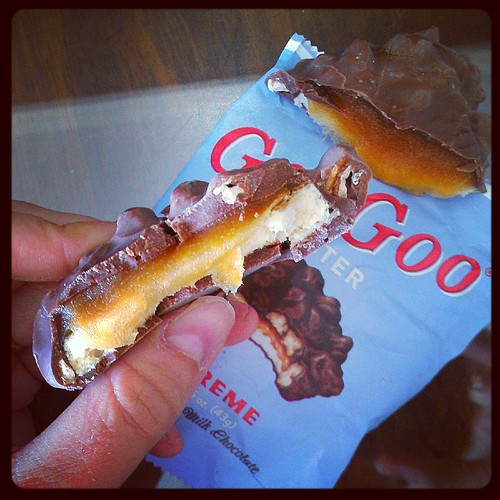
Goo Goo Cluster! Ever had one? Goo goo supreme

After that, we had a lovely coffee at Bongo Coffee, which is famous because several years ago it is the place that discovered the Mother Theresa Cinnamon roll (AKA "Nun Bun"). Apparently it was stolen--which begs the question: who does that?

The Bake-Off media events began with a presentation from GE, wherin they showed us their new Advantium line. They gave away an oven but I didn't win--Jocelyn of Grandbaby Cakes did. That's ok, she's adorable and she deserves it. 

That leads me to what else I wanted to tell you: there were all sorts of celebrities there!

Famous bloggers at the Bake-Off

I felt like a mini celebrity just being near them. They included but were not limited to:

It seems like a good time, btw, to remind you of this video Bakerella made of my cuppie character. 

Now you just try and tell me that isn't a star studded lineup. 

After our GE event, we had a fantastic dinner at The Southern. They served something called chocolate whiskey cake there which featured chocolate cake with whiskey, buttercream, and coulis. Oh-my was it good. 

Whew! I'm ready for bed, how about you?

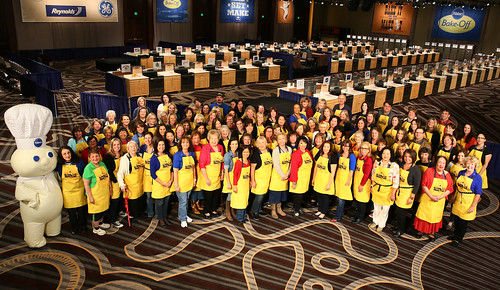
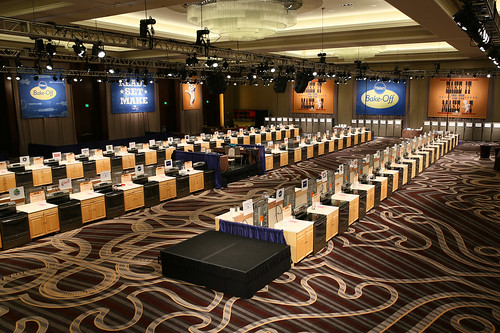
The next day, things started bright and early with the Bake-Off. This is what the show floor looked like before the bakers walked on: 100 individual setups to bake their recipes, all at the same time. 

Bake-off

As usual, the media people stood in a little corral and were allowed to circulate after the bakers had a few minutes to acclimate and get started.

Bake-Off, Nashville

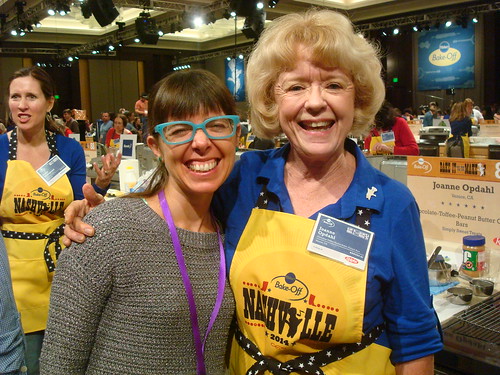
I was delighted to see a few familiar faces from previous Bake-Offs:

Bake-off

Bake-Off entrants can be in the competition three times; I was happy to see some familiar faces. I love talking to the people (mostly ladies) on the floor.

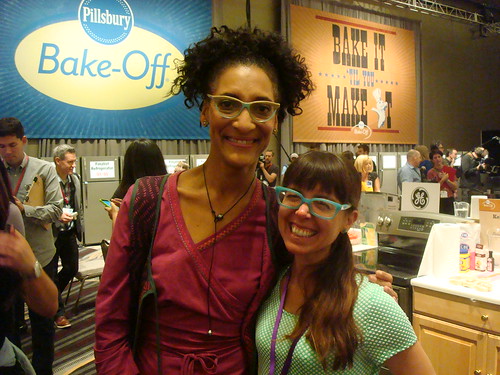
I circulated the floor, met someone famous named Carla Hall, who had glasses just as cool as me:

Bake-off

and of course, got to have a tender moment with my boyfriend (I'm not sure if he knows it though), the Doughboy.

Nashville bake-off

After a few hours circulating, the food was delivered to the judges and we had a few hours to kill. How did I kill them? By checking out the Goo Goo Cluster store again with Lindsay and Julie. I got a t-shirt this time. Yay!

I was also excited because I had found a recipe for Goo Goo Cluster pie in the hotel magazine, so I picked up more Goo Goos to try it out. Stay tuned on the blog for that baby!

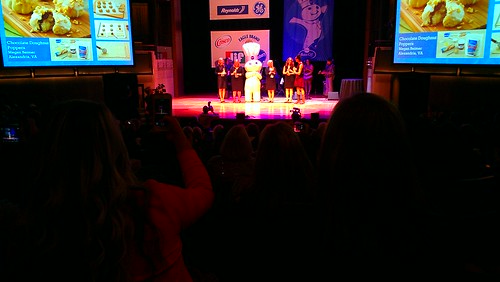
In the early evening, we met up again and attended an awards ceremony. Doughboy

Here's where the Bake-Off was different from previous years.

Instead of announcing the million dollar winner, they announced the four finalists. That means that America will do the picking of the winner, which will be announced later this month on The Chew. Who will you vote for?

Find the finalists here.

u

After that, the evening wasn't done, because Nicole had found out there was a concert outdoors. So at close to midnight, me, Nicole of Baking Bites, and Ariel of The Kitchn went to see a Beiber-looking dude who sang country songs and made 13 year old girls scream. Hunter Hayes was the name, know it?

Then, it was time for bed. Glorious bed!

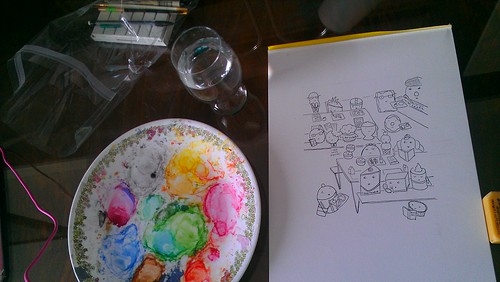
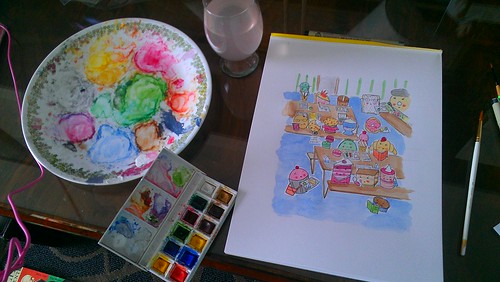
I awoke and had one final breakfast and press conference. After that, can you believe I did a painting in my hotel room? It's true.

Nashville painting

and finished it, too!

Nashville painting

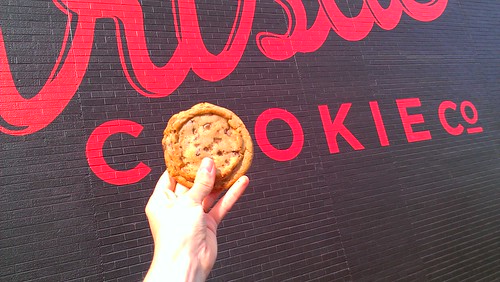
Luckily since I had a few hours to kill before my flight, I met up with Lindsay again, and along with Amanda we visited Christie's Cookies.

Christie Cookie Co, Nashville

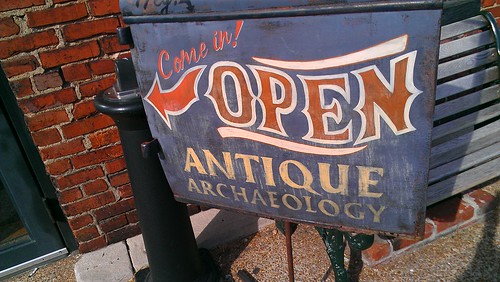
We also dropped by Antique Archeology, AKA the "American Pickers" store.

Pickers store

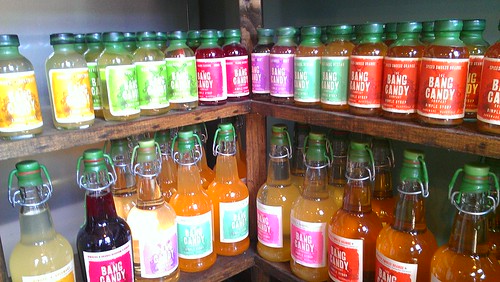
And Bang Candy, where those marshmallows had been from earlier in the post. 

Bang Candy

Then, it was time to go home. Here's what the sunset looked like from the plane, on my transfer in Atlanta. 

Sunset from plane - Atlanta

Whew! The Bake-Off was even more amazing than ever. I can't wait to see who wins!

Stay sweet! Love, CakeSpy

Can You Ship an Ice Cream Cone?

I've always wondered about this, and maybe you have, too: can you ship an ice cream cone in the mail?

The obvious answer is no. Ice cream melts quickly, is highly perishable, and would likely arrive as a puddle. When regular carton ice cream is shipped, it's packed all crazy in dry ice, a shipping method which isn't quite as accessible as popping a stamp and dropping an envelope in a box.

But still. I wanted to know...how would an ice cream cone arrive? 

So, in the name of science, I decided to do a little shipping experiment.

I shipped myself an ice cream cone in the mail.  

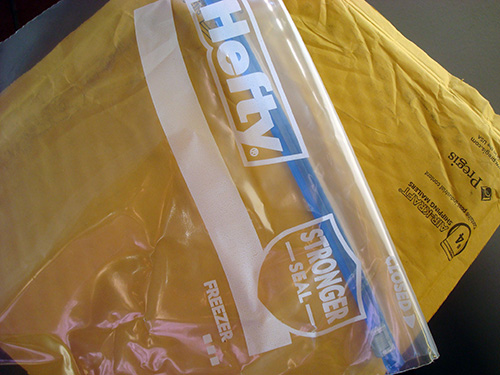
First, I assembled materials: I printed a shipping label (I shipped to myself), got a padded envelope and airtight bag, and got in the car.

Next, I went to the closest ice cream shop, which happened to be Baskin-Robbins, where I picked up a scoop of mint chocolate chip. With sprinkles, because, well, rainbows!

This cone never saw what was coming.

Then, I performed the following steps, which you can see in photo form: I packed the cone in the airtight bag, gently forcing excess air out, and sealed it. I folded it over and put the cone in the envelope, which I then sealed. I approached the mailbox with trepidation. Would this work? The package felt cold in my hand. 

The very next day (which is impressive because as odd as it sounds, in Santa Fe the mail goes to Albuquerque to be sorted then comes back) I had a special arrival. It still felt cold, but I think this was just because it was a cold day. The envelope felt pretty much the same, if a bit thinner.

When I opened it up, here is what I found:

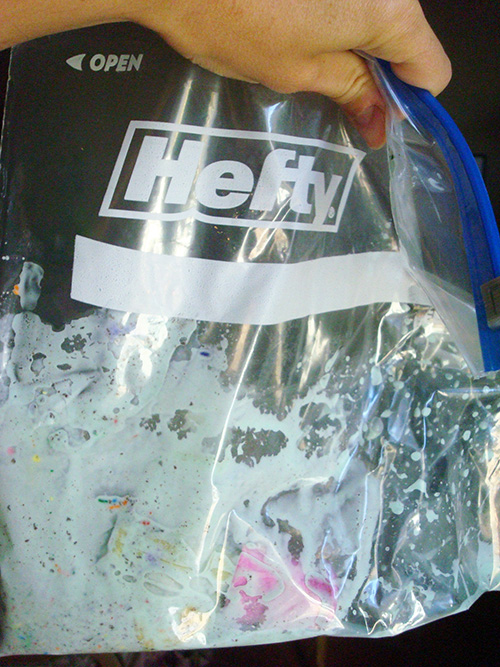
Ice cream cone massacre!

Although actually, that having been said, it wasn't as bad as I had feared. I had feared a lightly green dripping mess arriving in a soggy envelope. This was actually pretty tame, and the cone held its shape way better than I would have thought.

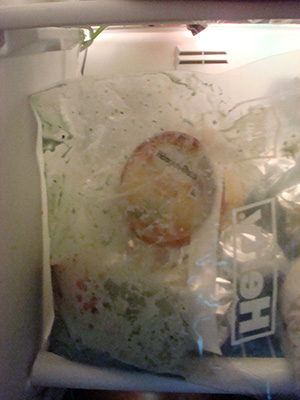
After considering it for a few moments, I put the entire bag in the freezer, aligned just so, so that the ice cream could pool in one portion of the bag and re-solidify.

At this particular moment, it's still in the freezer, and I'm pondering eating it. I know it got warm then cold again, but I am alarmingly not scared of bacteria, eating cookie dough willy-nilly and cake batter with a vengeance, and I haven't died yet. 

Would you eat this ice cream cone after it had been mailed?

Pillsbury Bake-Off Finalists: Which Gets Your Vote?

So, in case you missed the news, I attended the 47th Pillsbury Bake-Off last week. Woo!

I will have a full roundup of that adventure for you shortly, my dears, but in the meantime I had to share some important news about the event.

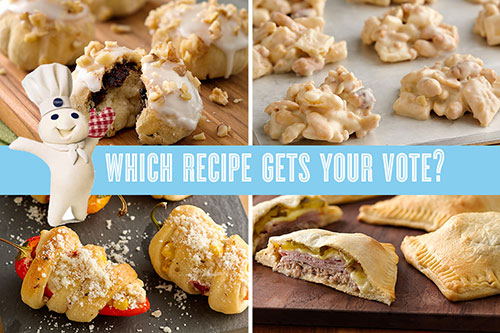
This year, things were a little different. Instead of announcing the million dollar winner, they announced four finalists, which had been narrowed down by a set of esteemed foodie judges. While the judges' input will count for 55% of the final tally, the final winner will be decided by online vote. 

That's right: you could have a say in who wins the million dollars! VOTE HERE.

Meantime, though, let me better educate you on the recipes in the final running.

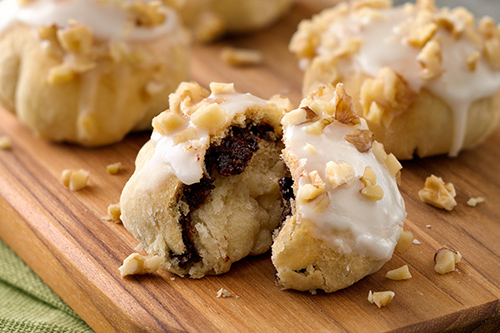
First, we have Chocolate Doughnut Poppers.

They're made with crescent dough, which is stuffed with chocolate hazelnut filling and finished with a sweet glaze and nuts on top.

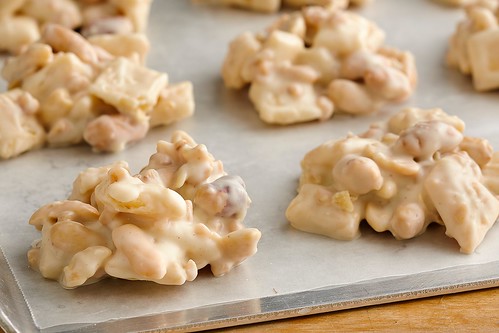
Next up: Peanutty Pie Crust Clusters.

These addictively sweet-and-salty treats are made with a melange of peanuts, pie crust, toffee, and white chocolate. 

Peanutty pie crust clusters

And then, venturing into savories, creamy corn-filled stuffed peppers.

Peppers are stuffed with creamy corn and then rolled in crescent dough--very cute. 

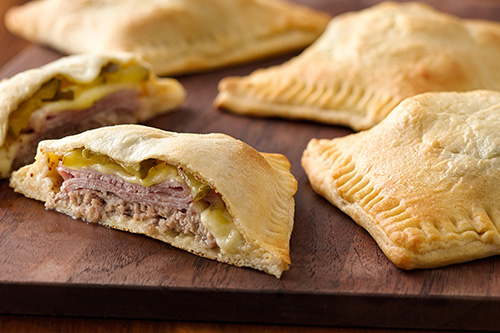
And then another savory: Cuban-style sandwich pockets.

Visually, sort of like cuban sandwich meets pop-tart. I say that as high praise. 

Vote for your favorite here!

Baker's Dozen: A Batch of Sweet Links!

Square scoops of ice cream? Believe it. (Cinners and Squares)

Listen to an interview with me on an eating disorder recovery podcast! (Recovery Warriors)

In case you missed it: the most beautiful blog post ever. (Culinary Concoctions by Peabody)

Butternut blondies with white chocolate chunks (Whole Foods; I found it via Vanilla Sugar)

Easy and elegant chocolate garnishes (CakeSpy for Craftsy)

Food encompasses human struggle and happiness. An interesting read. (Arizona Daily Star)

How to make sandwich bread. (CakeSpy for Craftsy)

Junk food brownies. These are brilliant. (Love and Olive Oil)

Pumpkin Spice Butterscotch Sprinkle cupcakes. Every word is so right! (Picky Palate)

Paint the rainbow: explore color theory, adorably. (CakeSpy for Craftsy)

Homemade honeycomb ice cream. If you don't know what that is, it's worth discovering. (Giramuk's Kitchen)

What is "urban sketching" and how do you do it? Find out here. (CakeSpy for Craftsy)

Looking for a cool contest? Check out Perugina's Chocolate Dessert Contest. (Perugina)

Back in stock: the best holiday card ever! (See what it is here)

I don't know if you already knew, but I'm on instagram. User name: cakespyblog (it's a long story why I don't have the "cakespy" one; deal with it!)

Book of the week: You Can't Judge a Cookie by Its Cutter: Make 100 Cookie Designs with Only a Handful of Cookie Cutters. What the title promises, the book certainly delivers: you'll learn how to make many types of clever cookies with a small selection of cookie cutters. Check out a more full review (which is what initially intrigued me!) on InStyle.

Simple, French, Perfect Tarte au Citron, or Lemon Tart

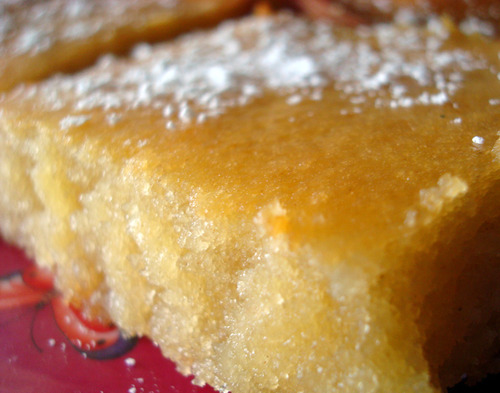
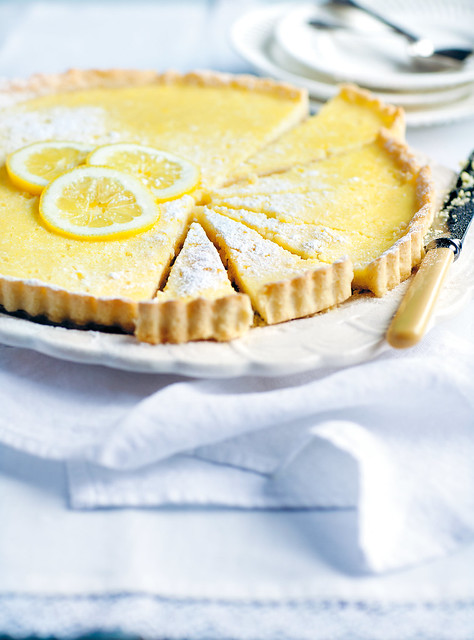
Lemon tart - Maria Zihammou

When I went to Paris, I learned once and for all that there is a difference between the tarte au citron (lemon tart) and its American cousin, Lemon bar. What is the difference? Well, the tartes are French, and therefore slightly better in every way. Here's how you make them. This lovely recipe is excerpted from French Bistro: Restaurant-Quality Recipes for Appetizers, Entrées, Desserts, and Drinks.

PS: want to read more about my overseas adventures? Here's a roundup of my last trip to Paris.

French Bistro Maria Zihammou

Lemon tart

Lemons are always in my kitchen at home—a favorite ingredient that I just can’t do without. They have a wonderful, fresh sourness that’s lovely in a creamy tart that might otherwise be too heavy and sweet. Delightfully delicious, citrusy lemon tart that simply melts in your mouth. Mmm. . .

6-8 people

dough

  • 7 tbsp (100 g) butter, room temperature
  • 1½ cups (350 ml) wheat flour
  • 1 egg yolk
  • 1 tbsp powdered sugar
  • 1 tbsp cold water

filling

  • 5 eggs, preferably organic
  • 4 organic lemons
  • 1 tbsp lemon zest
  • ½ cup (100 ml) whipping cream
  • ½ cup (100 ml) granulated sugar
  • powdered sugar, for decorating
  • whipped cream, for serving, optionally

Procedure

  1. Preheat the oven to 350°F (175°C). Start by making the dough. Mix the butter, flour, egg yolk, powdered sugar, and water. Knead together with a light touch to form a smooth dough. Press out the dough in a spring-form pan, about 9½ inches (24 cm) in diameter. Pre-bake the crust for about 10 minutes until it’s a light golden color. Take it out and let it cool.

  2. Meanwhile, make the filling: whisk together the eggs in a bowl. Squeeze in the juice from the lemons, and grate 1 tbsp of lemon zest into the bowl. Add the whipping cream and sugar, then whisk thoroughly.

  3. Fill the cooled crust with the lemon cream and cook the tart for about 30 minutes, until the cream has set and feels a bit firm. Allow the tart to cool, and decorate it with the powdered sugar. Good on its own, or with whipped cream.

Excerpted with permission from French Bistro: Restaurant-Quality Recipes for Apetizers, Entreés, Desserts, and Drinks by Maria Zihammou. Photography by Åsa Dahlgren. Copyright 2014, Skyhorse Publishing, Inc.
Slivers of Sweet Bliss: Chocolate Covered Slices of Pie

The big news today is this: chocolate covered slice of pie. 

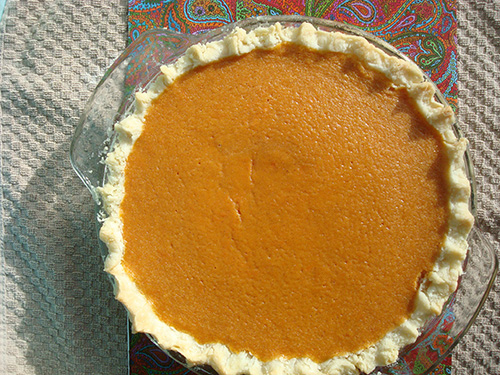
Not that you need more explanation, but since I am a giving person by nature, I'll tell you more. Basically, the story goes like this. First, you bake a pie. You're so excited about this recipe. And when it comes out of the oven and has cooled, you couldn't imagine being more excited about a dessert.

But then, a few days later, the pie has dwindled down to the last slice and suddenly you find yourself dreaming of different desserts. Better desserts. Fresher and prettier desserts.

That's one sad unwanted slice of pie. You could write a poem about it, it's that sad. 

It's at exactly that moment that you need to take action so that final slice isn't just discarded like yesterday's news. That's when you do the following:

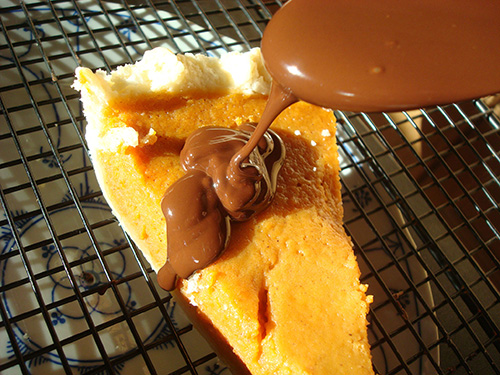
Coat the whole slice of pie in chocolate.

The benefits of covering a pie slice in chocolate are many. To list a few:

  • Let that pie slice burn out, not fade away!
  • You get to melt chocolate and pour it on top of something you're going to eat. This always brings me joy.
  • Most things taste better coated in chocolate, let's face it. Pie is no exception.

I first had this idea while taking a long, hard look at aforementioned sad slice of pie and trying to think of a non-milkshake solution to making it an awesome treat (I mean, I've done that before).

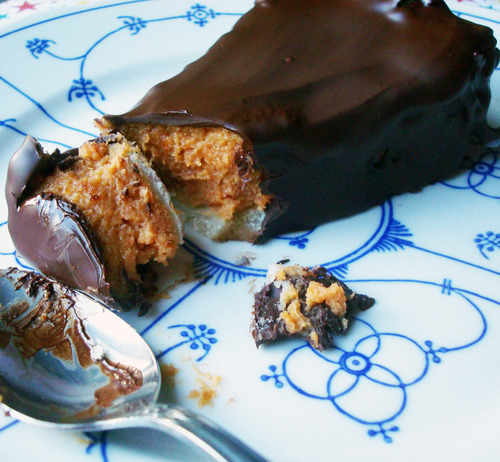
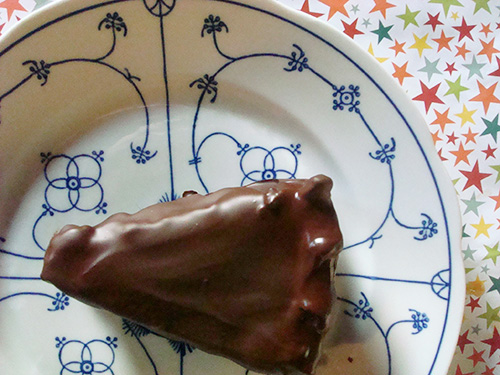
Turns out, coating a slice of pie in chocolate is not only funny to talk about, but it also tastes delicious. The slice in question here was from a sweet potato pie; the spicy-earthy flavor paired with the chocolate became a new dessert entirely, almost like a pumpkin truffle (since I've never seen a sweet potato truffle) but expanded to a much, much bigger scale. And, you know, with crust. 

Crust, I should say, LOVES being coated in chocolate. The buttery-flakiness is a dream when coated in chocolate, to the point where I wonder why choco-covered pie crust isn't a thing. 

But I digress. A few recipe notes:

I have based this on a single-serve basis; simply double the amount of chocolate for more slices. 

While I used a slice of sweet potato pie, I have wracked my brain for a type of pie I don't think would taste better coated in chocolate, and haven't come up with one yet.

In terms of ease of eating, you don't want the chocolate to set up entirely. You want it to set in the fridge for maybe 10 minutes, so that it has firmed but still yields when you cut into it with a fork or spoon. That is the exact best texture for the chocolate for maximum enjoyment while eating.

OK, ready? Here's the recipe.

Chocolate covered slices of pie

Makes one

You need:

  • 2 ounces chocolate, chopped coarsely
  • slice of pie 
  • spatula
  • microwave-safe bowl
  • spoon

Procedure

  1. Melt the chocolate, either in the top of a double boiler or in the microwave in short increments until it is mostly melted--the rest should melt in the residual heat if you give it a stir with a spatula.
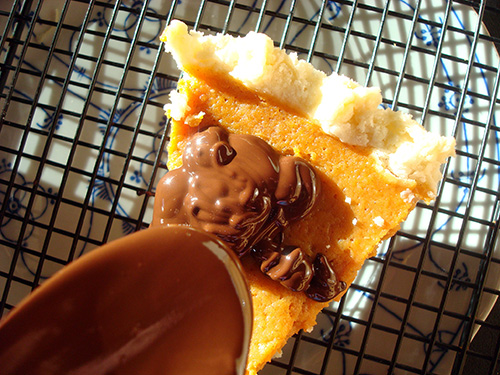
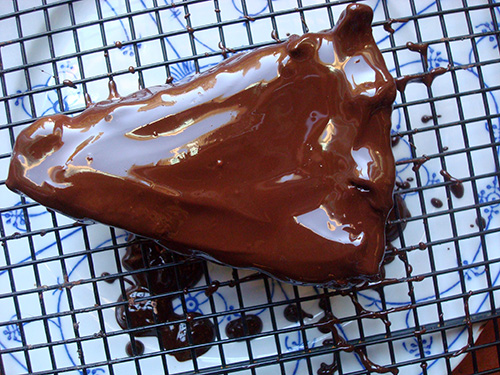
  2. Place your slice of pie on a rack or surface that will allow excess chocolate to drip through rather than pool up at the foot of the pie. Place something below it so that you don't get all messy.
  3. Using the spatula or a spoon (or a combo), coat the pie all over with chocolate. Take care to get into the nooks and crannies, the sides and the back. Cover EVERYTHING with chocolate.
  4. Transfer to a plate, and place in the refrigerator for about five to ten minutes. This should allow the chocolate to lightly set, but not become firm.
  5. Remove and eat immediately, because that texture of slightly set but still yielding is the best moment to eat this pie for maximum pleasure.

Pleasuretown population = you.