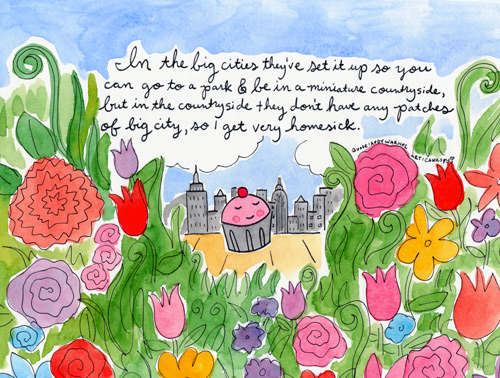
 It's no secret that the artwork featured on this site is totally sweet. But have you ever wondered about how it comes to be?
Like a delectable baked good, it requires many steps and sometimes quite a bit of time to come together--but ultimately, we're all rewarded with something sweet and delightful. Right? Well, in case you've ever been curious, here's how the magic happens:
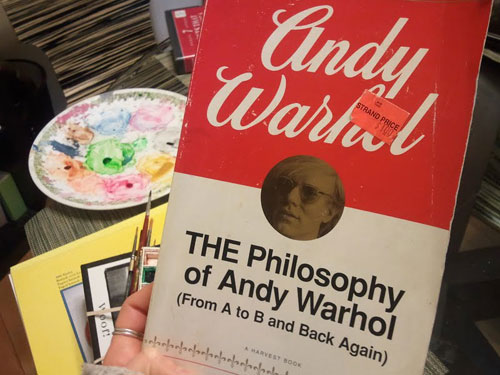 Step 1: Find inspiration. Lately, I've been finding a lot of inspiration from Andy Warhol quotes--my favorite source is The Philosophy of Andy Warhol : (From A to B and Back Again)
. This is a book I bought from the dollar racks at the Strand Bookstore in NYC while I was in college, and it has always been close to me since that moment. Happily, I find that just about any Andy Warhol quote is made even more hilarious when illustrated with cupcakes.
Looking through it, it was quickly clear that this quote was the one: 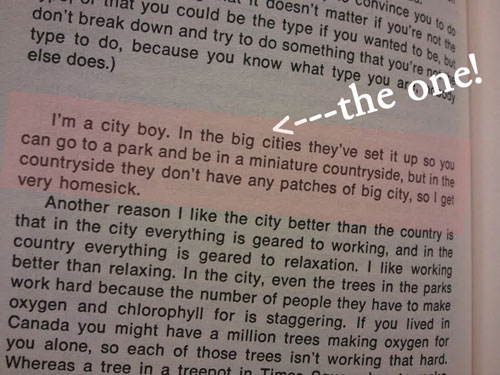
Step 2: Lay down a game plan. I usually pencil in a rough sketch, and then ink over it in permanent black ink.
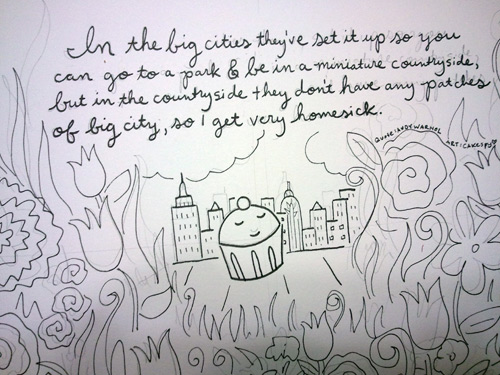 Step 3: Get ready to paint. I give the ink a few minutes to dry, then erase the pencil markings underneath, so I have a surface primed for paint.
Step 4: Get to it. I wish I could say that I have a method in terms of laying down dark to light colors, or something of that nature, but I don't, really. In this case, I started by painting in the green of the leaves because I knew that I'd want to do some more detailing on top.
Step 5: Lay down your paint, color by color. Now, I know I said I don't get technical about what colors I lay down in what order, but what I always do is let one color dry before laying another one next to it. With watercolor, if you want to keep your colors clean and separate, this is important--otherwise they will bleed. This can be nice if you want the colors to blend (such as in a sunset, or on the coloring of a flower) but in my work I don't look for that effect. (Note: Please take a moment to admire the friendship bracelet below, made by my friend James).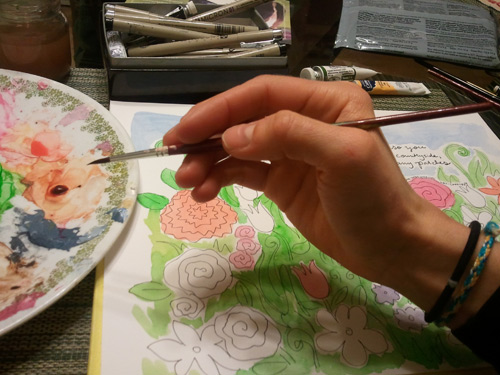
Sometimes if I get bored waiting for it to dry I'll either speed the process along with a hair dryer, or I will just work on another painting for a few minutes.
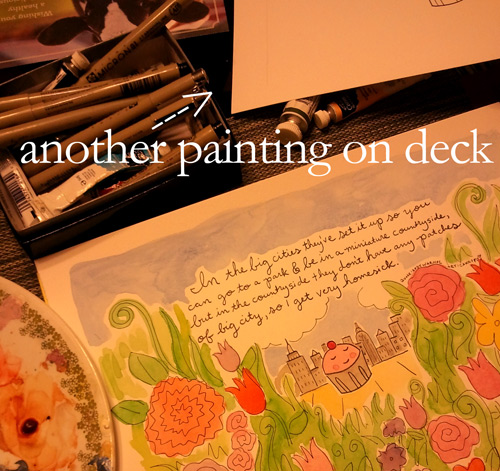
Step 6: Once I've painted in all of the elements, I like to go back and add some detailing in lightly darker paint--for instance, shadowing on the buildings: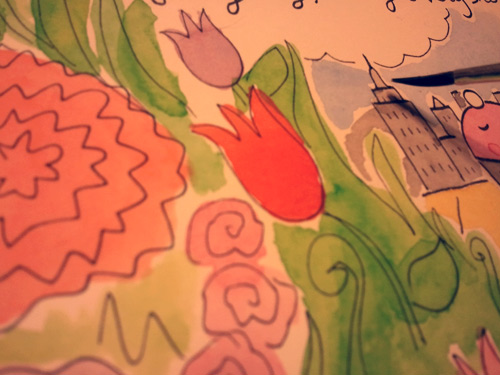
or add some slightly darker green on the leaves, to add a little more dimension.
Step 7: Finally, never forget to finish off the cake with a cherry!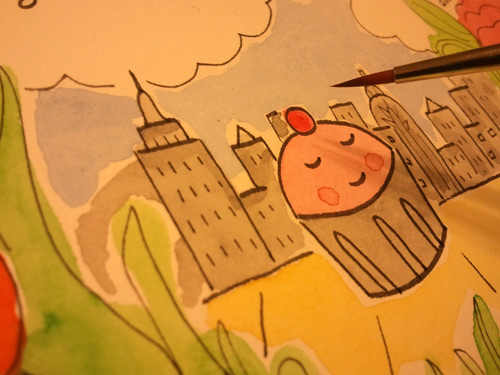
...and voila, a finished painting. Andy would be proud, I think.
