
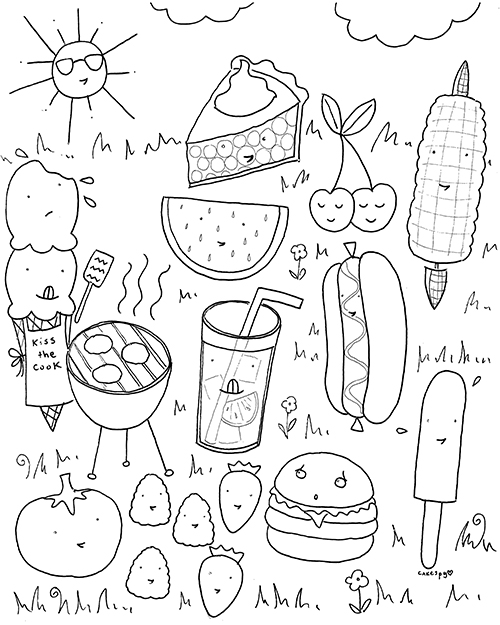
Have you heard? Coloring is the newest and hottest mindfulness activity for adults. And I want to assist your journey by providing free coloring book pages! The latest batch includes the below image and one more--both with a summer fun theme.
Learn How to Make a Delicious Dutch Baby

Dutch babies! I'm kind of obsessed. If you have never met one, they're not tiny children: they're puffy oven pancakes. And I have an easy and accessible method for making them.
Find out how to make a dutch baby here.
Rainbow Bombe
Sorry, every other food blog in the world. But today, I WIN.

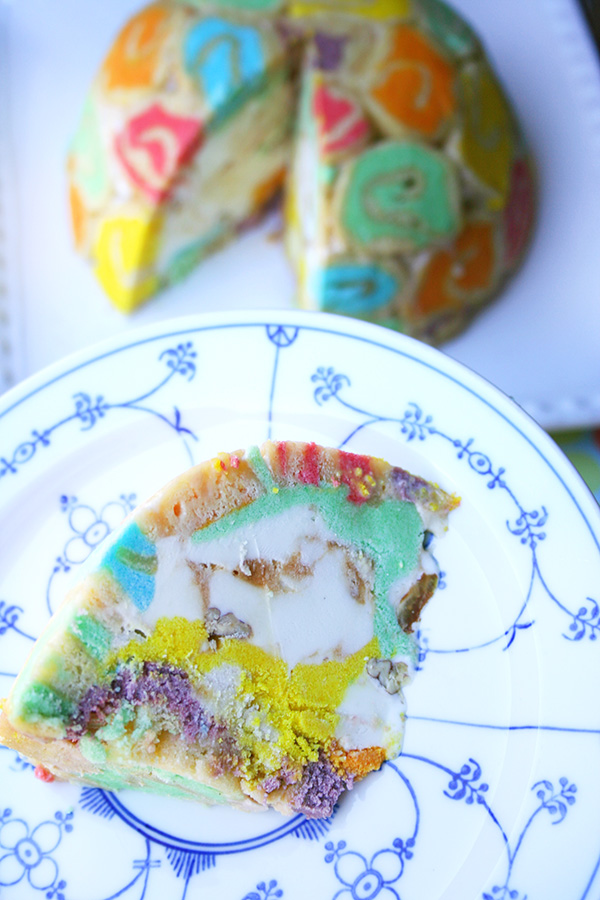
Clearly, it's amazing, but if you're uncertain about what this majestic feat of rainbow actually is, let me enlighten you. It's a bombe, which is a kind of molded frozen dessert which gets its name from its resemblance to, well, a bomb. Since the French coined the term, it's bombe with an E, in your best French accent, please.
So, this particular bombe is composed of an ice cream and rainbow buttercream-swirled interior, which is then covered all over with mini cake roll slices. Assembled jelly-roll style, these little spiral cake slices are filled with rainbow buttercream instead of stupid health-food jelly, which not only makes them superior in deliciousness, but also far prettier.

And in case you didn't already guess, this food is officially...

Now, because I am still feeling pretty self congratulatory about the whole thing, indulge me while I talk about how I got the idea.
Well, you know that I love rainbows. And you know that I love ice cream. But a few things have happened recently that made this cake possible.

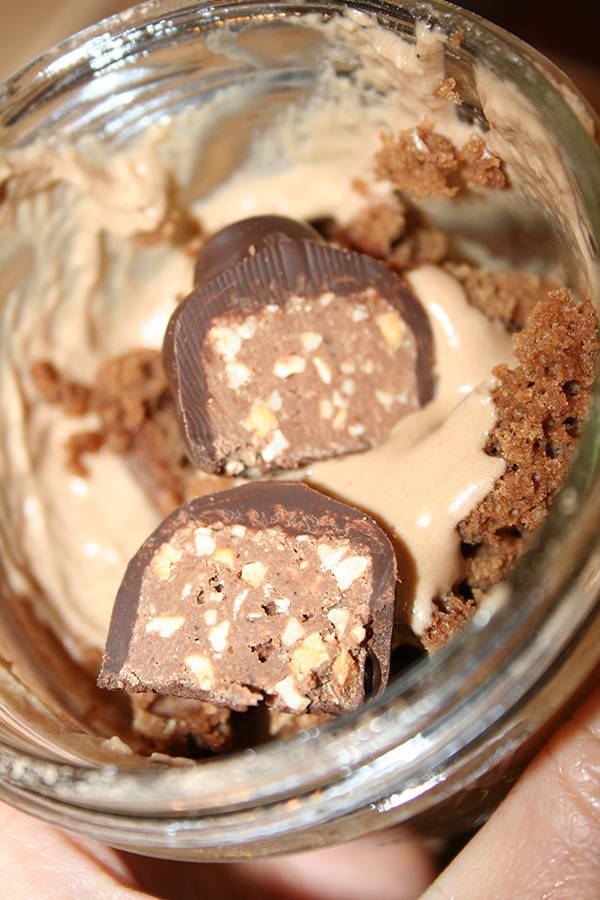
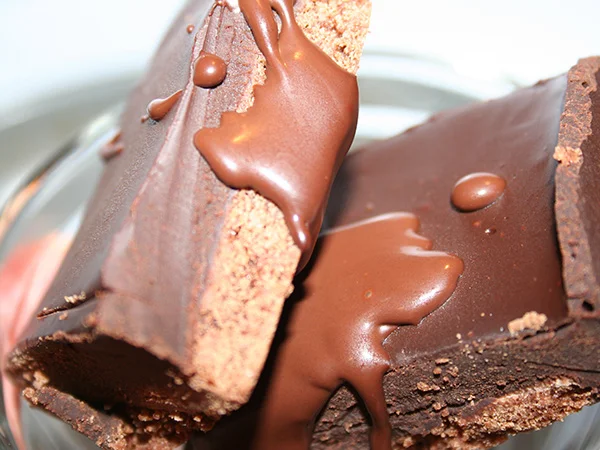
The first is that I recently made some delicious chocolate bombes for Colavita. Here's a sneak peek.

The recipe will be featured on their blog soon. The main thing you should take away here though is that I became obsessed with bombes. They are really not so hard to make, but they impress people so much that you'll feel like a domestic goddess. I like showing off, so this was a great thing for me.
The second is that I received a review copy of The Cake Therapist by Judith Fertig. In the book, there is a fictional bakery called Rainbow Cake (yes, I love this book). I wish this bakery existed in real life. In the book, she references making a bombe with little jelly rolls all over the surface.
So, I'm thinking: bombes. Rainbow cake. Cake with jelly rolls all over. Hmm.
And then it came to me: I had to make a rainbow bombe with jelly roll style cake slices all over it. So I abandoned every single thing I was supposed to be doing for the rest of the day and made this cake.

The recipe might seem kind of complicated, but really, this wasn't hard to make. It was just sort of involved. But I think when I detail the steps below with pictures, you'll see that it's really not that intimidating.
It's totally worth the time it takes, because just look at it!

And once you cut into it, it's magical inside, too! Because in addition to the ice cream, I swirled in all of the extra buttercream that I had leftover (a little of each color).
You can't tell me this isn't happy food.

Approved by unicorns, but suitable for children and adults. Say hello to the happiest ice cream cake you have ever met.
Rainbow bombe
Printable version here
For the cake
1 cup cake flour
1 teaspoon baking powder
1/4 teaspoon salt
2 eggs
3/4 cup granulated sugar
1 teaspoon vanilla extract
2 tablespoons whole milk
1/2 cup confectioners' sugar
Jelly roll pan
parchment paper
For the buttercream
2 sticks butter
6-8 cups confectioners' sugar
1 teaspoon vanilla
pinch of salt
cream or milk, to thin, if needed
Food coloring in the colors of the rainbow
6 separate bowls or ramekins
Other things you'll need:
1 half gallon ice cream, your favorite flavor
A freezer-proof bowl (I used a 6-cup capacity pyrex bowl)
plastic wrap
First, go ahead and make the buttercream (it's easiest this way). In a stand mixer, cream the butter for 2 minutes on high. Add the confectioners' sugar, 1 cup at a time, until you've reached your desired spreading consistency. Stir in the vanilla and salt. Add a little more sugar if it's too thin, a little milk or cream if it's too thick. Divide the buttercream into 6 equal amounts in separate dishes. Tint each one the different colors of the rainbow: red, orange, yellow, green, blue, violet. Cover with plastic and set to the side.

Next, make the cake. Preheat the oven to 375 degrees F. Line a 10x15 inch jelly roll pan with parchment paper.
In a medium bowl, sift together the flour, baking powder, and salt. Set to the side.
In the bowl of a stand mixer, beat the eggs and sugar on medium speed for 5 minutes, or until light. Add in the vanilla and milk, and stir to combine.

Stir the dry ingredients in, incrementally, mixing on low speed and scraping with a spatula after each addition.
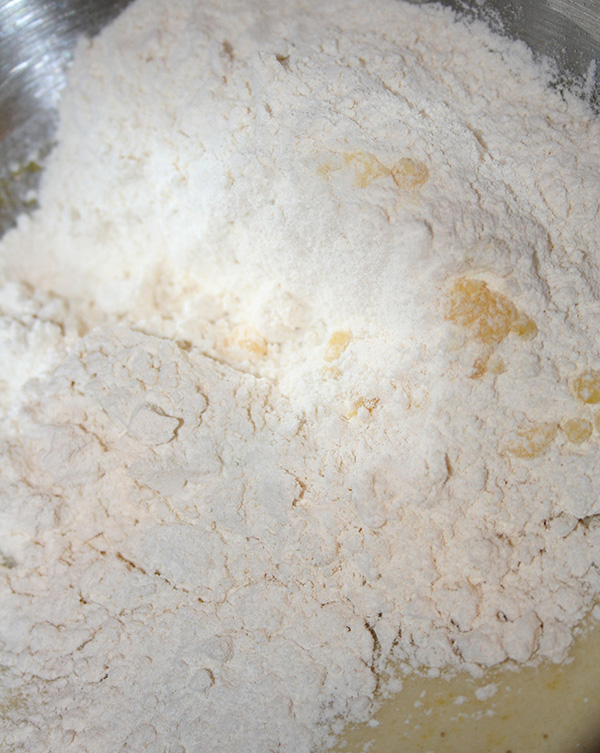
Spread the batter on the prepared baking sheet--it will barely make it to the edges, but make sure that it is a solid layer with no translucent portions (you might not spread all the way to the edges), and bake for 5 to 10 minutes--you're not looking for golden here, but just for the cake to spring back slightly when you touch it. Too browned and it will crack when you try to roll it.
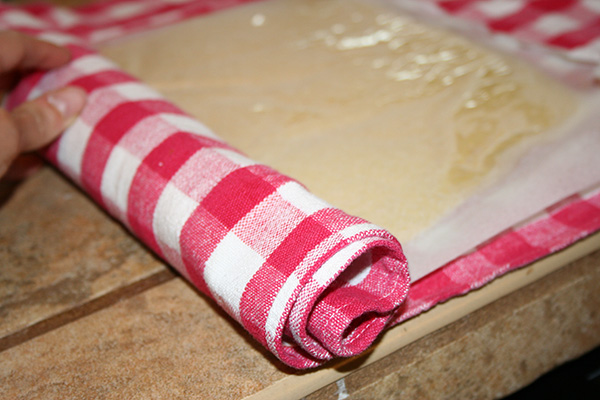
Generously (very generously) dust a clean tows with confectioners' sugar. Turn the cake on to the towel and roll it up. The recipe I used asked that I remove the parchment, but I kept it on because I forgot and it was fine. Choose your adventure. Let the cake cool for about 10 minutes.
Now, it's time to make some magic.
Unroll the cake. If it gives you any resistance put it in the fridge for a few minutes and try again--that should help. Cut the cake into six strips: first into long thirds (going with the "grain" of the rolling) and then cut in half horizontally.
Spread icing on each one of the strips. You will have a little extra buttercream, and this is a good thing. Set it to the side.

Roll each portion, jelly roll style. I lovingly thought of these as my little "rainbow-rritos". A few small cracks, no problem (perhaps this attitude is why I am not a professional pastry chef?)

Let the little rolled portions cool in the freezer for 30 minutes so that they can firm up.
Slice the rolls thinly--I sliced mine about 1/4 inch thick.

Line a bowl with plastic wrap (I used a 6-cup capacity pyrex bowl). Press it deeply into the bowl to mold to its shape.

Place the little spirals at irregular color points all over the surface. I kind of mashed some into place, trying to fill every space on the surface. If you have pieces that look "ugly" on one side, like the slices from the end, face the pretty side down, as it is the one that will show.

Place the bowl in the freezer for 15 minutes or so, so that they can firm up again.
Scoop ice cream into the bowl, filling it nearly to the top. Add the leftover buttercream between scoops so that it will be swirled throughout.

Use the leftover cake swirls to press into the bottom of the bowl. Wrap the plastic around it, and freeze for several hours.

When ready to serve, remove from the freezer, turn out from the bowl, and pull of the plastic wrap.

To cut, run a knife under hot water then dry it off before cutting to make clean cuts. Serve immediately after cutting, and keep any un-served portions in the freezer.

Enjoy, and for crying out loud, have someone else do the dishes.

Yay for you!
Have you ever made a bombe?
Leftover Cake: Some Simple Solutions

Leftover cake. I know: highly unlikely. But yes, it is possible.
And should you find yourself with leftover or slightly stale cake, there are some delicious solutions to maximize its usage.
Read the full roundup here.
Breakfast and a Snack All at Once: Cereal Milk Popsicles
Do you want breakfast, or do you want a sweet treat? Why decide, when you can have both in one deliciously summery form: cereal milk popsicles!

These delightful treats are featured in the fantastic new book Ice Pops! by Cesar and Nadia Roden. This fantastic book features some truly creative popsicle recipes, and beautiful, simple photography that lets the finished product shine.
This is one of my favorite recipes in the book, for creamy popsicles that have the inimitable flavor of delicious leftover cereal milk. Here's the headnote from the book:

Cereal milk Popsicles
Inspired by the famous cereal‐milk soft serve that created a frenzy in New York City, we’ve created our own version by freezing Lily’s morning cereal onto a stick and it was quite a hit! You can experiment with your favorite cereal. We know you’ll agree it will taste even better in this frozen form.
8‐10
- 1 1⁄4 cups whole milk
- generous 1 cup heavy cream
- 1 cup your favorite breakfast cereal (we like Cheerios), plus extra to drop into the molds
- 1 ripe banana, cut into 3⁄4‐inch slices 5–6 tablespoons honey or maple syrup
Procedure
- Mix all the ingredients together in a bowl, cover, and refrigerate overnight to let the liquid take on that unmistakably delicious cereal taste.
- The next day, put the steeped mixture in a food processor and blend until smooth.
- Pour the mixture into your ice pop molds, and drop in some extra pieces of cereal. Leave 1⁄4‐inch at the top to let the mixture expand when it freezes. Insert the ice pop sticks and freeze.
Reprinted with permission from Ice Pops published in 2015 by Sterling Epicure, an imprint of Sterling Publishing Co., Inc. © Cesar and Nadia Roden. Photography by Adam Slama
What is the most creative popsicle flavor you've ever tried?
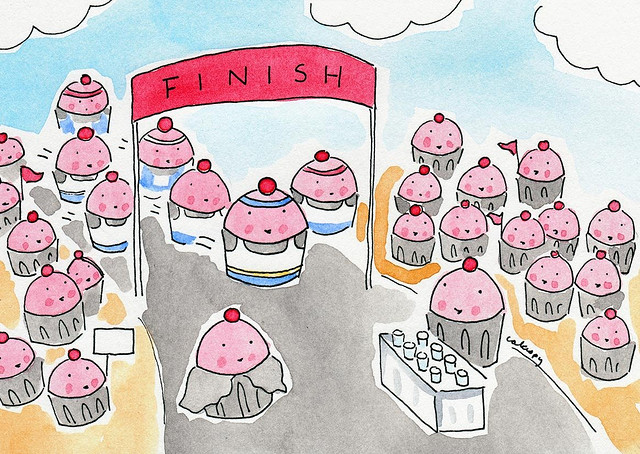
Baker's Dozen: A Batch of Sweet Links

That group above? The "CakeSpy Fan club"--a group of cake loving summer camp kids who sent me this picture to let me know they were spending the week getting to know all about the history of cake. Isn't that fantastic? *heart melting*
Grilled watermelon with creme fraiche. AWESOME. (The Floating Kitchen)
Bourbon white peach popsicles. HAPPY. (The Beach House Kitchen)
Discover bristol board: it's my paper of choice for making art. CREATE. (CakeSpy for Craftsy)
Caramel peach fritters with salted caramel sauce. FAINT. (Cooking for Keeps)
Cornbread pudding muffins. CORN. (Dinner at the Zoo)
Strawberry cheesecake dip. I DIP YOU DIP WE DIP. (Spoonful of Flavor)
How to make alcoholic ice cream. The title made me laugh. TIPSY. (Gizmodo)
Truffles that are vegan and gluten-free and actually tasty. NOT LYING. (A Lovely Side Project)
How to make ridiculously tall pancakes. LOVE. (Crumbs and Cookies)
Elvis on a rocky road bundt cake recipe. HUNKA HUNKA BURNIN YUM. (It's Yummi)
Rhubarb upside down cake. DELICIOUS HEALTH FOOD. (Java Cupcake)
No bake rainbow pie. RAINBOW. (Spend with Pennies)
Go ahead: make choco-donettes into s'mores. DARE YOU. (Culinary Concoctions by Peabody)
Product of the week: No book of the week this week, because I have created a product that is so much better than any literature. How about a swishy skirt with cupcakes, unicorns, and robots on it? It's real, and it's for sale in my online shop.
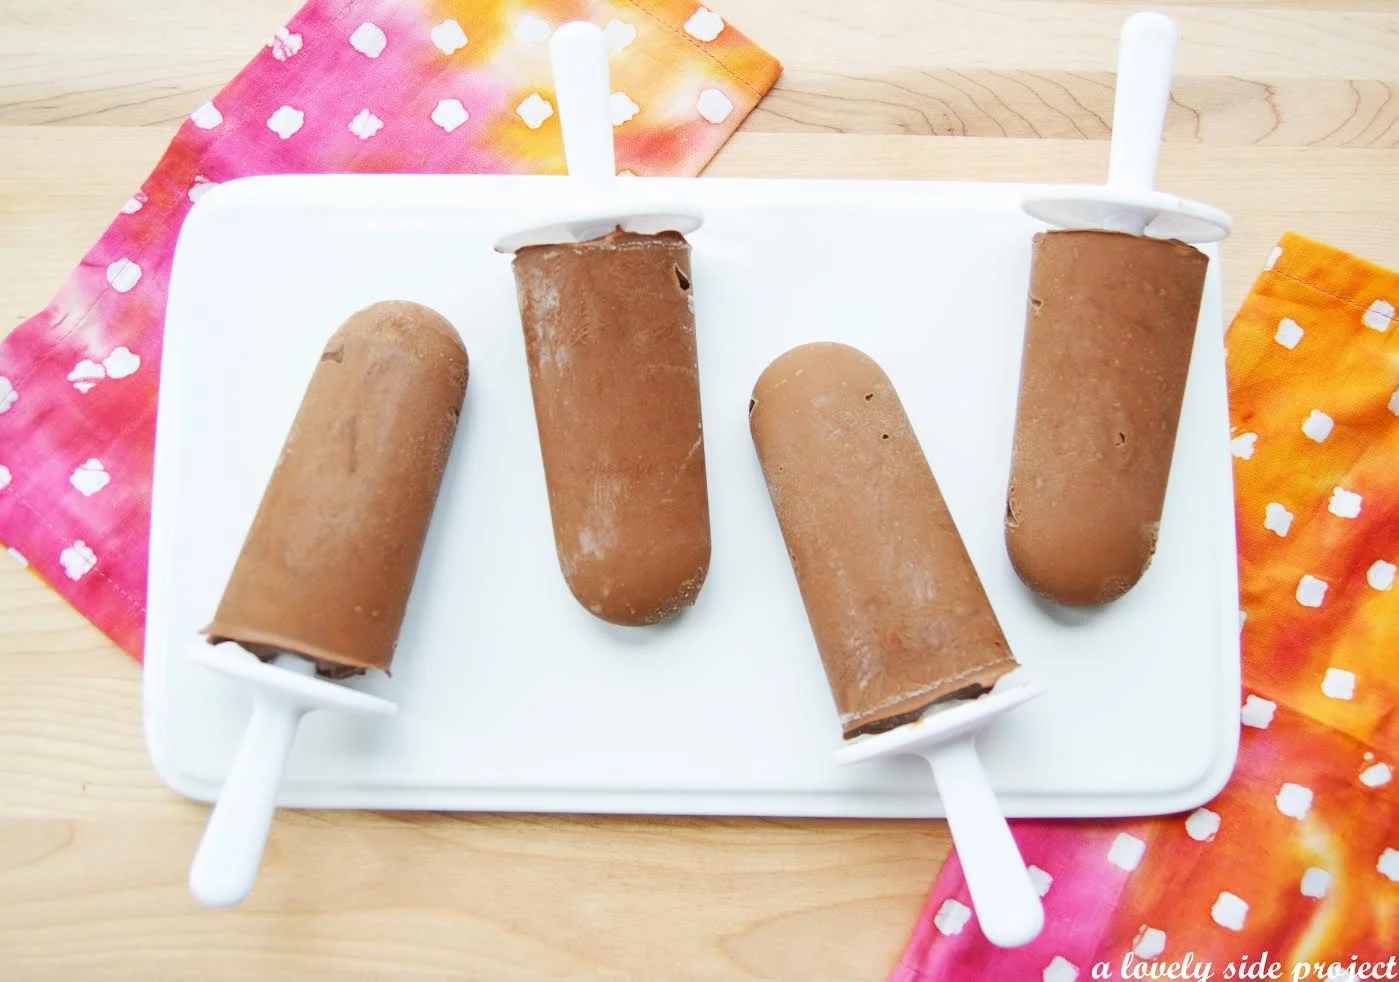
Vegan Fudgesicles With a Surprise Ingredient
SPOILER: It's avocado. Don't be scared. Just look, they're magnificent. Keep reading.

These vegan fudgesicles are not only beautiful, they're also gluten-free, and (most importantly), delicious. It's a guest recipe from my friend Lauren @ alovelysideproject. I did a guest post on her site, too. I think you'll like it.
In case you've never seen her site, it's a fantastic healthy living and lifestyle website. There recipes are mainly vegan and gluten-free foods, but with a strong emphasis on deliciousness, which I can appreciate. Even gluten-free vegans should have dessert, too.
I'll let Lauren take it from here. Enjoy her recipe!
A note from Lauren
Hi Cakespy-ers! I'm Lauren from alovelysideproject.com, a healthy-living lifestyle site focused on gluten-free, plant-based foods and fun fashion. I'm excited to be collaborating with Jessie on this summer treat post, as I am a huge fan of her ridiculous talent and delicious recipes.
Lauren's food story
Before we get into the yummy vegan chocolate goodness, I’d like to talk a little bit about my relationship with healthy eating. Discussing this topic is tricky for me and I know it is for many others due to the personal relationship we all have with food. I applaud Jessie for speaking so openly and honestly about her relationship with food and the bravery and guts it takes to do this .
The first time I remember taking notice to what I was eating was when I attended the Fashion Institute of Technology in New York. I was in a new city, surrounded by ambitious beautiful girls. Coming from a small town but being a perfectionist, I wasn’t sure how I was going to keep up but knew I would try my hardest to do so. New York was a place where stick thin models were revered. Yearning for the same thigh gap and protruding collarbone that seemed like every successful girl in the city had led to an increased interest in how much I eat, what I ate and when I ate it. Food groups were avoided and a fear of unhealthy fats lead me to dismiss most of what FIT’s kitchen had to offer. This translated into a dorm meal plan diet that consisted of dry cereal, bananas, and fat free frozen yogurt. This strict diet allowed me to feel like I had some sort of control in my life during a first somewhat-stressful year of school. (Realizing that the dream you focused on for so long may not be your actual dream can throw you for a loop.) This majorly increased awareness of what I was putting into my body also lead to hair falling out and brittle nails. Glamorous, I know.
Due to many reasons, including unavailable housing and a general lack of direction, I then transferred schools to work on a Bachelor’s degree in Nutrition. My course curriculum focused on the ideal American diet, Body Mass Indexes, and how each calorie is digested in the body. Counting calories became a common theme in my life which then led to a somewhat unhealthy obsession with maintaining the “perfect” amount of caloric intake on a day to day basis. I stayed true to my college course-focused ADA food pyramid and avoided fats like the plague. Enter fat free potato chips laced with Olestra, artificial sweeteners, and genetically modified veggie burgers. Healthy, right?
Over the next few years post-college, I started to develop a much healthier relationship with myself. I became kinder and less harsh on myself and the negative self-talk started to diminish. Around the same time, I became interested in learning about what foods actually nourished and fueled my body. I now (happily) no longer count calories or have my thoughts consumed by what I just ate and what my next meal will be. I’m interested in eating foods that nurture my body and make me feel the best I possibly can, which is why I stick to a plant-based diet. Days of feeling exhausted, bloated, but still hungry are long gone. My daily diet now leaves me feeling energized, happy, and healthy, and I continue to learn more about myself each day. The relationship you have with yourself is a precious one, so remember to be kind.
If you have any questions or comments on this topic, or would like to discuss more, you can find me atalovelysideproject.com or alovelysideproject@gmail.com.
And now onto that yummy gluten-free vegan recipe…..
Since converting to a gluten-free plant-based diet, I am frequently experimenting with how I can adapt old junk-food favorites to fit my current eating habits. These Vegan Fudgsicles are the perfect example of how eating clean, whole-foods does not mean saying goodbye to your favorite foods. The popsicles are made of avocado (trust me, they're delicious) and cacao powder (cacao beans milled at low temps to preserve nutrients) and are just as creamy and delicious as the childhood favorite.
Vegan Fudgsicles
serves 6
- 2 avocados, pitted and peeled
- 1/2 cup unsweetened almond milk (can sub coconut milk)
- 6 tbsp cacao powder (can sub cocoa powder)
- 2 tsp vanilla extract
- sprinkle of sea salt
- a few drops liquid stevia to sweeten (optional)
1. Combine avocados, milk, cacao powder, vanilla extract, and sea salt in a high-speed blender and puree until completely mixed. Add stevia to taste.
2. Pour mixture into popsicle molds or dixie cups, add sticks.
3. Freeze overnight.
4. To serve, run popsicle mold under hot water for 30 seconds to ease removal (or let sit at room temperature for 5-10 minutes).

Would you try fudgesicles made with avocado?
Cakey Brownies Are Not Useless: 10 Tasty Ideas, Plus a Recipe
In spite of what you might think, cakey brownies are not completely useless.
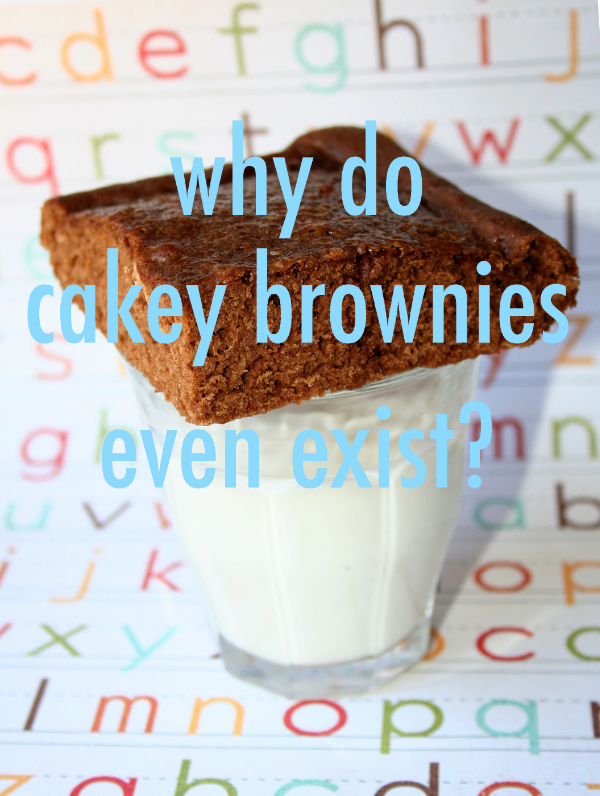
Listen, I don't think that cakey brownies are any real prize all by themselves. Give me a fudgy brownie any day, with chewy taking second place.
Cakey brownies? Not too much use for them. So why, why, why do they continue existing?
Well, as you know, I am very into yoga and part of all that om-ing is cultivating acceptance and understanding. And after much thought, I have come to see the light on cakey brownies. I have realized that they are far from useless. No, I'm not going to be reaching for them as a stand-alone dessert course, probably ever, but they are a fantastic component in more involved desserts.
This is not an insult: rather, it's an epiphany about the role that cakey brownies can play in my dessert-loving life. The cakey brownie has a unique texture, more dense than a spongey cake, but not so dense that it is hard to handle; this makes it a great player when constructing more complex desserts.
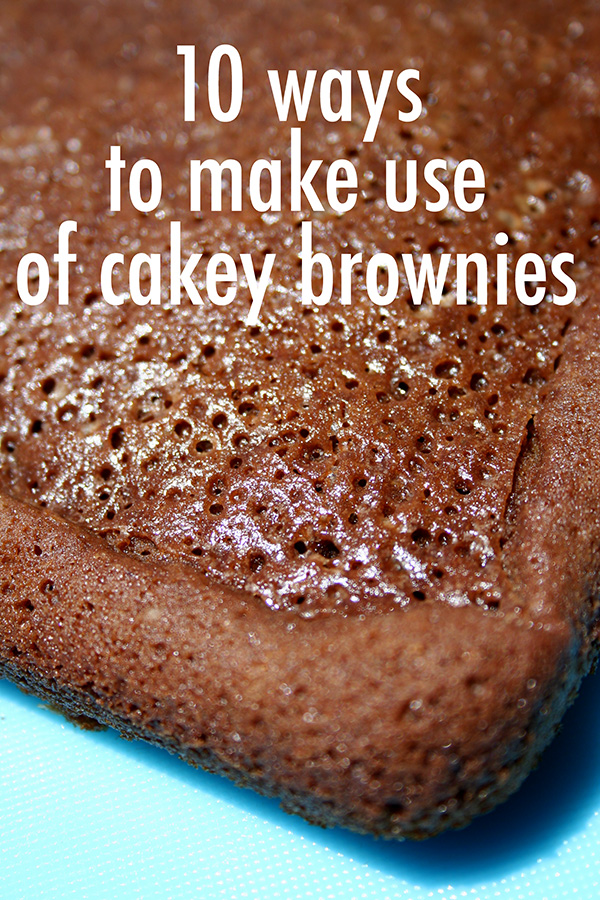
10 Ways to Use Cakey Brownies
Don't just eat that cakey brownie: amp it up in one of these creative ways!
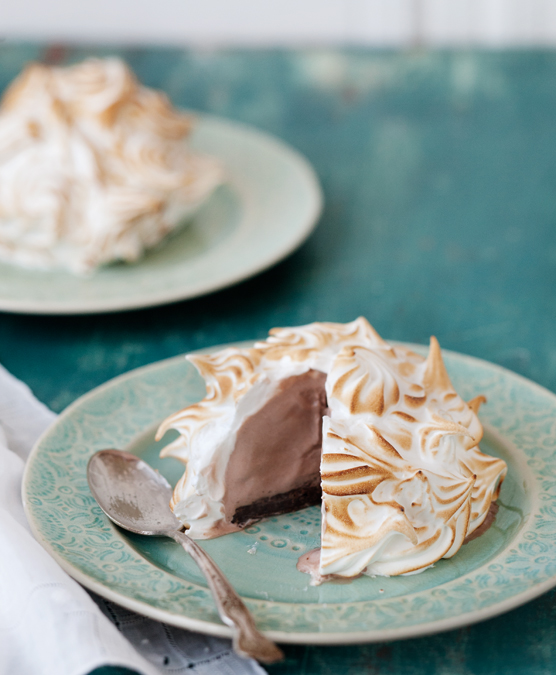
As the base for Baked Alaska
Cakey brownies are actually a great base for Baked Alaska: absorbent enough for the ice cream on top, but not too heavy. Perfect.
As the base for bombes
Ditto with bombes, which are basically the wider category including Baked Alaska but also non-meringue coated frozen desserts; cakey brownies make a great base. I made some bombes recently with a cakey brownie as the base, and they came out splendidly. A thick, fudgy brownie would not have worked quite as well with the mousse; the cakey brownie acted like a sponge, sopping up flavor yet acting as a sturdy base.
As part of a trifle
Cakey brownies are a great component in a trifle. Since they are spongier, they're a better medium for sopping up the flavor of the cream and fruit in trifle.
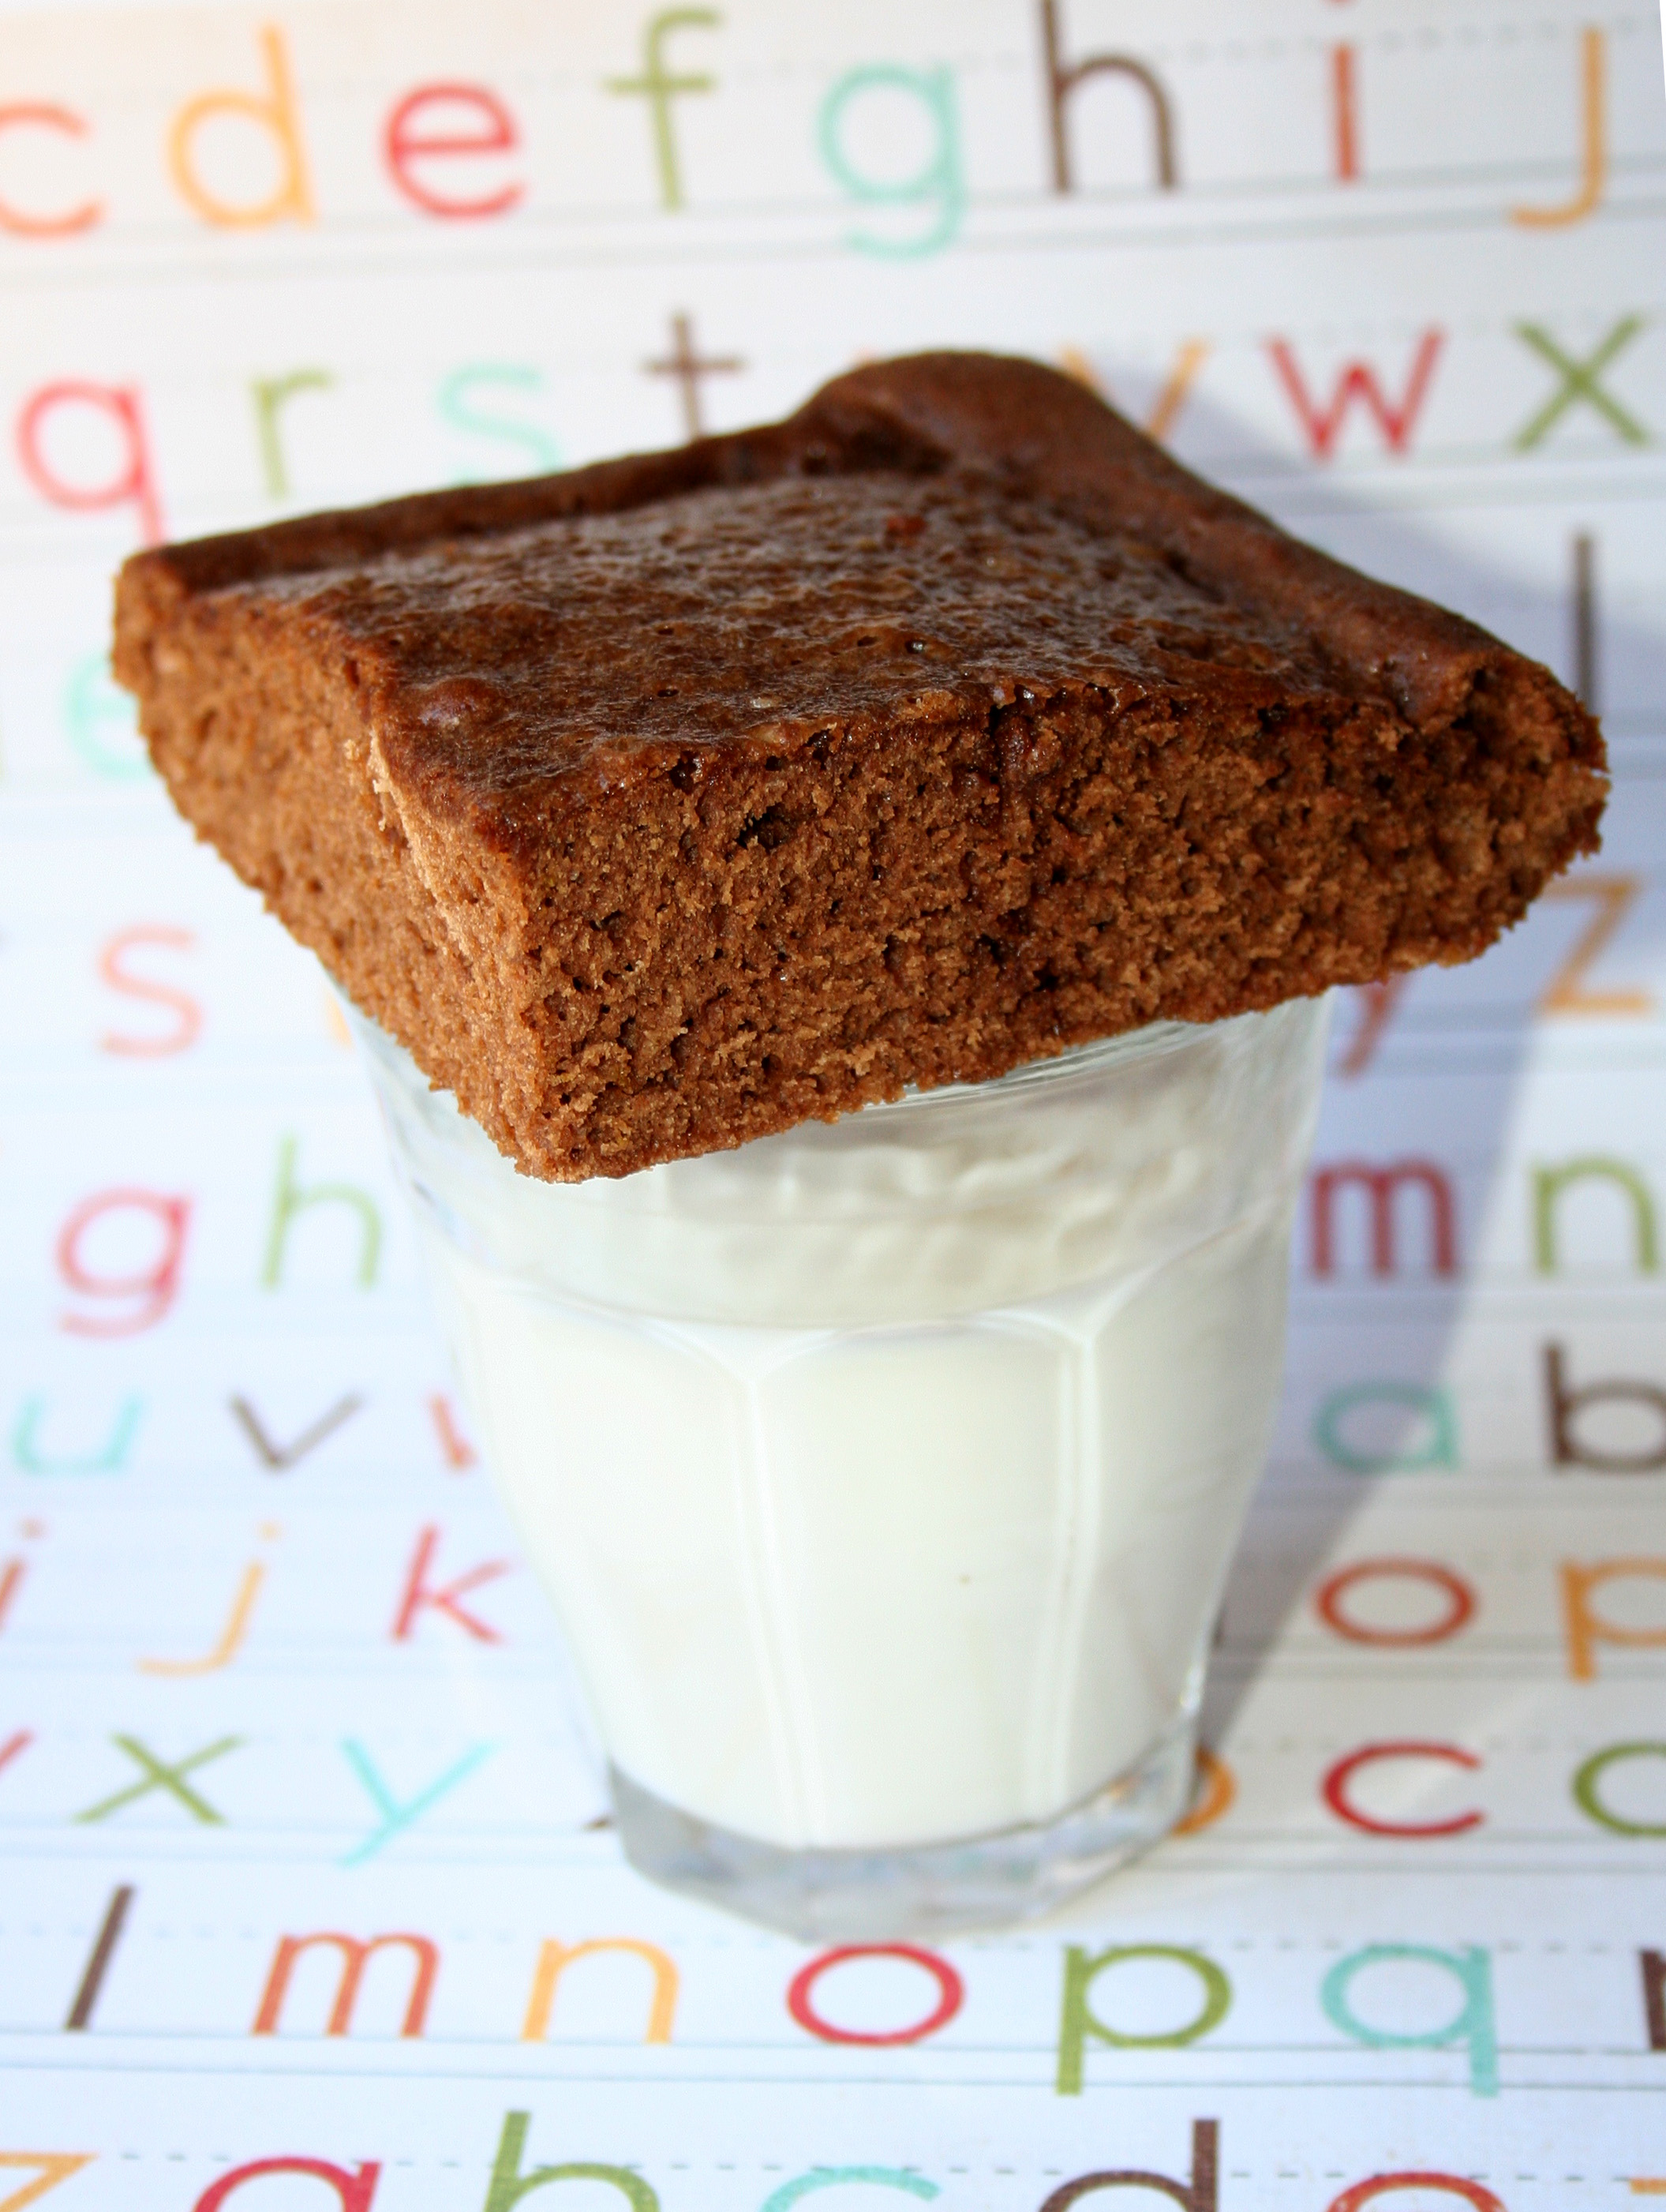
As a creamy dessert accessory
I think that a great fudgy brownie should be enjoyed all by itself, perhaps with a glass of milk, but otherwise unadorned. The cakey brownie, however, is a different thing. It's a great canvas to pair with pudding, mousse, ice cream, or custard.
As cake layers
Listen up: instead of chocolate cake, bake a couple pans' worth of cakey brownies and use them as cake layers. They're more substantial than many chocolate layer cake recipes, and are firm enough to hold their shape when frosted.

As the inside of petits fours
Spongey yet firm, cakey brownies are an ideal midsection for petits-fours: easy to cut and shape and stack, yet absorbent enough to take on the flavors of the fillings you add.
Poke brownies!
You know poke cakes. Why not try the same method with cakey brownies? I can only imagine how delicious cakey brownies would be if poked all over and doused with a sweetened condensed milk mixture like in this poke cake recipe.
As pancake batter
Instead of whipping up pancake batter, use the cakey brownie batter for your next short stack. It's guaranteed to make pleasant morning memories for all.
For sculpting cakes
If you are making a cake that requires sculpting, cakey brownies might be just the ticket. They are fairly malleable and don't flake too incredibly much, so you can cut and shape them for dimensional cake creations.

For cake pops
Brownies are slightly denser than a typical yellow or chocolate cake, so they are ideal for cake pops. Cake pops are so small that they can afford a little extra decadence, and the brownies will deliver. Simply swap cakey brownies for the cake called for in cake pop recipes.

Easy Cakey Brownies
This cakey brownie recipe is an ideal base. It is made with olive oil, which gives it an interesting taste. Makes one 8x8-inch tray. Printable recipe here.
- 1/4 cup olive oil
- 4 tablespoons dark unsweetened cocoa
- 1 cup brown sugar
- 3 eggs
- 1 teaspoon vanilla extract
- 1 cup sifted flour
- 1/4 teaspoon salt
Preheat the oven to 325 degrees F. Generously grease an 8x8-inch baking dish.
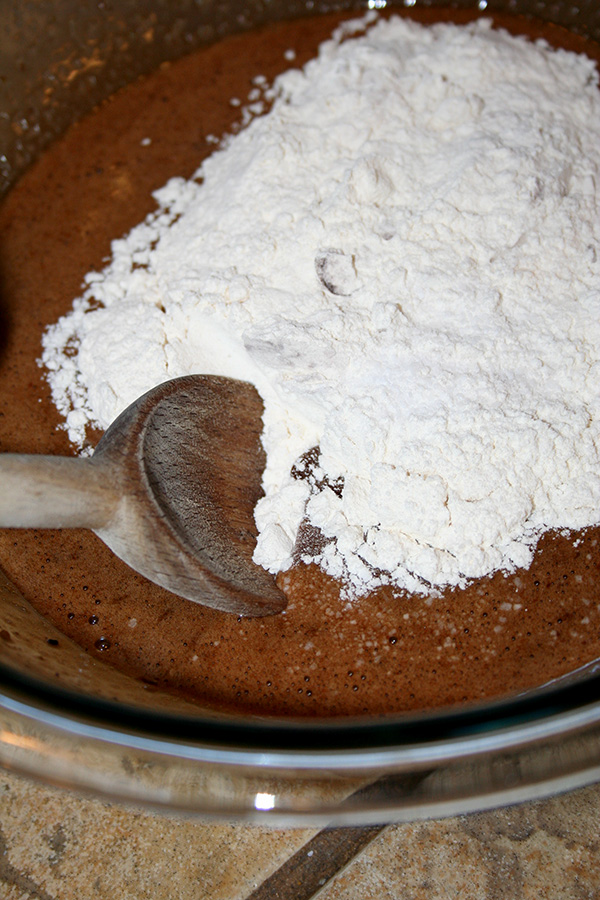
In a medium bowl, combine the oil, cocoa, sugar, eggs, and vanilla. Mix until well combined. Not the prettiest part of the process. More like modern art.

Add the flour and salt. Mix gently at this point, only until you see no more white streaks of flour.
Pour into your prepared pan, and bake for 30 minutes.

Remove from the oven, and let cool to room temperature. You can invert the brownies out of the pan or cut them right in the pan.
Do you like cakey brownies?
Cold-Risen Rhubarb and Vanilla Buns
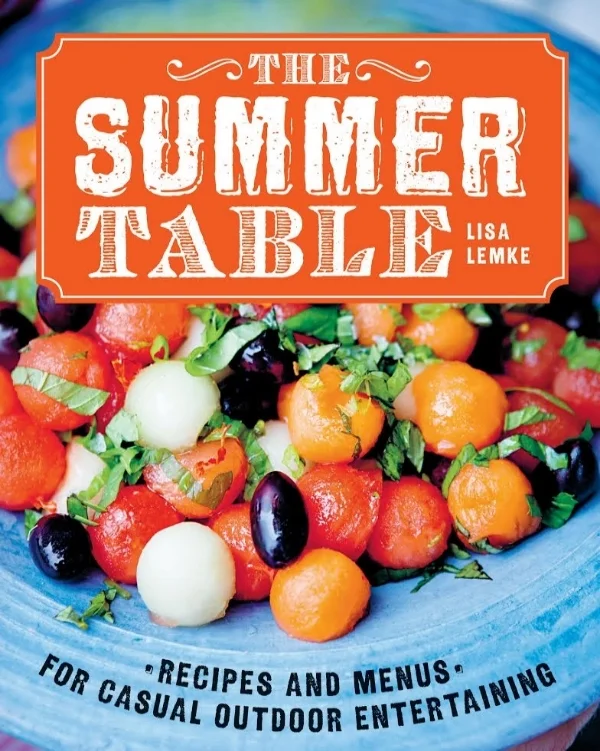
Recently, I received a review copy of the new book The Summer Table by Lisa Lemke. Summer is my favorite season, so I was pretty jazzed about the book.

So, let me tell you, I was even more jazzed once I started perusing the recipes. This cookbook is like a fresh bite of summer, with recipes ranging from summer risotto with asparagus and basil to "beach buffet" dishes like warm potato salad with pork belly and cherries or summer salad with shrimp and "fall over backward good" dijon dressing. It is like the summer you would be living if your life were slightly more glamorous than it is now, and with a beach nearby. I say this as a compliment: it is aspirational.
But the desserts are what really spoke to me. They're creative and summery: strawberry semifreddo cones with biscotti streusel; pane caramel with flake salt; panna cotta pie with summer berries. Like, yum.
And then there were the cold-risen rhubarb and vanilla buns. This was by far the recipe that interested me the most, because rhubarb and sweets are like bread and butter in my book. Plus, rhubarb is fruit (or is it vegetable?)--either way, HEALTH FOOD!
Here's the recipe as printed in the book, reprinted with permission from The Summer Table published in 2015 by Sterling Epicure. Text © Lisa Lemke. Photography by Asa Dahlgren
Author headnote for the recipe:
I learned just about everything I know about baking from my grandmother. In this recipe, I use her method of “cold rising”—and plenty of butter, which has always been her recommendation when it comes to making buns.
Cold-Risen Rhubarb and Vanilla Buns
30 buns ✦ 30 minutes + 1 1/4 hours
1 vanilla bean
7 ounces rhubarb (about 2 stalks)
1/2 cup granulated sugar
3 1/2 ounces grated almond paste
2 tablespoons room temperature butter Water
Granulated sugar
Dough
1 1/2 sticks butter
4–4 1/4 cups all‐purpose flour 1 3/4 ounces fresh yeast
1 cup cold whole milk
1 large egg
1/4 cup light corn syrup
1/2 teaspoon salt
To make the filling, split the vanilla bean lengthwise, scrape out the seeds, and place the seeds and the bean in a non‐reactive saucepan. Thinly slice the rhubarb and place it in the pot. Bring the mixture to a boil and add the sugar when the rhubarb begins to release its juices. Lower the heat and continue to simmer the
rhubarb uncovered for about 15 minutes. Remove the rhubarb mixture from the heat and let it cool down. Take out the vanilla bean and stir in the almond paste along with the butter. Blend the mixture carefully and set it aside.
To make the dough, work the butter into the flour, either in a food processor or on a work surface, using a knife or fork, until you get peasized clumps of dough.
Crumble the yeast in a bowl and stir it together with the milk. Add the egg, corn syrup, and salt to the bowl and stir it all together.
Gradually work the flour mixture into the liquid until it is smooth, using a food processor for about 5 minutes, or by hand in a bowl for about 10 minutes.
Transfer the dough onto a floured work surface and divide into two portions. Knead one portion for a few minutes and then thinly roll it into the shape of a rectangle, 12 × 20 inches, and about ‐inch thick. Cut the rectangle into 4 × 4 inch squares and place a heaping tablespoon of filling in the middle of every square. Fold the dough edges over the filling and carefully pinch them together so that the filling won’t run out. Turn the filled
bun over, seam side down, and form into a round ball. Repeat with the remaining dough and filling.
Arrange the buns so they are nearly touching on a parchment‐lined baking sheet.
Let the buns rise at room temperature under a clean dishtowel until they double in size, after about 1 1/2 hours. Then preheat the oven to 425°F.
Bake the buns in the middle of the oven for about 8 minutes and let them cool on a rack under the towel. Brush the buns with a little water and dip them in granulated sugar while they are still a little warm.
What is your favorite summer recipe?
Infographic: Design Your Dream Doughnut
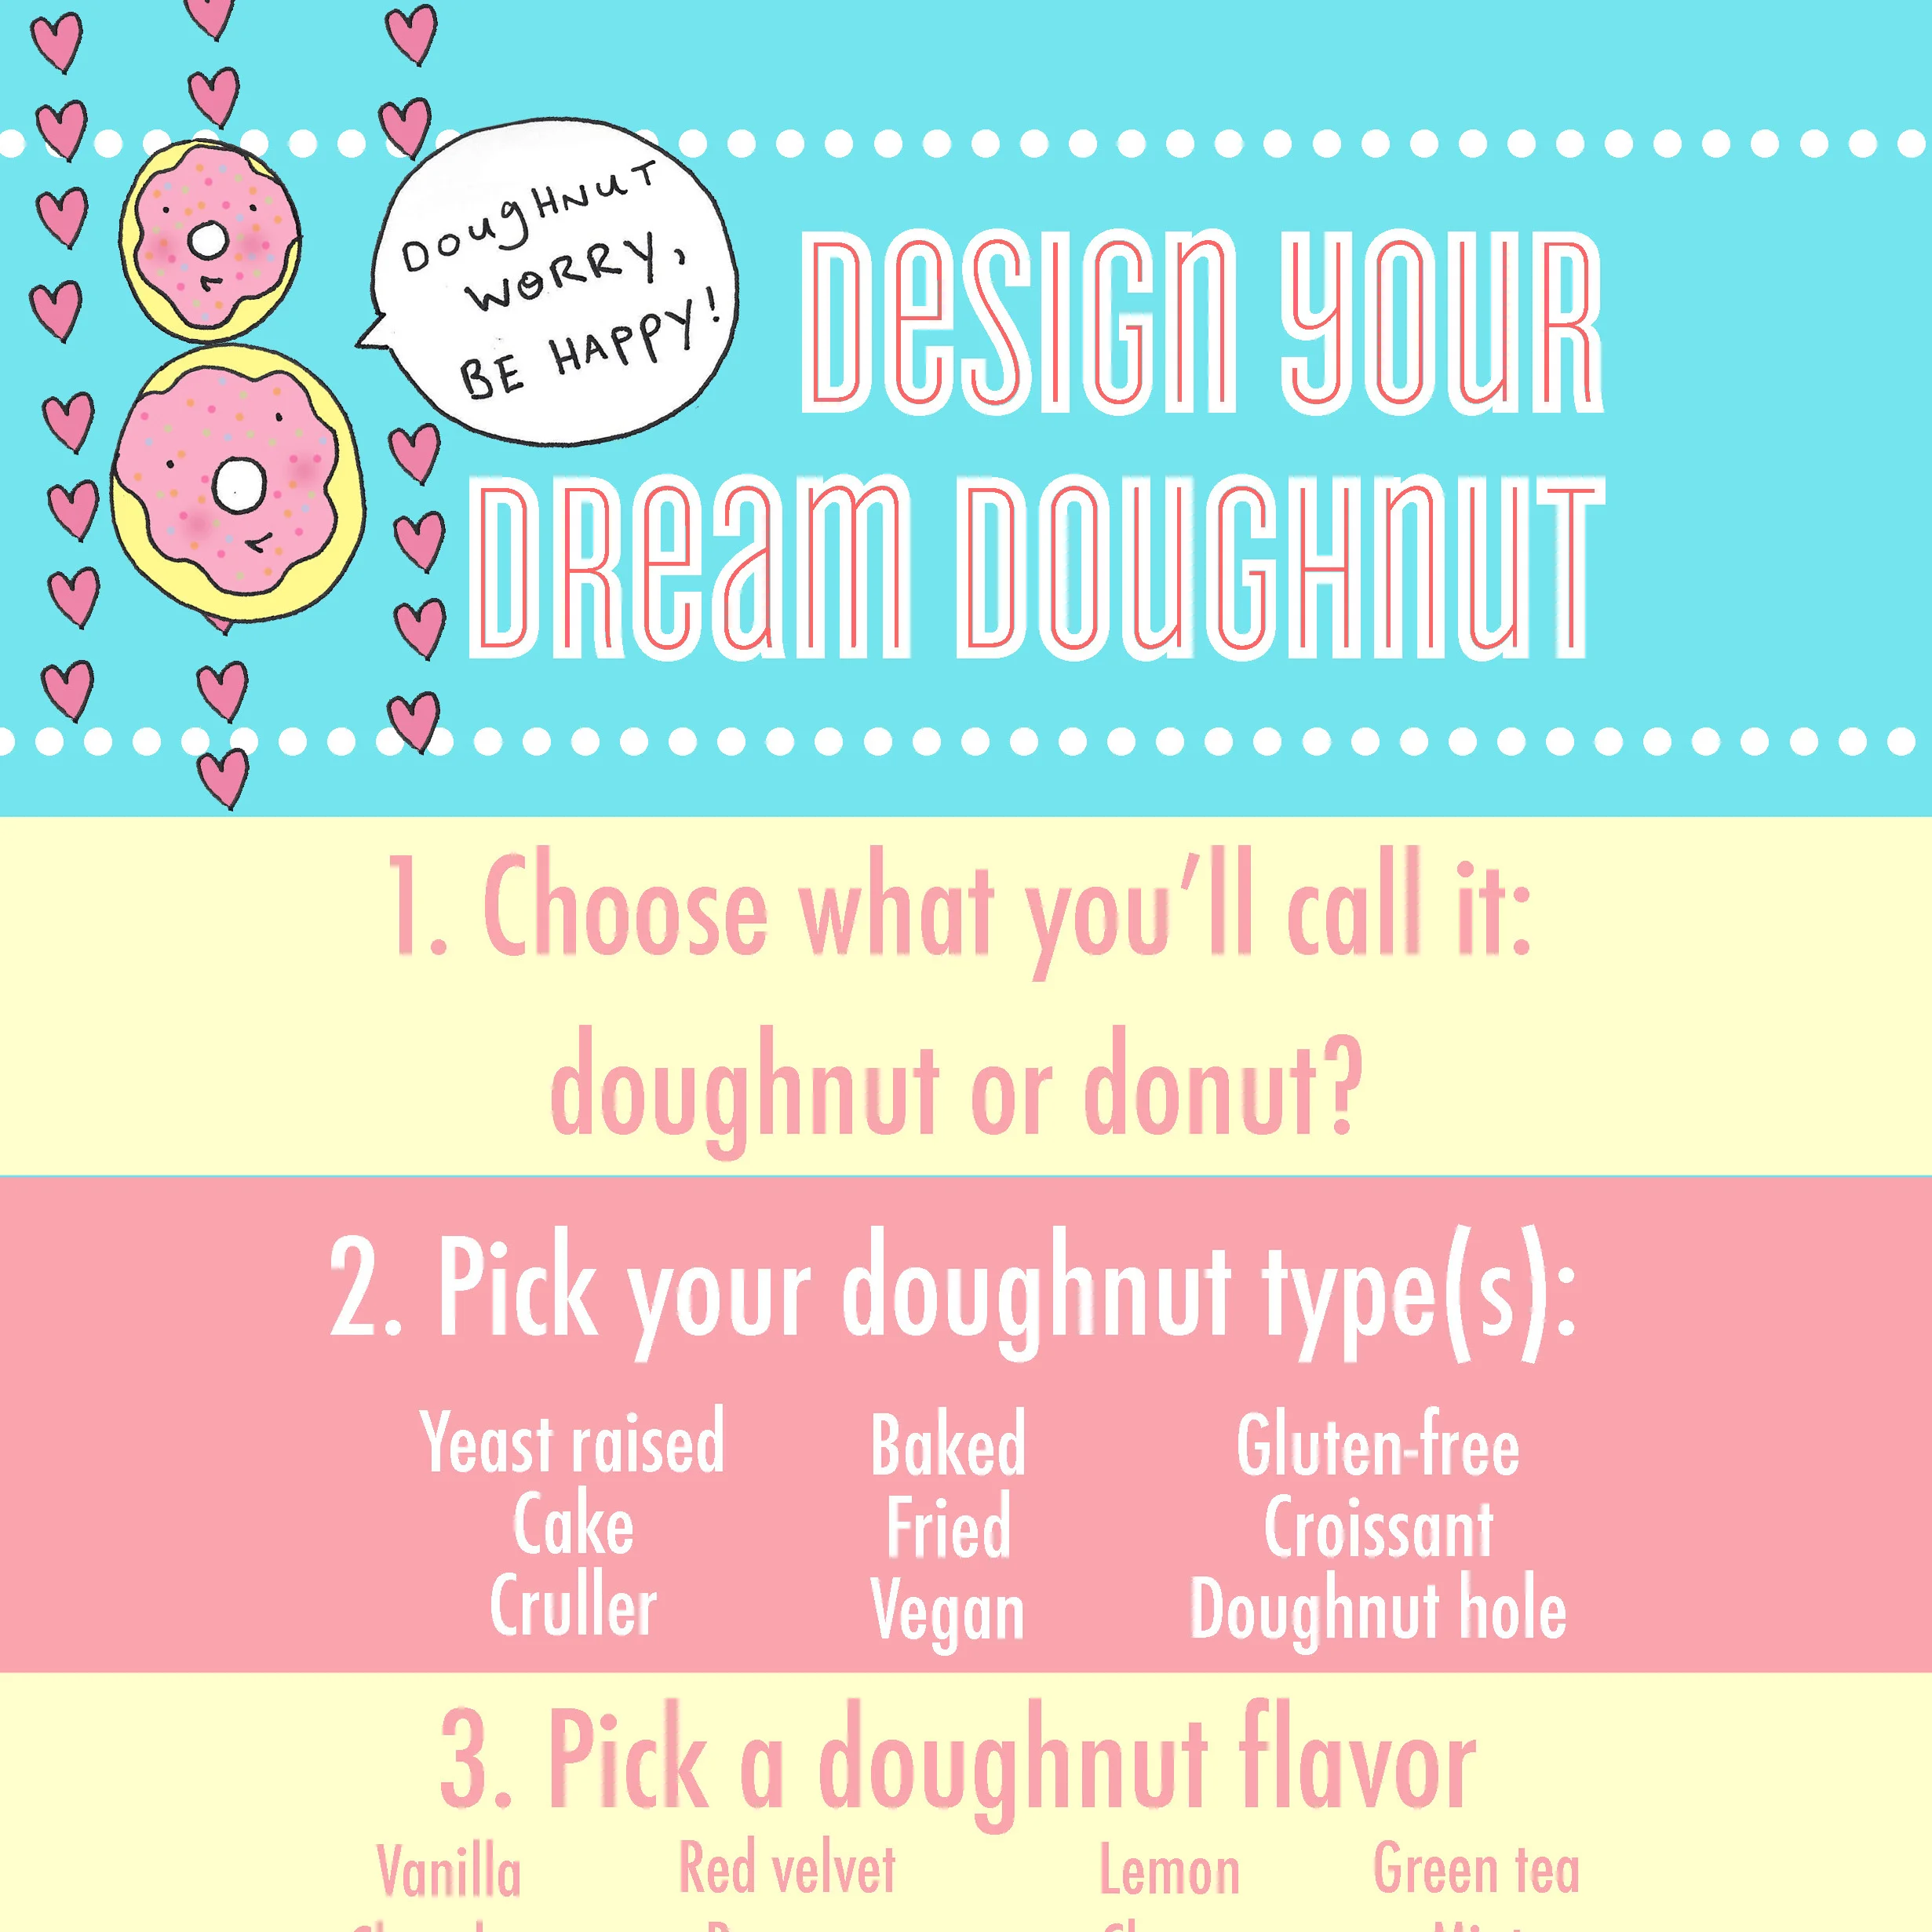
National Doughnut Day may be over for the year, but really, isn't every day National Doughnut Day in your heart?
Design your dream doughnut with this fun and thorough infographic.
See the full image here!
Baker's Dozen: A Batch of Sweet Links
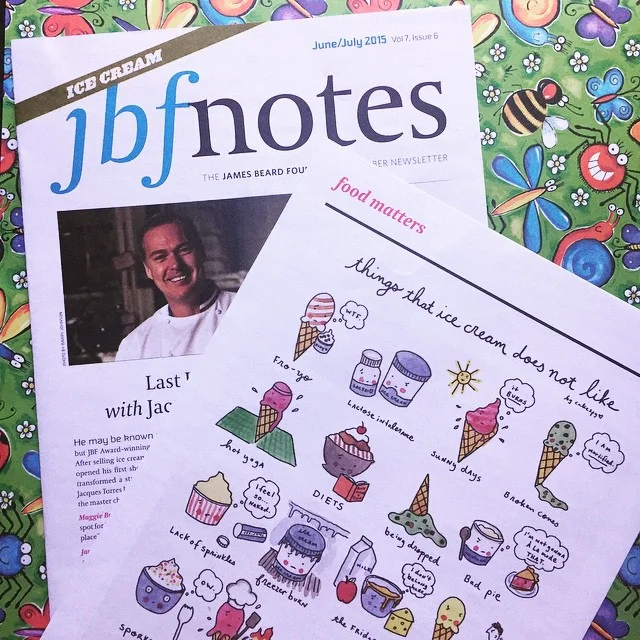
I'm featured in the James Beard Foundation newsletter! You can buy this piece as a print, too.
Caramel cashew meringue cookies. Don't try saying that fast, just make the things. (Cookie Madness)
Rice krispies treat "sushi". Love it. (Marla Meredith)
"Nana's Energy Bars". Also featuring rice krispies, thank you very much. (Fork to Belly)
How to make ganache with cocoa powder. For those times when you don't have solid chocolate on hand. (CakeSpy)
Strawberry hand pies. Summer in your hand! (Eva Bakes)
Strawberry jam French toast with Strawberry butter. Yes. (Blogging Over Thyme)
How to draw roses. Because you have to do something while you wait for the cakes to bake, right? (CakeSpy for Craftsy)
Ice cream cupcakes. Huzzah! (Crazy for Crust)
Homemade Drumsticks ice cream cones. (Instructables)
Masala peanut bhujia in less than five minutes. (Indfused)
Homemade orange jelly candies. I want to try this out. (Taste of Home)
Easy coconut curry. It's savory but so good I had to share. (CakeSpy for Craftsy)
Book of the week: Candy: A Century of Panic and Pleasure. Our relationship with candy is odd. How did our definitions of food and candy come to be so muddled? And how did candy come to be the scapegoat for our fears about the dangers of food? This book explores these subjects.
Can You Make Ganache With Half and Half Instead of Cream?
I won't keep you in suspense: ultimately, the answer is yes. It is possible to make ganache with half and half instead of heavy cream or whipping cream. But there's more to it than just that, so why don't you quit pretending to work for a minute and read on?

In my household, cream is an only sometimes thing, whereas half and half is an all the time thing, given my sweetie's penchant for generously lacing his coffee with the stuff. It's not that going to the store to buy cream is difficult or not worth it, but sometimes, when I'm mid-recipe, I can't be bothered. So recently, finding myself with some cakes to frost and no cream to make the ganache I needed, I found myself wondering:
Is it possible to make ganache with half and half instead of cream?
Well, there's only one way to find out.
So I measured out my ingredients: equal weights of half and half and chopped chocolate. I used four ounces of each (half a cup of half and half; 4 ounces of dark chocolate), a fairly small batch but I didn't want to waste a bunch of ingredients if it didn't work out.
I placed the chopped chocolate in a heatproof bowl.

I poured the half and half in a saucepan and heated it until it began to simmer.
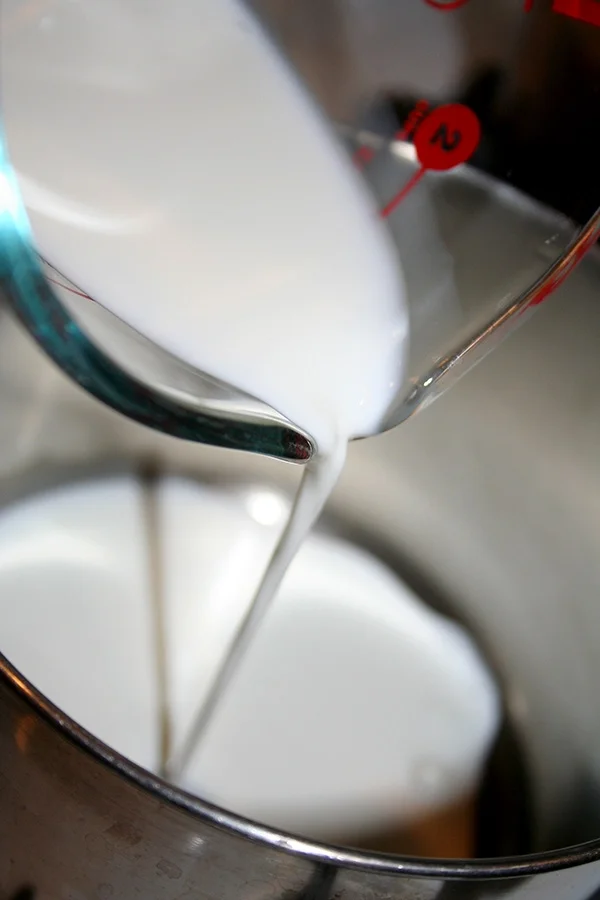
I poured the hot half and half over the chocolate.
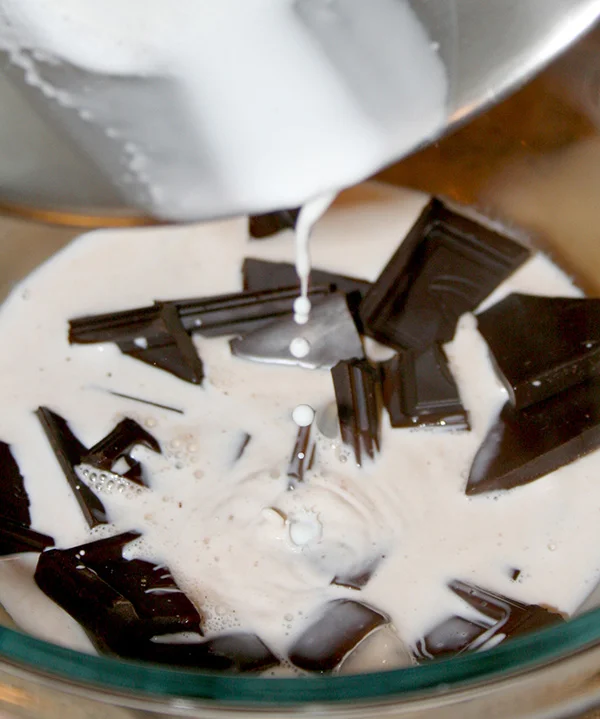
Now for my favorite part of making ganache. At first, the dairy and chocolate are distinct and separate. Then the chocolate begins to soften and swirl into the dairy. Then, magically, two become one (yes, please sing that in your best Spice Girls voice). Beautiful.
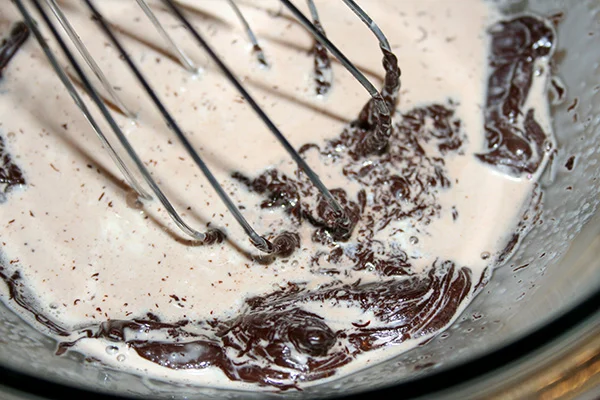
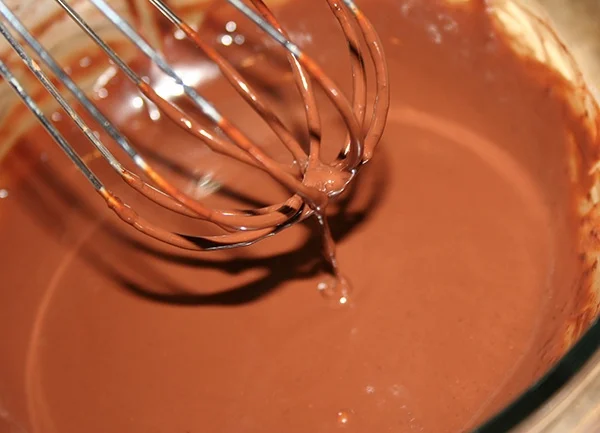
I stirred until smooth. So, my immediate reaction was that this ganache seemed more liquid than its cream counterpart.
I let it sit for about 15 minutes, then tried it out on some desserts. I drizzled a bit on top of some shortbread bars...
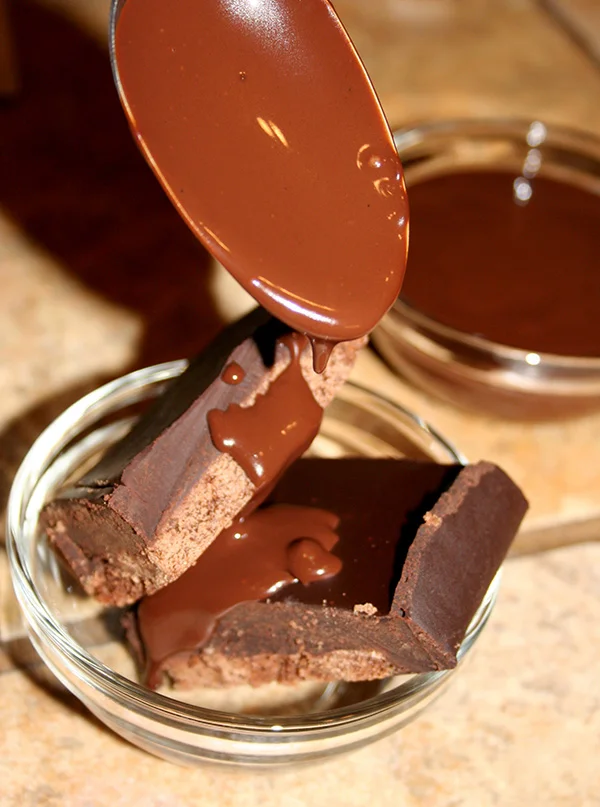
then I spooned the rest into a little cup. This might be the naughtiest thing ever but I ate some with a spoon, right from the little bowl.
The drizzled ganache set firm but not hard, and seemed pretty comparable to a cream ganache, actually. It was opaque and didn't spread too much after being drizzled. I think that you could probably use it for coating or filling desserts, but be sure to let it cool before using because it is not as thick as the cream version when applying.
The cup'o ganache was just as delicious as your naughtiest chocolate fantasies would have you think.
Overall, a success. I say that if you find yourself in a pinch and do have half and half, you can definitely feel satisfied with a ganache made with it. If you feel like it, give it a try skewing the ratio a bit, so it has slightly more chocolate. I bet that would remedy the thinness issue.
Here's how you do it.
How to make ganache with half and half instead of cream
- 4 ounces chopped chocolate
- 4 ounces half and half
- (quantities can be doubled, etc; just maintain the same ratio of equal weights)
Procedure
- Place the chocolate in a heatproof bowl.
- In a saucepan, bring the half and half to the simmering point. Remove from heat, and pour over the chocolate.
- Stir with a whisk. At first the chocolate won't seem like it's going to ever incorporate, but as you stir, the mixture will become smooth.
- Once smooth, let the ganache rest for 15-20 minutes before using, so that it can attain a pourable but thickened consistency.
- Enjoy!
BTW, you might also enjoy these posts:
How to make ganache with cocoa powder
Have you ever tried a creative ganache variation?
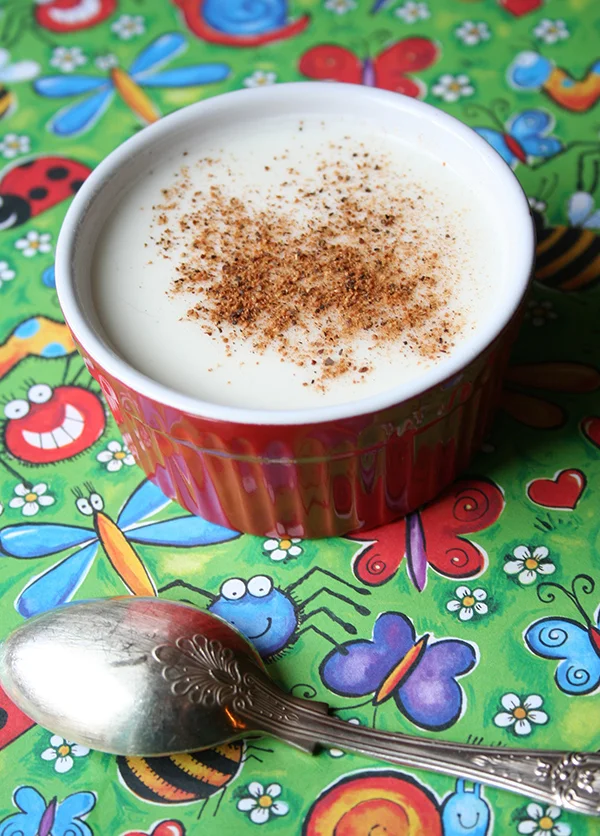
What the Heck is Junket, Anyway?
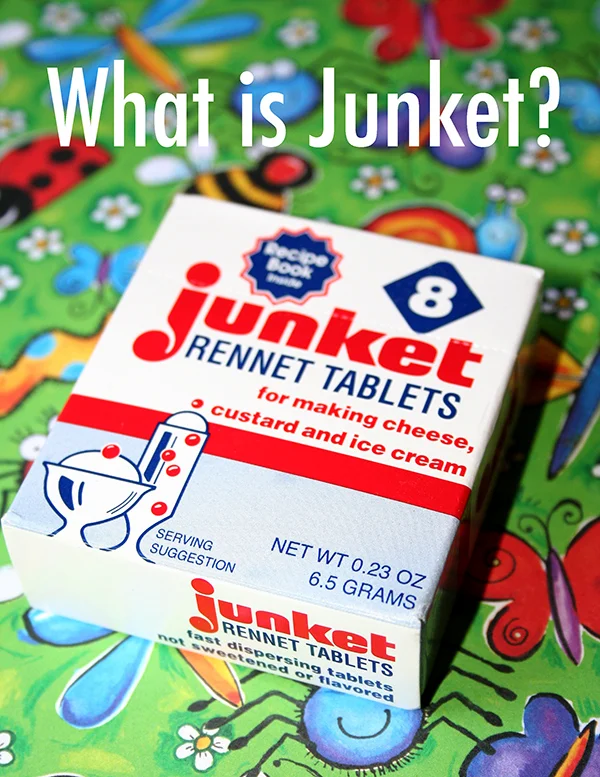
Junket. You've probably seen it at the supermarket. It's usually in a weird place on a high shelf in the baking aisle; I typically happen upon it when looking for Odense marzipan or Bird's Custard powder, which are also often in odd spots on the shelf. In its simple, of-another-era packaging, with a strange name, it seems somewhat forbidding. What the heck is junket, anyway? Well, I intended to find out, so I finally bought a package.
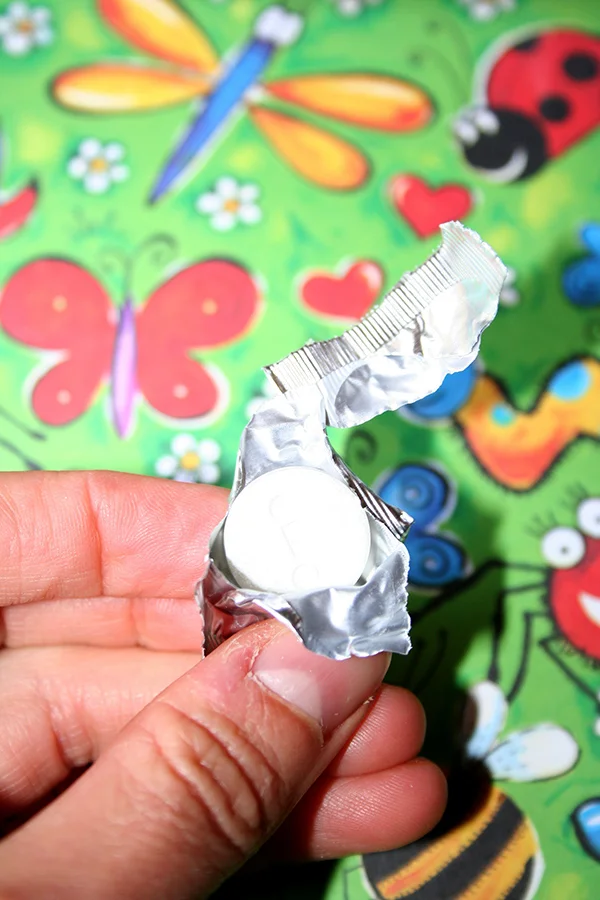
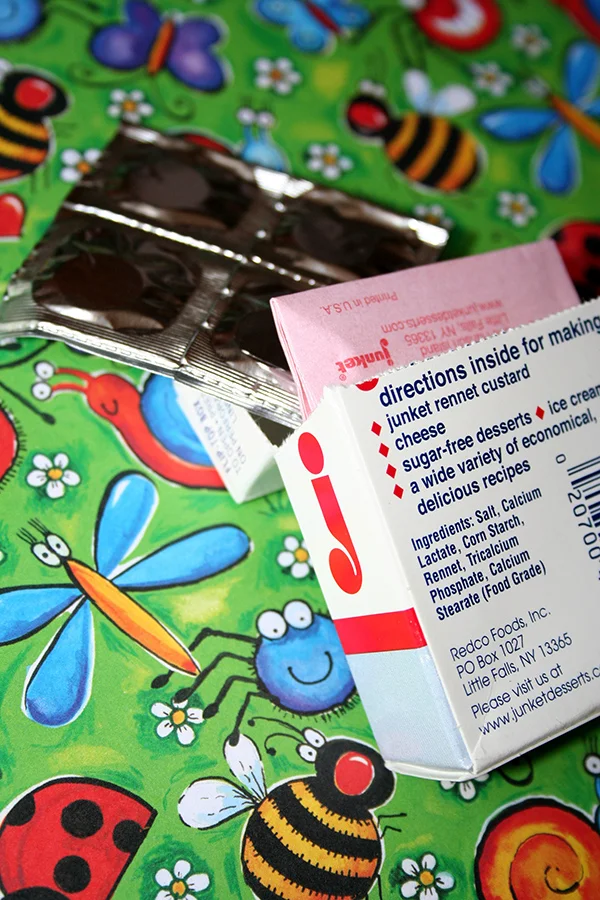
Opening the package, this is what you'll find. It really still doesn't offer many clues as to what the stuff is or what it does, although I do appreciate that it's appropriate "from six months to six feet". What if you're really tall though, or 5 months and 3 weeks old?
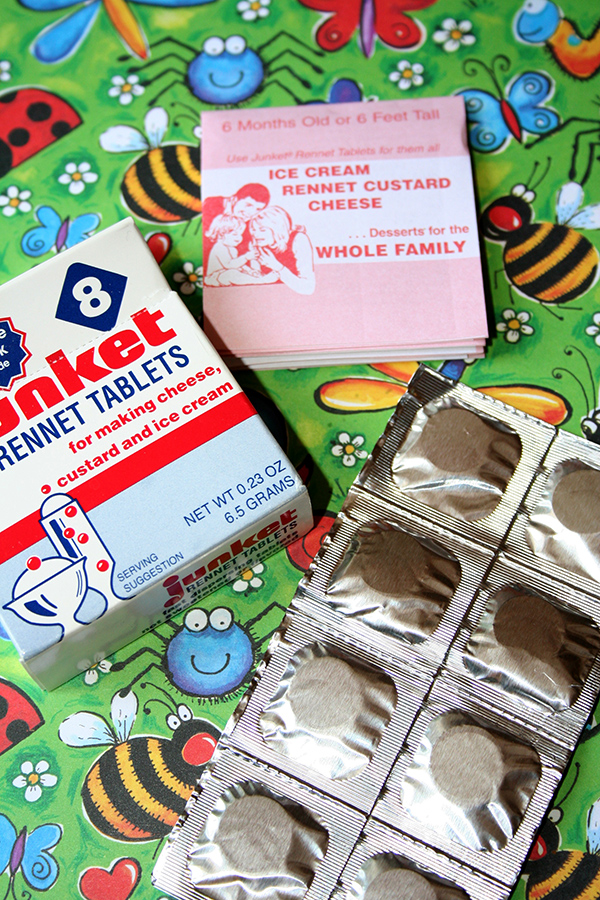
If you look at the side of the package, the ingredients reveal little: Salt, Calcium, Lactate, Corn Starch, Rennet, Tricalcium, Phosphate, Calcium Stearate (Food Grade).
Oh, and before you get grossed out about the rennet, quit it: this is man-made rennet, and is both vegetarian and gluten-free (I found out on their website).
Now...if I saw those ingredients and was asked what the product was, I would say it somehow involved cheese, because of the rennet. And I suppose I would be on the right track.
According to the company website, Junket is "for making easily digested milk foods".
The site also says, "Junket Rennet Tablets can be used to make cheese, rennet custard, ice cream, and sugar-free desserts...Not sweetened or flavored. You can add sugar and flavor to taste."
Feeling like I needed maybe just a bit more information, I started creeping around the internet.
What I discovered is that junket might refer to two things (aside from, you know, a press junket, which to the best of my knowledge has nothing to do with the food junket).
1: The dessert itself.
Junket is a milk-based dessert made with rennet. Rennet is the digestive enzyme which makes milk curdle and coagulate (good for making cheese). It is a very soft, custard-like substance.
2: The tablets.
Some people might hear "junket" and think right to the tablets, which are basically an instant path to making the dessert mentioned above; rennet is the key ingredient, along with other thickeners and stabilizers.
Why "junket"?
According to Elizabeth David, the word junket "derives from the French jonches or rushes, one of the numerous old French names for freshly made milk cheese drained in rushes or a rush basket." (Nova magazine, October 1965)
How do you make junket?
To make junket, you heat milk (with various flavorings and sweeteners depending on what flavor you'd like to make) to what is sometimes described as "lukewarm", but I prefer weird references I found online to heating the milk to "body" or "blood" temperature. Vampirrrrrres!
The reason you heat it to vampire-approved temperatures is that the enzyme is fairly sensitive, and temperature variations will de-activate it, so that the dessert won't thicken.
Source: Flickr
Junket: a noble rise and fall...and repeat
Junket isn't a new thing. Apparently, predecessors of junket were made as early as Medieval times, where a cream-and-rennet mixture, sweetened and flavored with rosewater, sugar, and spices, was an upper-class food, served to those among noble ranks.
Alas, along with the Tudor era came a taste for the next big thing, syllabub. Syllabub took over like cupcakes taking over cookies in the early 2000s. Junket was no longer a noble food, but it did trickle down to the masses--as it fell from popularity in genteel circles, it became an everyday food for commoners.
Then, in the late 1870s, junket went stateside. Christian Hansen, an owner of a lab in Denmark which made rennet extract for the cheese making industry, relocated to Herkimer County, New York; apparently, at that time, New York was the center of the US cheese industry (this is also the same era in which cream cheese became a Big Deal, btw). While the company's products expanded over the years, junket is the heart and soul of their offerings.
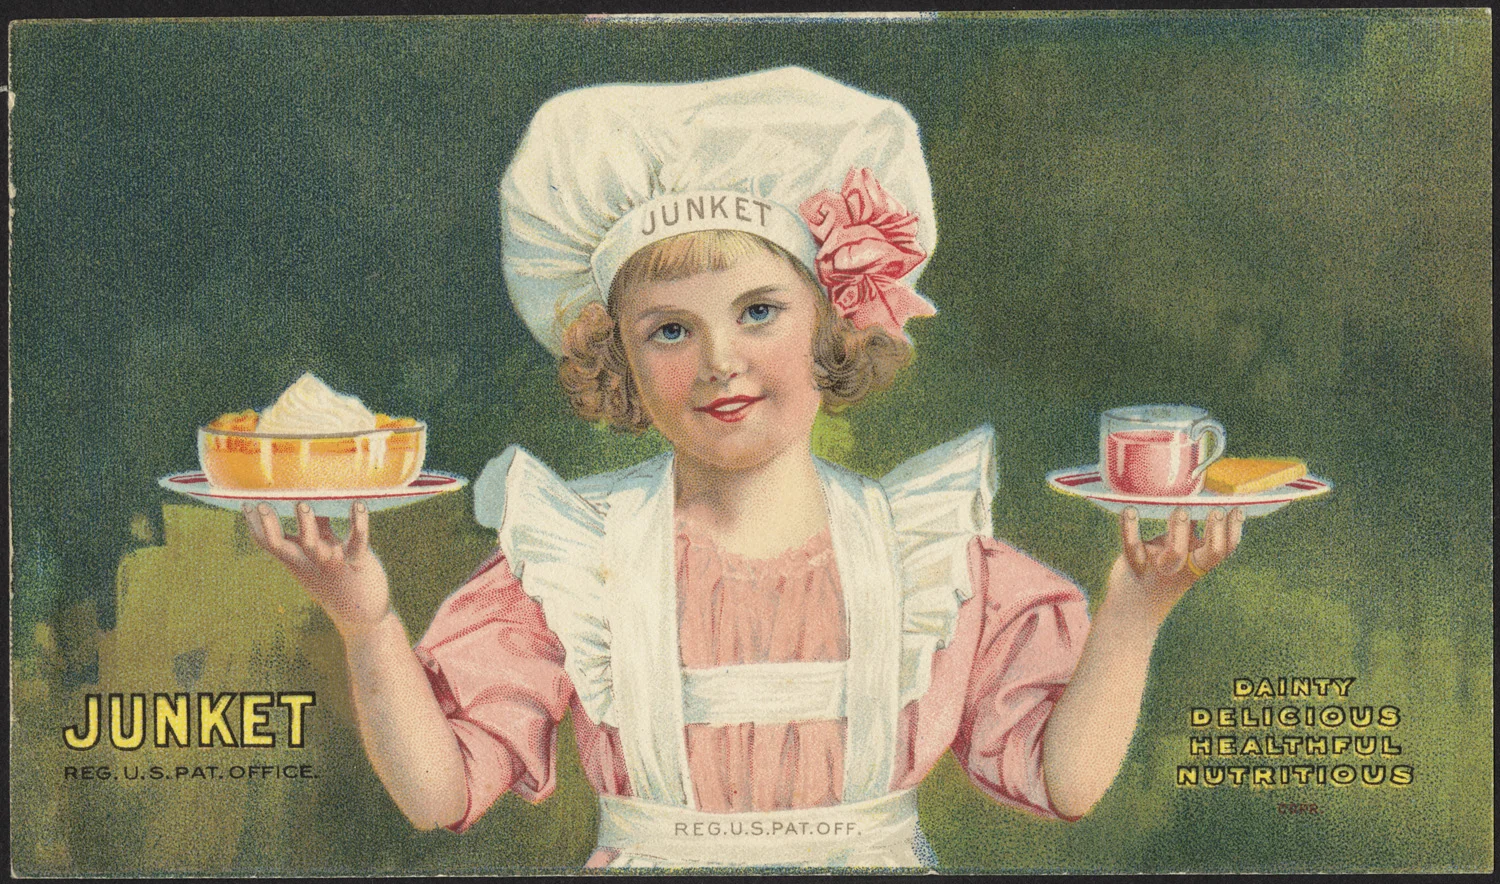
By the 1930s, junket had become a popular convenience food. For many, it was considered a food for the infirm: gentle on digestion for sick children's sensitive stomachs. For others, junket was an easy gateway to making homemade dessert. It's possible that perhaps the manufacturer was going for an elegant, European effect, though; as I learned from this article,
One New Yorker remembers that his first taste was in the Junket Pavilion at the 1939 World's Fair. "The women were dressed in Swiss Miss-type outfits and they were handing out samples," he said. "I was only 3 years old, but one spoonful -- it was chocolate -- and I knew I had found my favorite dessert for all time. When most people think of the '39 World's Fair they remember the trylon and perisphere. I remember Junket."
Actually, junket in its heyday kind of reminds me of Jell-O in that it straddled two worlds at once. On the one hand, it was a food for sick people; on the other, it had aspirations of being an elegant dinner-party dessert.
Junket was a strong-selling item through the 1960s, when instant pudding mixes began to take over the market. Sales began to slow...but they haven't stopped, even today.
Today, Junket mixes and Salada teas are still produced in Little Falls, New York on Hansen Island in the middle of the Mohawk River. Since 1988, Junket and Salada brands have been part of Redco Foods, Inc. You can find Little Falls just off the New York State thruway twenty minutes east of Utica, New York.
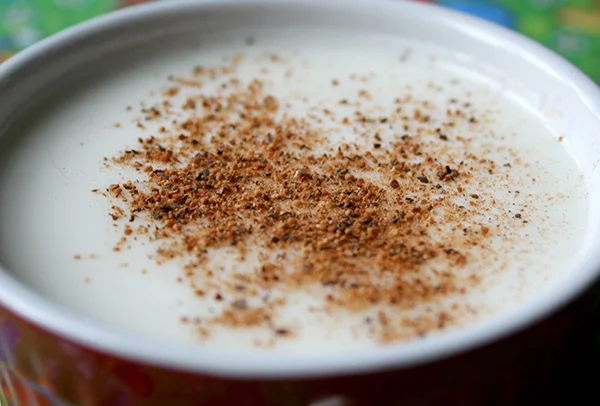
Recipe: Vanilla Rennet Custard
I found this recipe in the Junket recipes enclosed in the packaging. It seemed like a fairly easy place to start, a nice base recipe. (Printable version here)
Note: this recipe is vegetarian and gluten-free; Junket tablets' rennet is vegetarian.
- 1 cup whole milk
- 4 tablespoons sugar
- 1 teaspoon vanilla extract
- 1/2 junket tablet
- 2 teaspoons cold water
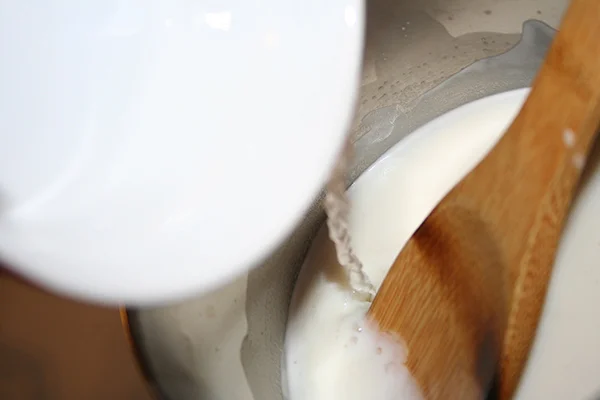
Combine the milk, sugar, and vanilla in a saucepan. Heat on low until the mixture comes to lukewarm (110 degrees).
While the mixture heats, dissolve the junket tablet in the water. Add to the milk mixture once it has attained lukewarm status, and stir for just a few seconds (I did 3 or 4 seconds). Remove from heat and immediately divide between two dessert dishes.
Let the dishes stand right where they are, undisturbed, for 10 minutes. Then transfer to the refrigerator to cool completely, about 2 hours. Enjoy chilled.
Have you ever tried junket? Would you?
How to Make Edible Chocolate Dessert Cups

It's possible that, until this moment, you didn't even know that edible dessert cups were missing from your life.
But now that you know that they're a thing, please learn how to make them with haste.
Read the full tutorial here.
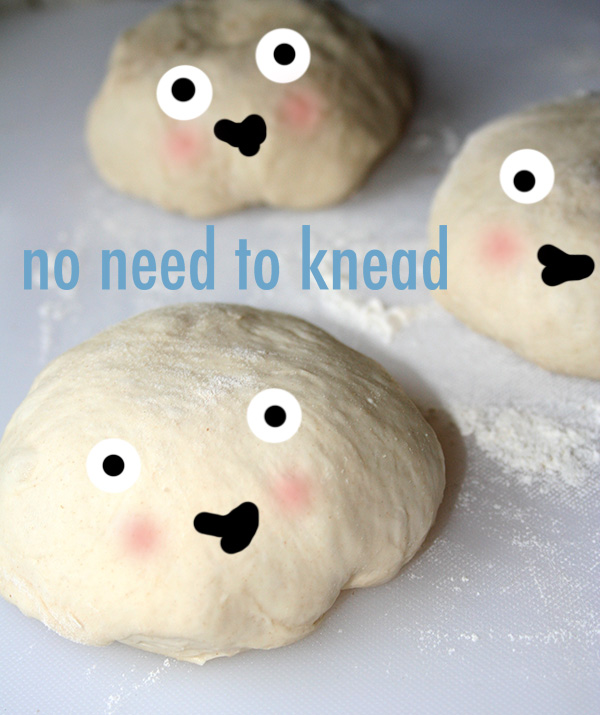
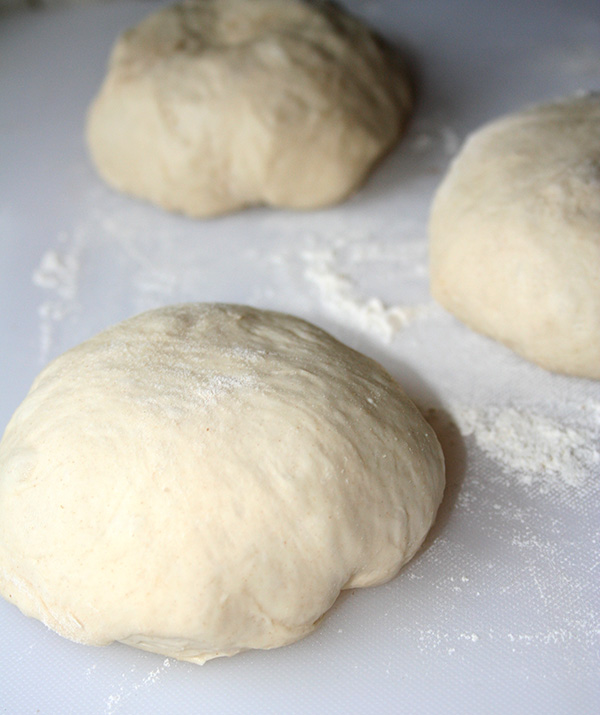
No Knead Pizza Dough
I know what you're thinking. It's probably something along the lines of "what the #*&% is CakeSpy thinking? This is a website for sweets, not savories."
My response is this: people, you need to pre-funk for cake somehow. And pizza is the way.
I love pizza--growing up in New Jersey, and spending my formative years in Brooklyn and Manhattan, I think my blood runs part tomato sauce and mozzarella cheese.
I'm not the only one: everyone loves pizza. And so, as a service to the pizza-loving masses, I want to share this recipe for no knead pizza dough. Foodies, it's nothing you haven't seen: the no knead method is famous. However, now I personally have a recipe to bookmark for myself on my own website, and you do too.

This recipe is simple as can be but gives you a great sense of accomplishment. Plus, it yields four balls of dough, which means PIZZA MOST OF THE REST OF THE WEEK!
Enjoy.
No Knead Pizza Dough
Adapted from Baking Steel, who adapted from Jim Lahey - Printable version here
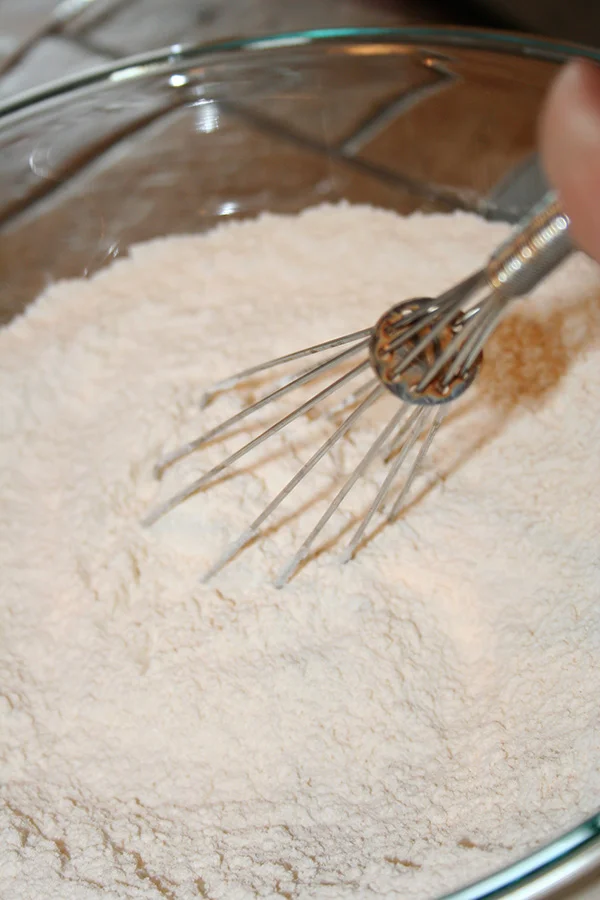
Ingredients
500 grams (17 1/2 ounces) bread flour, plus more for shaping
1 gram (1/4 teaspoon) active dry yeast
16 grams (2 teaspoons) fine sea salt
1/4 teaspoon honey
350 grams (1 1/2 cup) lukewarm water
In a medium bowl, whisk the flour, yeast, and salt until well combined.
Add the honey and water, and mix again, using a wooden spoon.
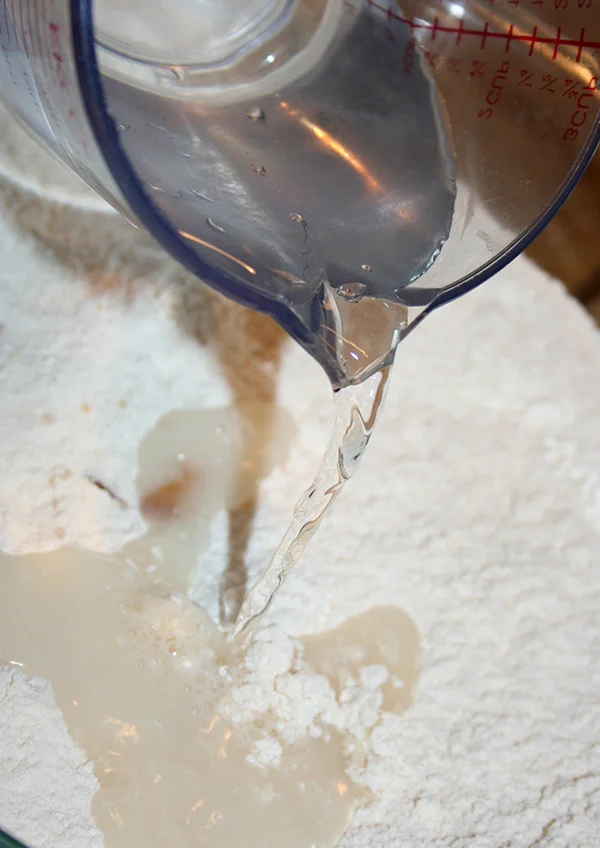
Cover the bowl with plastic wrap or a moistened but not wet kitchen towel. Allow it to rise at room temperature (about 72 degrees F) until it has more than doubled in volume. This time may vary depending on the temperature and humidity of the room.
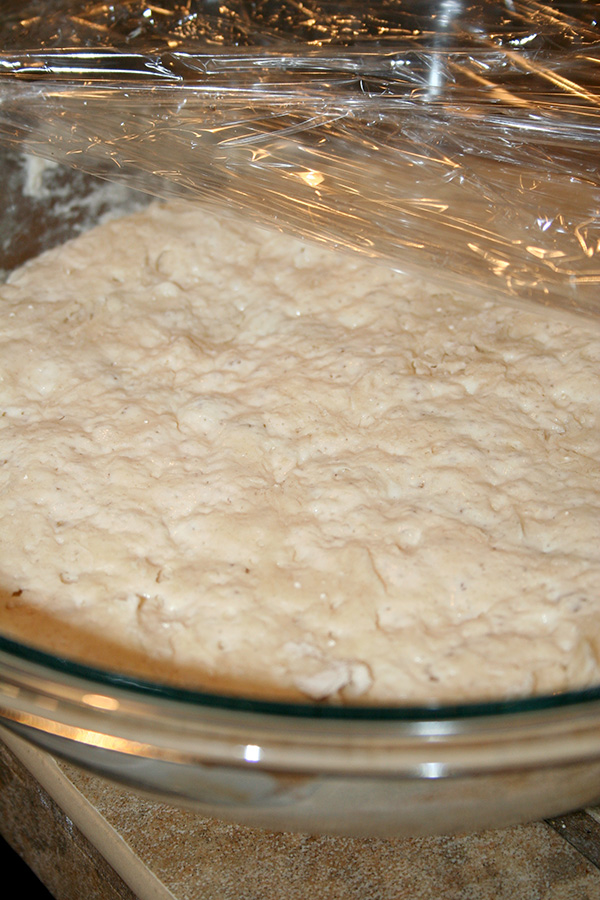
Turn the dough out on to a floured work surface. Divide it into four equal parts.
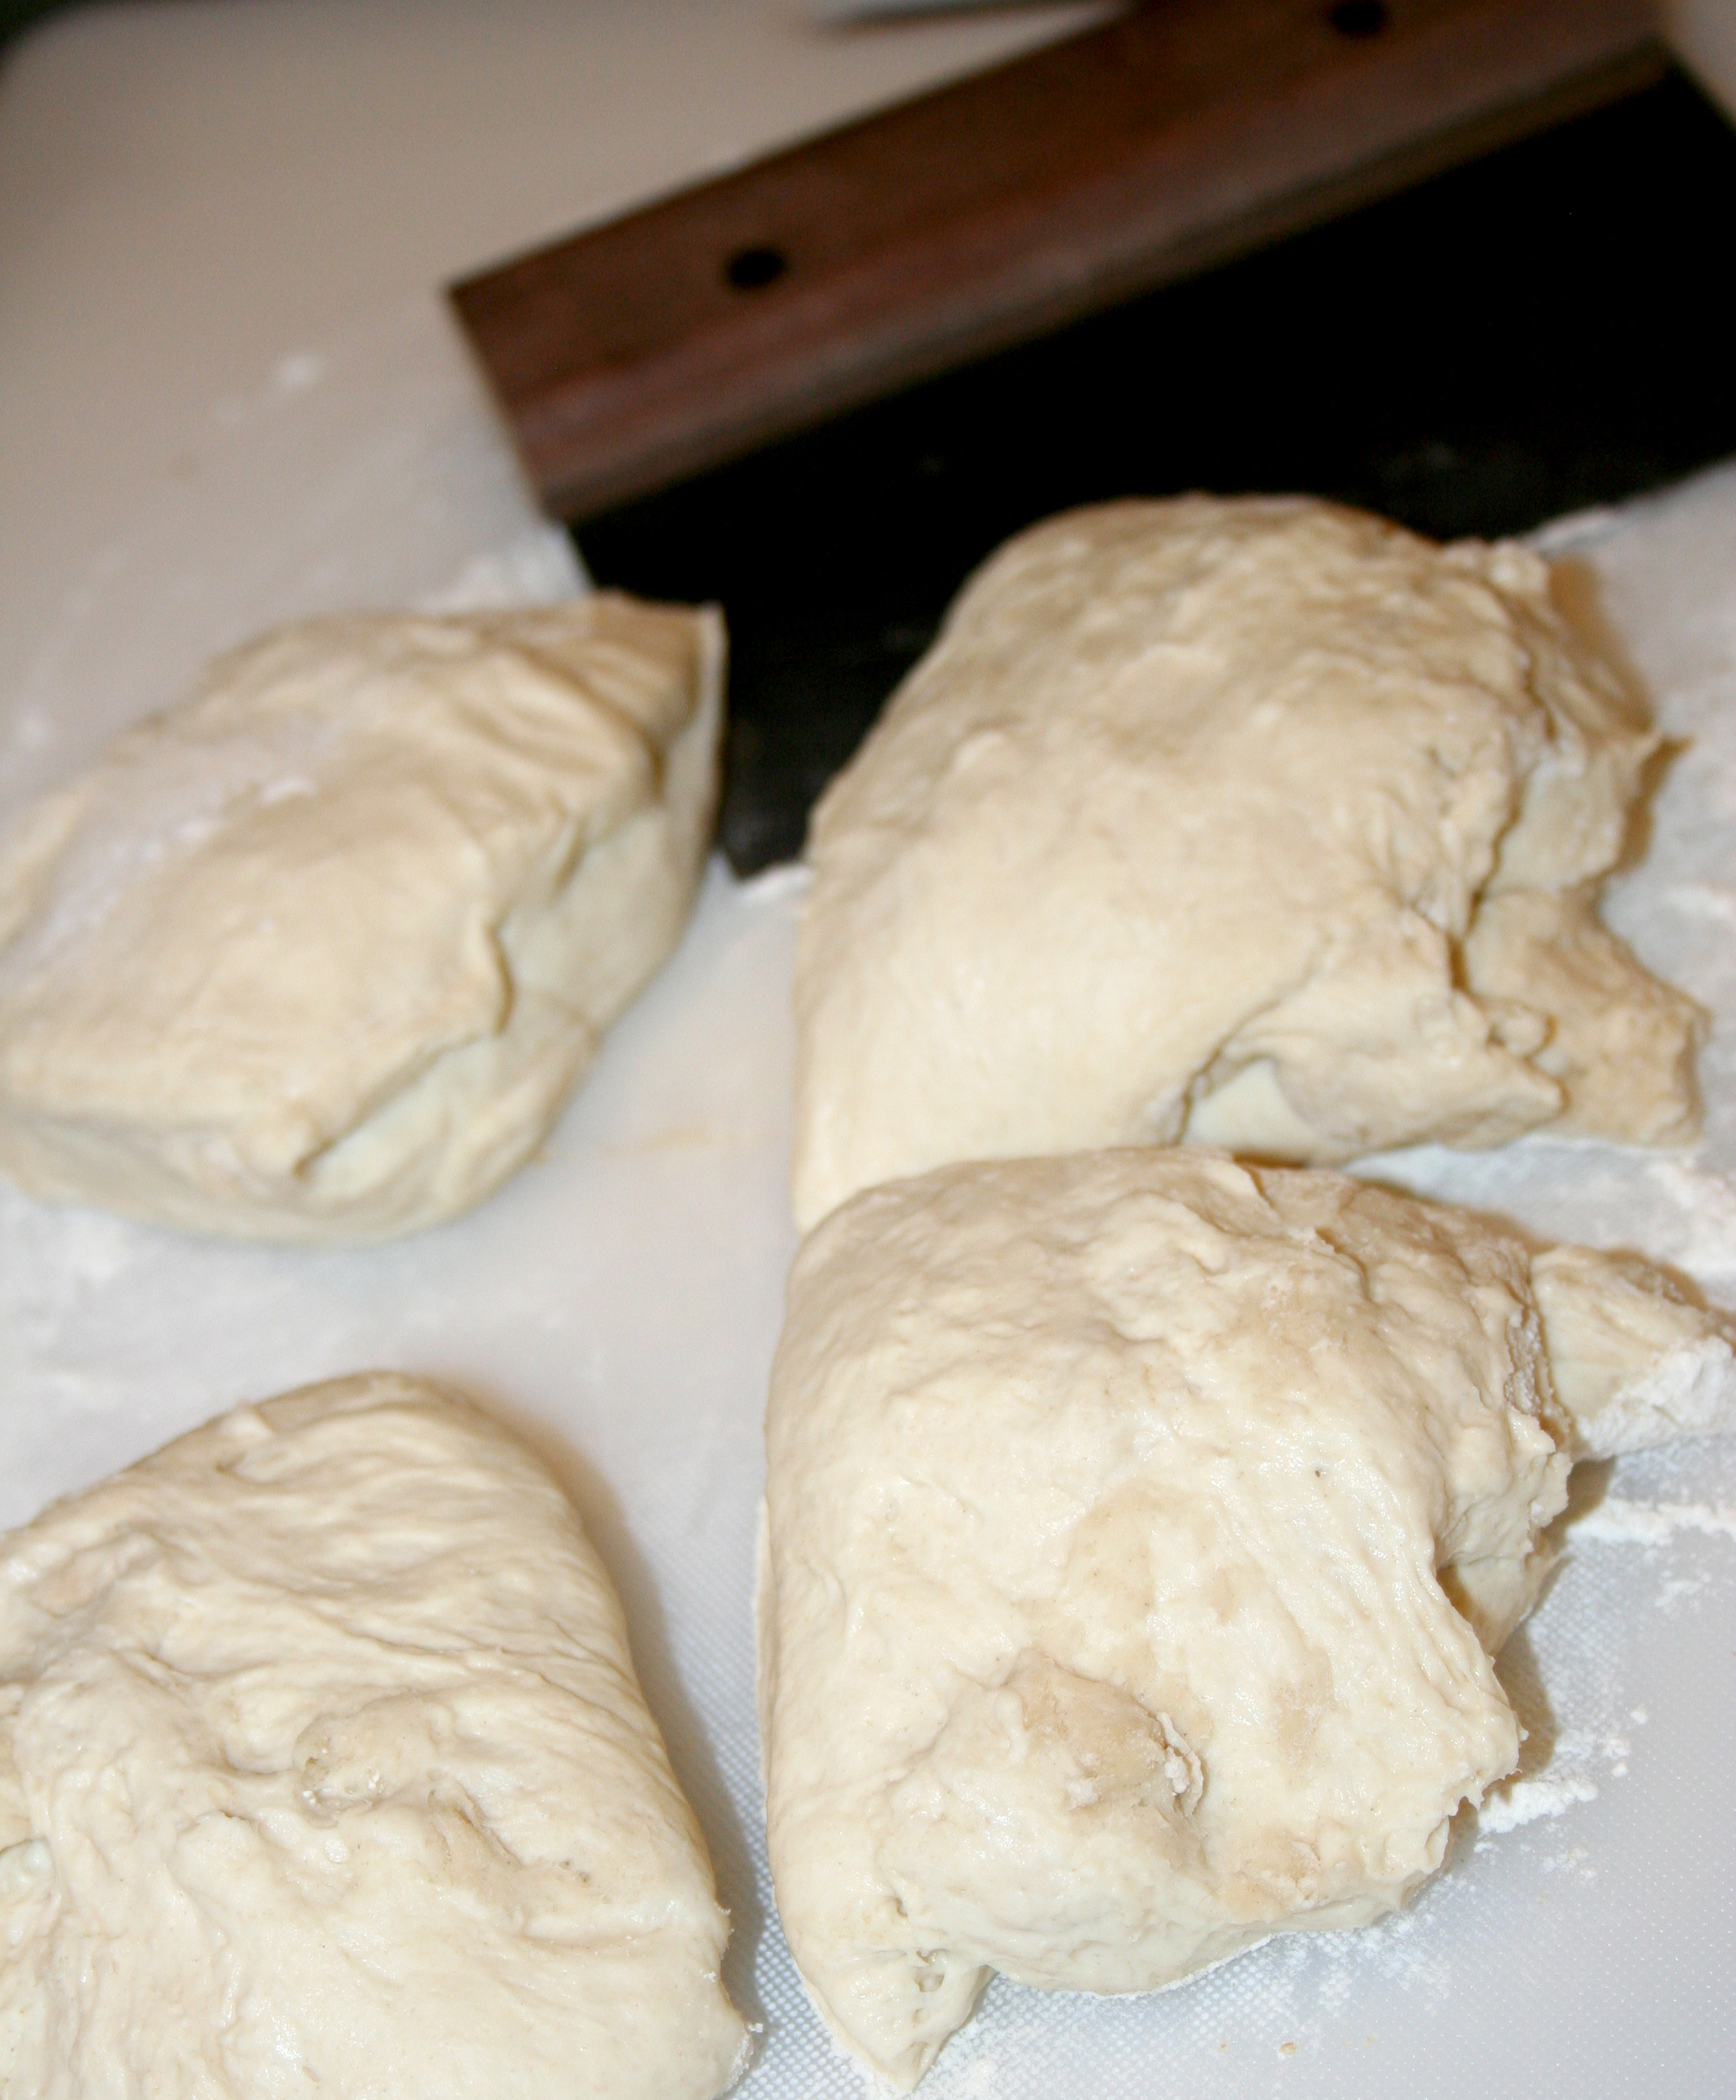
Gather the dough so that you have four little seams. Bring them together. Align the seam down. This is not kneading - it's making your dough a perfect little circle.

You can use the dough immediately, or wrap in plastic or in plastic containers for up to three days in the refrigerator. Return the dough to room temperature by leaving it on the counter for 2-3 hours before you want to make pizza.

Have you ever made no knead dough?
Baker's Dozen: A Batch of Sweet Links
The weekend! You made it!
Happy National Doughnut day! Check out this "design a doughnut" infographic I made. (CakeSpy for Craftsy)
Hummingbird cake. A forever fave of mine, and this one looks gorgeous. (Pass the Sushi)
"Idaho breakfast loaf" and other gross prison food on feature here. (McCall.com)
PUG CAKE POPS. Thank you Bakerella. Thank you. (Bakerella)
Here comes the story of the hurricane...the drink, that is. (WPTZ.com)
When to use dark versus light baking sheets. Interesting! (Lifehacker AU)
Can we talk about babies? Dutch babies? The food, not the people. (CakeSpy for Craftsy)
Peruvian cuisine 101. (Paste Magazine)
BEST EVER: Dana Cree finally shares her famous nutter butter recipe! (Lottie + Doof)
How the Jell-O shot went from frat parties to craft cocktails (Eater.com)
Related: What happens when you put jell-o in the ice cream maker? (CakeSpy)
Ever heard of Japonaise biscuits? (Honeycomb Crunchies)
Frozen chocolate mousse cake with a touch of pepper. Wow. (Sippity Sup)
Edible chocolate dessert cups. A very good idea. (CakeSpy for Craftsy)
Wimbledon cupcakes. So classy and summery. (What Jessica Baked Next)
Cheesy cauliflower tots. Not cake, but...sweeeeeeeeeeeeeet idea! (Babaganosh)
15 uses for leftover cake. (CakeSpy for Craftsy)
Book of the week: Back in the Day Bakery Made With Love. This book features the sense of wonder and delight that so many bakeries lack these days: adorable and whimsical decoration tutorials (marshmallow chandelier, anyone?) as well as treats that DELIVER: star brownies, party cakes, and some savories too. A fantastic book with solid recipes.
Truffle-Stuffed Olive Oil Cupcakes. Yes.
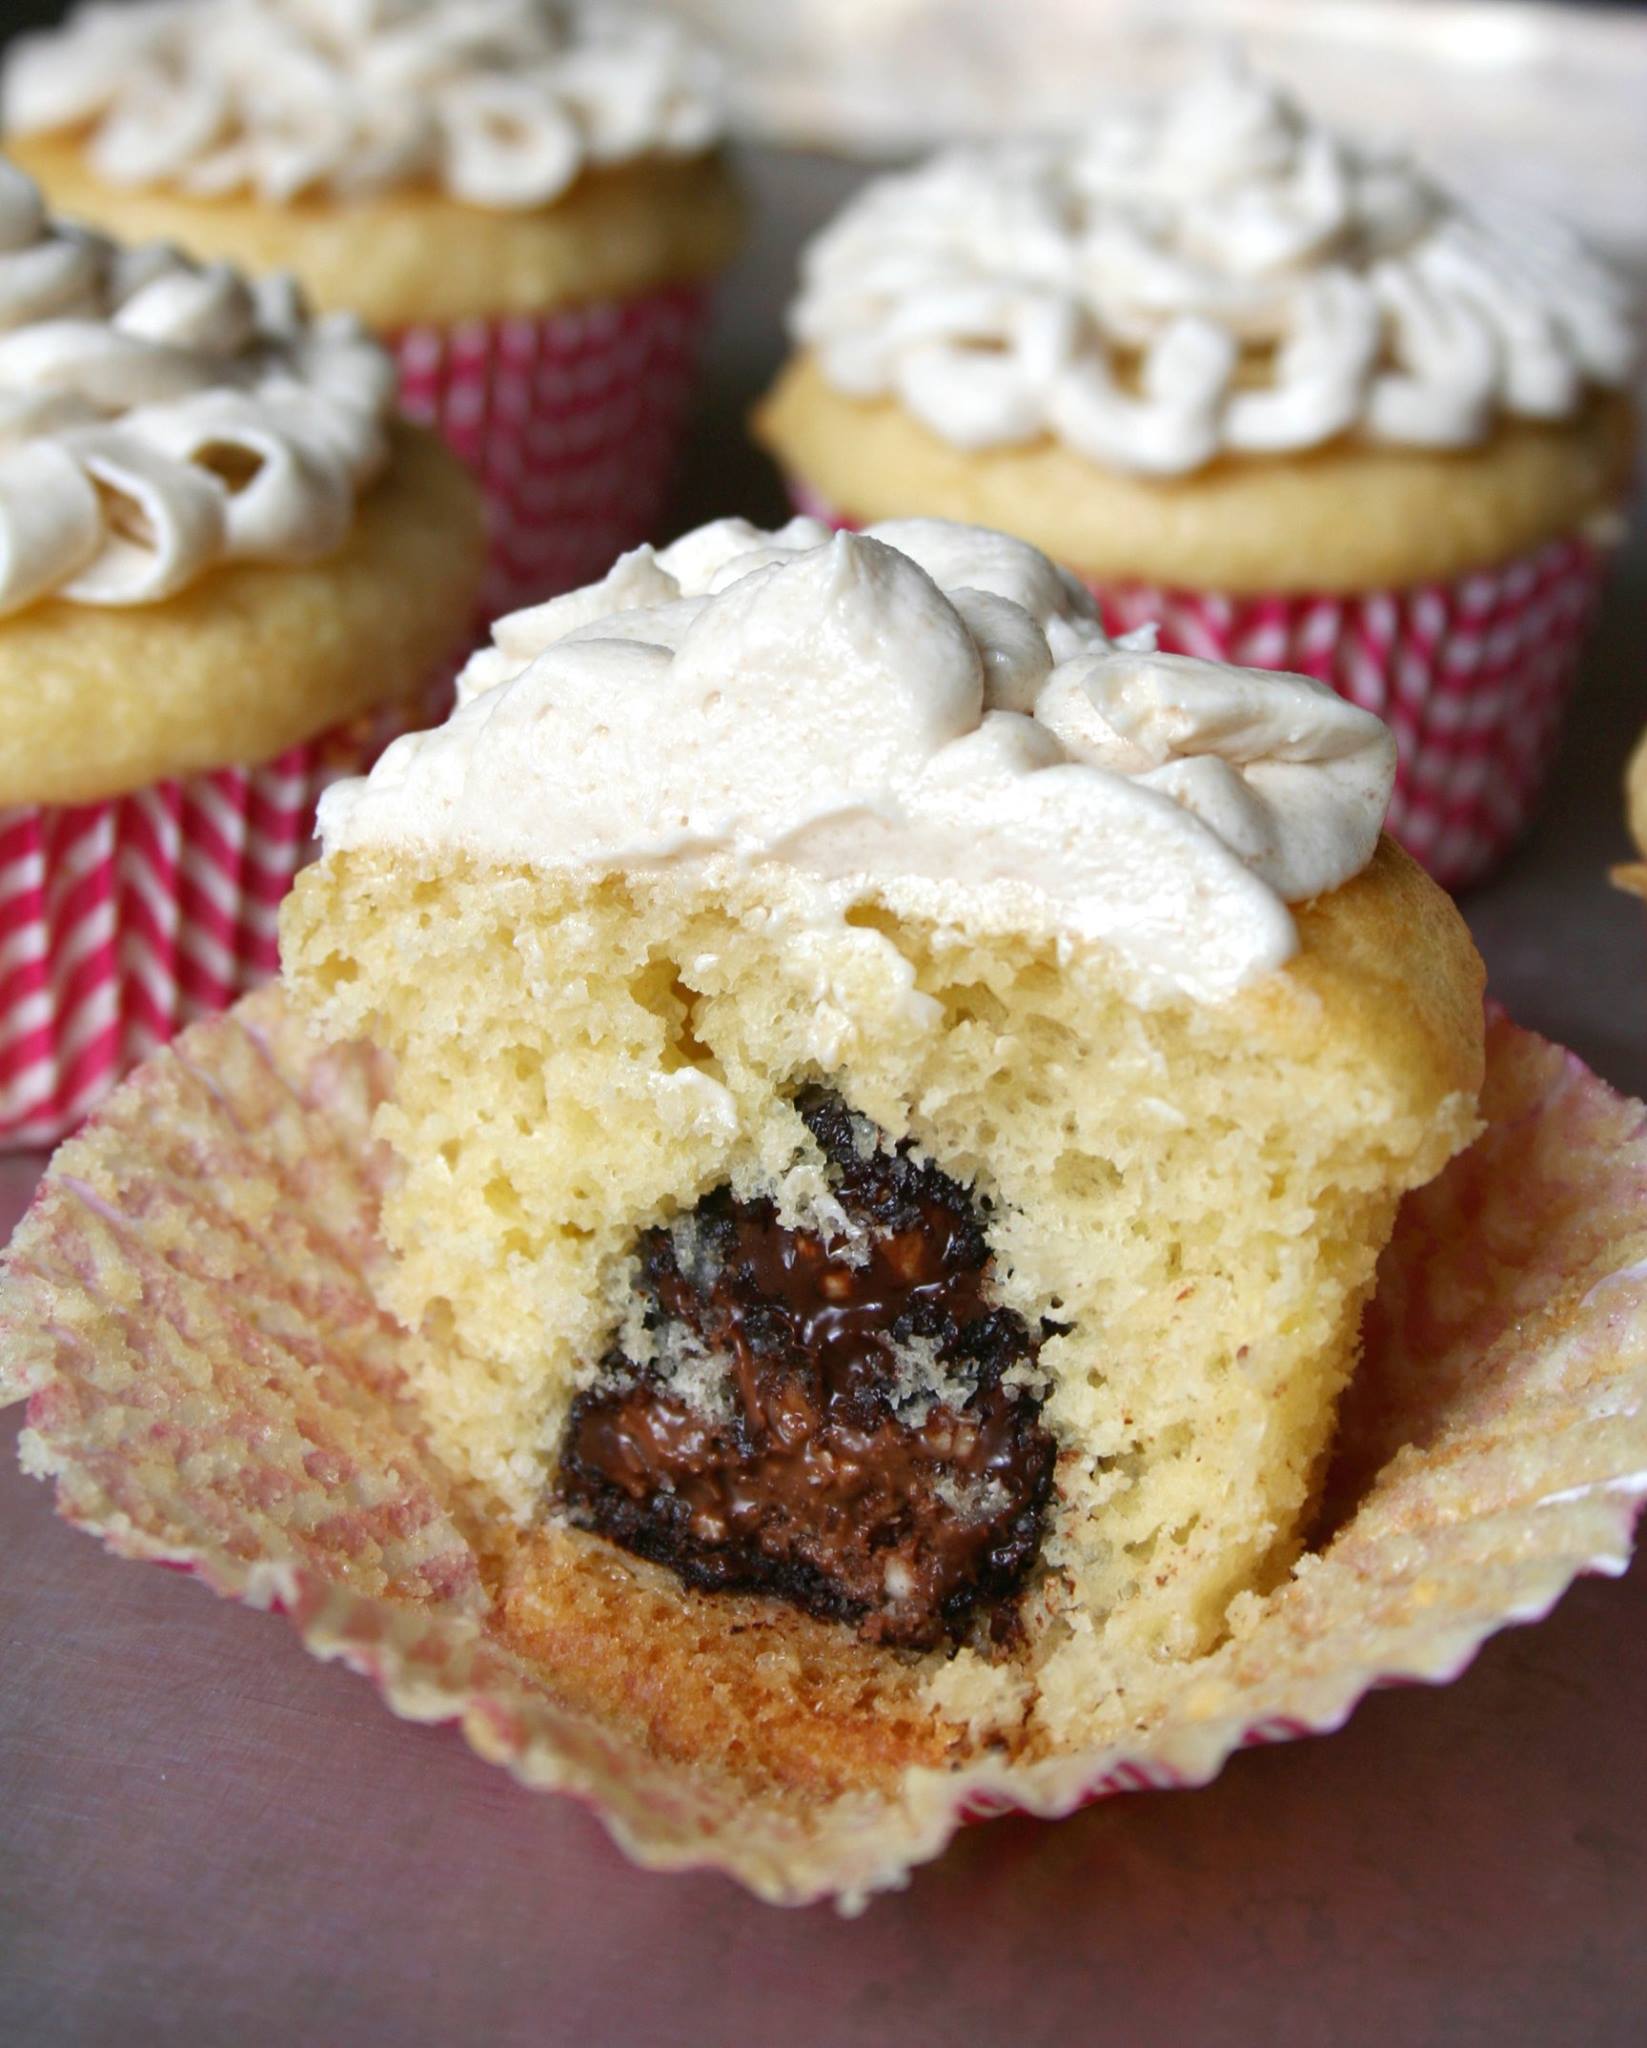
Baci truffle-stuffed Colavita Olive Oil Cupcakes. Try saying that five times fast!
Or, better yet, don't try saying it at all: just make the recipe and stuff your mouth with one.
Recipe here.
In Praise of Salted Caramel Ice Cream
Not so long, ago, I actually heard someone utter the words "Salted caramel is so over." It was in line, in an ice cream shop. Referring to one of the most popular flavors.
Well, that just about knocked me off my unicorn. Because seriously, is salted caramel a flavor that can be "over"?
To me, salted caramel is among the ranks of mint chocolate chip, rocky road, or chocolate chip cookie dough. You don't have to like them, but they are going to be on the menu at an ice cream shop.
The fact that salted caramel is a relatively new addition to the ice cream (and baking, and confectionery) roster doesn't seem too important. When it rose in popularity is not as important as the fact that it's not going anywhere; now, it's largely considered a standard flavor.
I think the key to salted caramel's success as an ice cream flavor is that it's a flavor that tastes like it has always been around and that you've always loved it, even if you've never had it before. Nothing in it is new: you've had salt before. You've had caramel before. You've had ice cream before. But somehow, when united in one creamy, scoopable form, the combination is utterly irresistible.
Salted caramel, I believe that you have officially graduated from flavor of the month to forever flavor. And I'm so happy to have you on the menu.

This salted caramel ice cream is a variation of an upcoming recipe for New Mexico Magazine. This is not quite the version I went with for the magazine (that one has some add-ins and slight differences from this recipe--a hint above as to some of that!), but this version really was so delicious that it really, really needed to see the light of day.
Salted Caramel Ice Cream
Makes about 6 servings - adapted from Food52 - Printable version here
- 2 cups heavy cream
- 1 cup half and half
- 6 egg yolks
- 1 1/2 teaspoons vanilla extract
- 3/4 teaspoon salt
- ⅔ cup light brown sugar, packed
- 2 tablespoons water
Configure the supplies you’ll need for cooling your ice cream a few minutes down the line. Place a large bowl in an ice bath. Have a strainer close to the large bowl. Ultimately, you’ll be pouring your ice cream custard into the bowl through the strainer to cool.

Measure the cream and set to the side. It will be a few minutes before you need it again.
Measure the half and half and pour it into a medium sized bowl. Add the egg yolks, vanilla, and salt, and whisk together until combined. Set to the side.

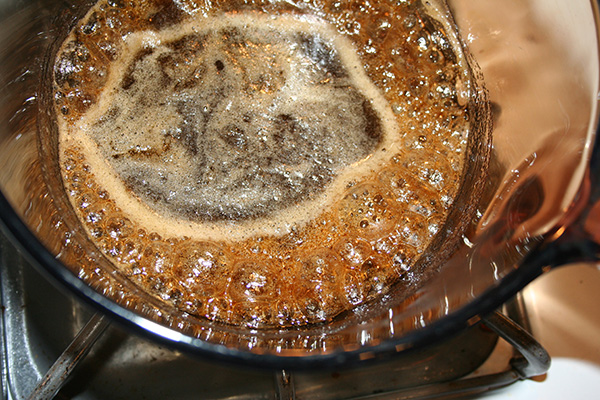
Place the brown sugar and 2 tablespoons water into a large, heavy-bottomed saucepan. Place over medium heat, shifting the pot by swirling by the handle (rather than stirring with a spoon) as it heats. It will begin to bubble, first at the edges, and then all over. Continue swirling it every now and again, but keep a close eye on the mixture. When it begins to darken (you have to look really closely, because the mixture is already somewhat dark and it will be bubbling), remove from heat.
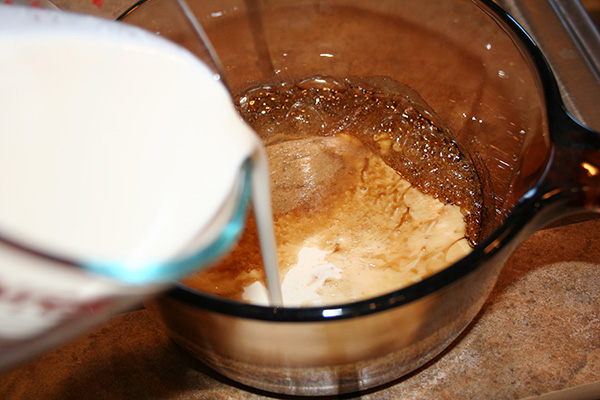
Off-heat, slowly pour the cream into the brown sugar caramel mixture. Brace yourself: this can be a firecracker of a reaction, complete with hissing and bubbling liquid. Don’t panic: the mixture will quickly begin to level off. Also, don’t panic if you notice hardened lumps of caramel in the mixture. This is normal.
Place the pan back on the burner, on low heat this time. Stir gently but frequently using a whisk, and you’ll notice that any lumps will gradually melt into a golden mixture. Once the mixture is smooth, remove from heat again.

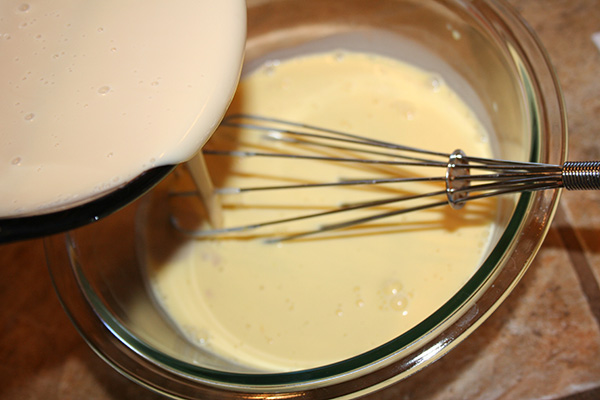
Grab that egg mixture you set to the side. With a whisk at the ready, pour a small amount of the hot mixture into the egg mixture, and whisk constantly while you pour so that the egg mixture can acclimate to the heat and that the eggs don’t scramble. Add the remainder of the mixture in a slow but steady stream, whisking all the while.
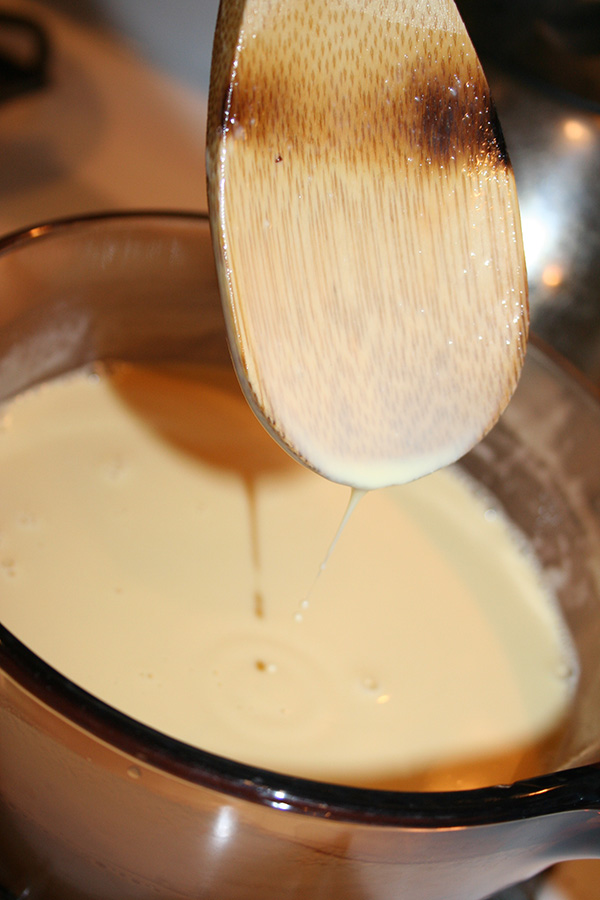
Transfer the mixture back to the saucepan (no need to wash in between) and place it back on medium heat. This time, use a wooden spoon to stir until the mixture begins to thicken, five minutes or less. When the mixture has thickened to the point when it sticks to the back of the spoon and drops seem hesitant to drop off of the spoon when lifted, you can remove it from the heat.
Pour the mixture through the strainer and into the bowl perched atop the ice bath. Careful--you don’t want the ice water to slosh into your mixture.

Whisk the mixture every 10 minutes or so until it feels cold. Cover the bowl in plastic and place in the refrigerator for a minimum of three hours, or as long as overnight.
After the cooling period, transfer the ice cream to your ice cream maker and churn the ice cream according to the manufacturer’s instructions. Transfer to a freezer-safe container and freeze for several hours before enjoying.
Do you think salted caramel a new classic?
CakeSpy Loves: Mr. Nelson's Cookies
I officially love Mr. Nelson's Cookies. They wooed me and it worked, because I am a fan for life. Let me tell you the whole story, OK?

So, a week or two ago I received an e-mail from the company founder's (um, that would be Mr. Nelson) son, who said that he really, really thought that I should try these cookies and that he could arrange a sample.
What is it they say about accepting treats from strangers? Never mind that. I said yes! Please send me cookies.
When they arrived, they came in a large priority box. The cookie box was nearly the same size, and as I pulled it out, I was greeted with a personal note...on blind embossed, thick card stock stationery. As someone who has worked at two different stationery companies, I was already pretty impressed.

And I've never felt so proud to have cookies. They gave me an official congratulations, printed on hefty card stock. Sweet!

Now...back to the box. It was really most impressive. To give you an idea of scale, I have placed it among my unicorn collection.
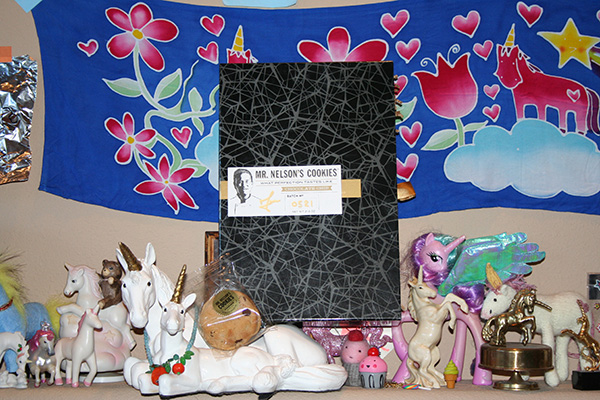
The box even had a batch number. I have never had a batch of cookies where I KNEW the batch number.

Well, I should have been prepared. Even their website has the quote "I couldn't take my eyes off of the packaging until I bit into the cookie." I was so there.
Well, OK. It was time to open it up. An inner cavity slid out of the box, like a dresser drawer. Inside were cookies.

These cookies had some serious heft: one could easily fill your hand. I loved the size, which was large enough to feel naughty but not stupidly huge (I really don't like huge chocolate chip cookies, but hefty, thick ones are fine). And I checked - the cookies weigh close to 1/4 pound each. Ohhh yeaaaah.
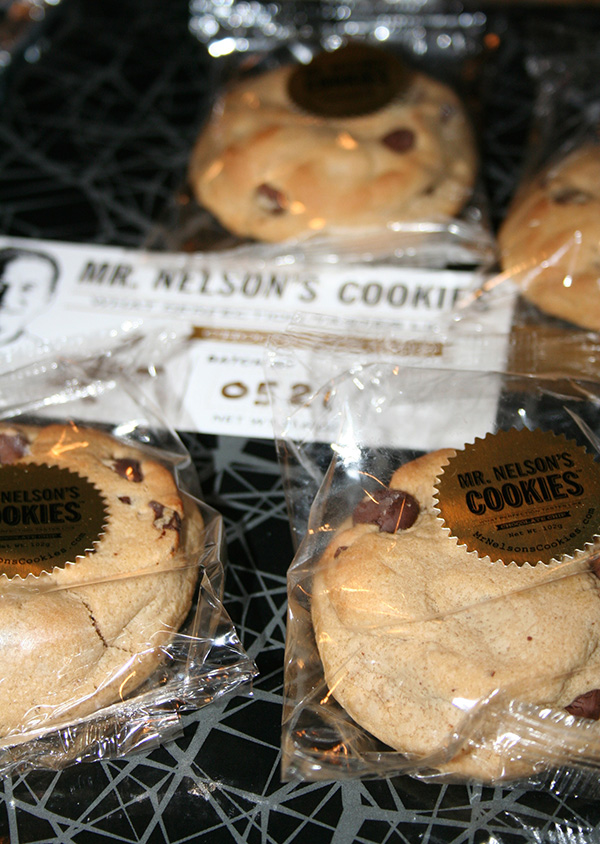
Now...in case my photos have not given you the idea, here's a picture courtesy Mr. Nelson's Cookies of the whole package, which is quite accurate to how it looked when I opened it:

Was it all pomp and circumstance, fancy packaging to mask just any cookies?
No, my friends. These cookies are the REAL DEAL. I don't know if I've ever had a commercial cookie that had ever matched my ideals for the dream cookie like these.
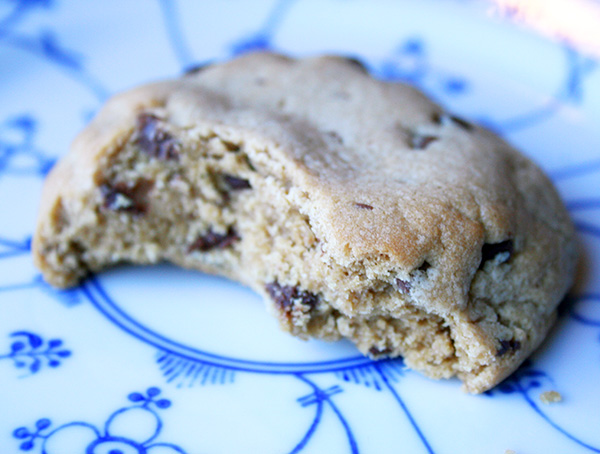
In the center, they're soft--almost dough-like. But they hold their form, and have edges that are just this side of crispy. On the whole I would say it's a soft cookie, but it wasn't a wimpy cookie.
And the flavor. Vanilla-kissed. Chocolate. Brown sugar dough. Everything a good chocolate chip cookie should be, all executed excellently. In spite of the packaging, these cookies aren't especially showy, but they are very, very good. They are the most impressive cookies I have had in quite some time, and I am exposed to more cookies than the average person, if I do say so myself.

Also interesting is Mr. Nelson's story. He is a real person--and formally trained as a chef. According to the website,
Mr. Nelson is a “one-man-show” as he personally makes, bakes, wraps and packages only 24 dozen perfect chocolate chip cookies a day, four days a week. Oh, and given he only makes one type of cookie, Chocolate Chip, (and nothing else!) you could also say he is a “one-trick-pony”; however, please know, it is a very “tasty” trick!

Photo via Mr. Nelson's Cookies
I love that this man has focused so closely on perfecting the chocolate chip cookie. I am sure that he could do more, but there is something really beautiful about paying so much attention to every detail, from chip dispersement to packaging. I really, really appreciate the whole package.
Check out Mr. Nelson's Cookies here.
CakeSpy's Recent Craftsy Posts

DIY hacks: make your own baking ingredients. Bookmark this one for sure!
DIY coloring book pages. Fun for kids and adults alike!
Free download: coloring book pages for adults! Related to the above link.
A beginner's guide to watercolor brushes.
DIY pudding mix. You will totally win at dessert and gifting all at once if you give this to people.
Awesome infographic: 300+ cookie variations from one recipe.
Tips for painting pet portraits. I talk about the life skills that matter.
DIY cookie butter. So delicious.
Tips for painting oil portraits. Get artistic!
A guide to the most common canvas sizes. A helpful reference.
Edible dessert cups made of chocolate. AWESOME!
Gluten-free eggplant parm. I love gluten, but this stuff (made with cornmeal) is SO GOOD.
Bonus: here's a post by my mom! How to get started out drawing anthropomorphic animals.