The "ultimate" Funfetti cake. I don't disagree. (The Kitchen Adventurer)
International Starbucks drinks that blow the PSL out of the water. (Delish.com)
Salted caramel chocolate cake. I need this. I deserve this. (Sweet Paul)
Guess what? I went to Florida. Read about my adventure here. (CakeSpy)
Pumpkin buttermilk pudding. Whoa! (Fork Vs Spoon)
Anywho, Ben & Jerry's now makes beer ice cream. (Ben & Jerry's)
Fried eggs with jam? A fascinating look back at the USSR, through food. (The Guardian)
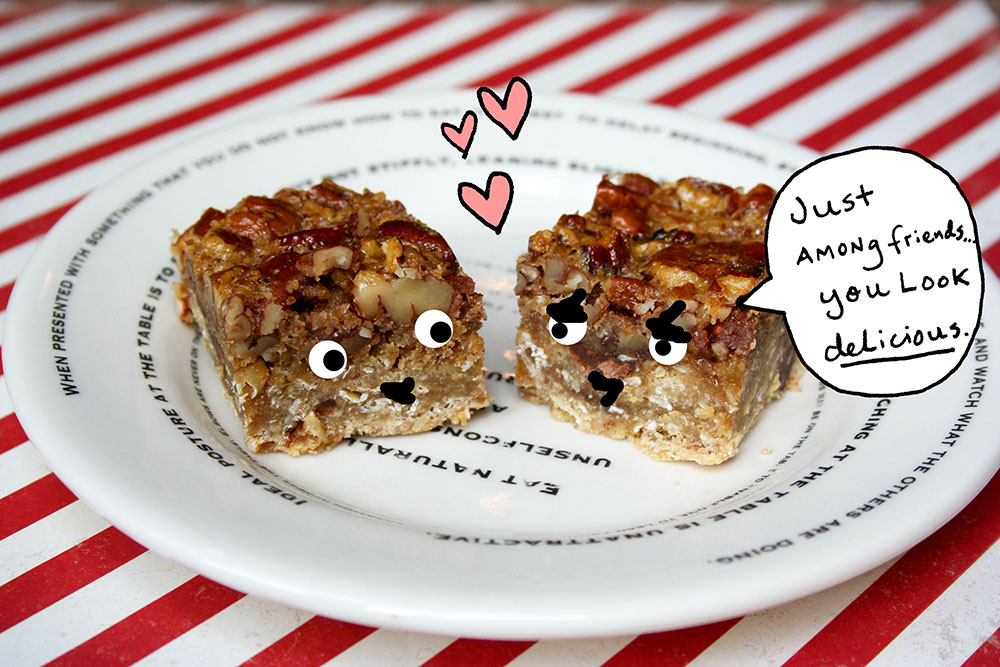
Brown butter cranberry white chocolate pecan blondies. SEXY. (Beach House Kitchen)
Olive oil buttercream! Believe it. (Colavita)
Small batch pumpkin pie bars. (Baking Bites)
Apple and peanut butter blondies. Perfect. (Cook the Story)
I enjoyed this roundup of 12 desserts made with... CAULIFLOWER!?! (Here)
Creative ideas for painting on canvas. (CakeSpy for Craftsy)
The potato chip that tastes like a sandwich: an exploration of extreme food flavors. (The Atlantic)
How to make dried apple slices in the oven. (Getty Stewart)
Learn how to draw faster. It helps increase confidence and muscle memory! (CakeSpy for Craftsy)
Book of the week: Dessert For Two. Sometimes, a whole batch just isn't called for. This book is perfect for those moments, with small batch recipes for cookies, cakes, pies, and oh my, so much more. Living with one other human (and two dogs, who aren't allowed to have the sweets), this book is very helpful! Written by Christina Lane of the blog by the same name, Dessert For Two.