January 2: National Cream Puff Day

Happy New Year, again! AND, happy National Cream Puff Day. Can you guess how I will be celebrating? 

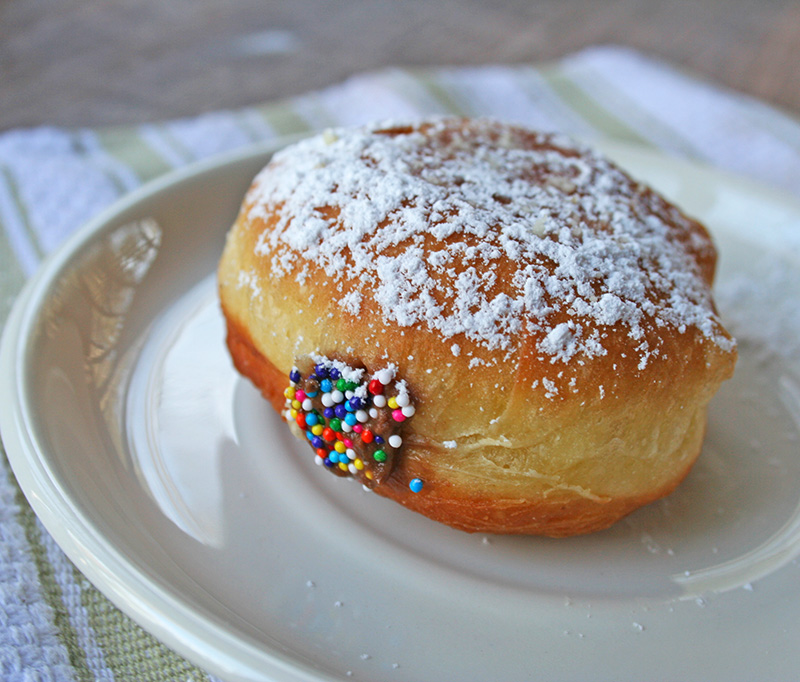
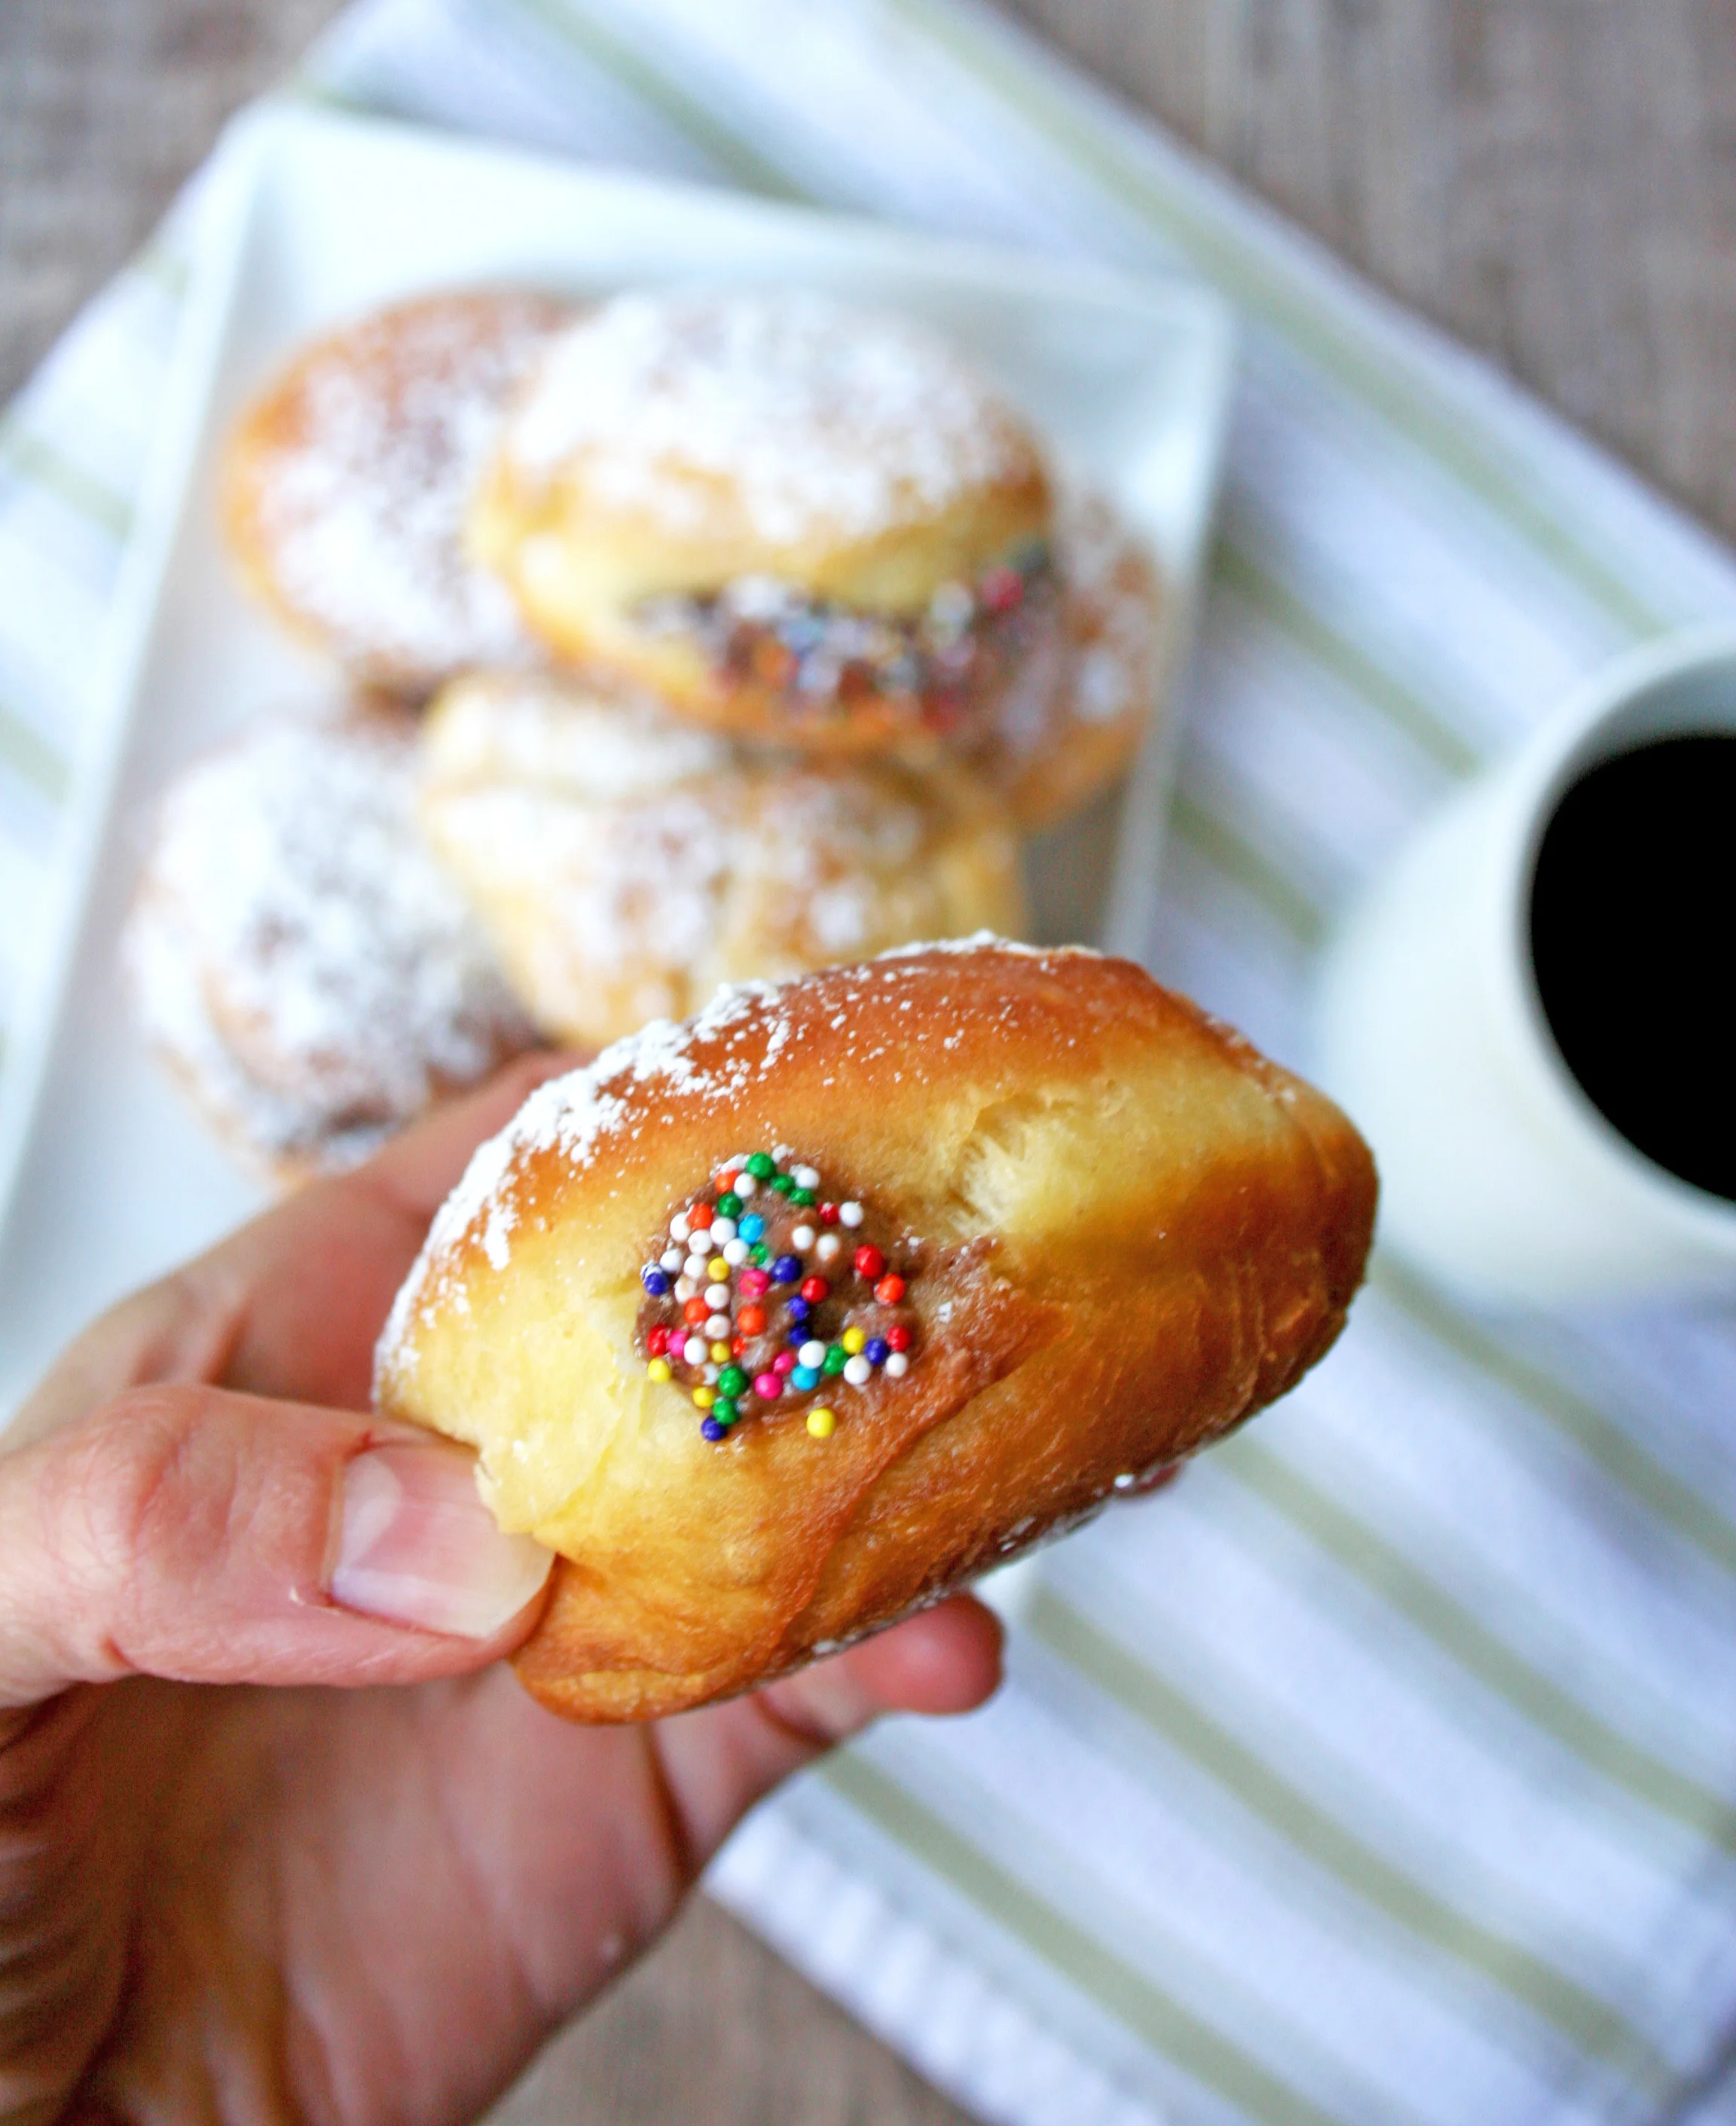
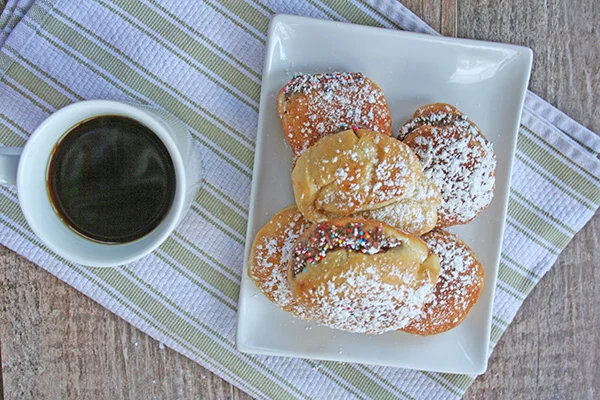
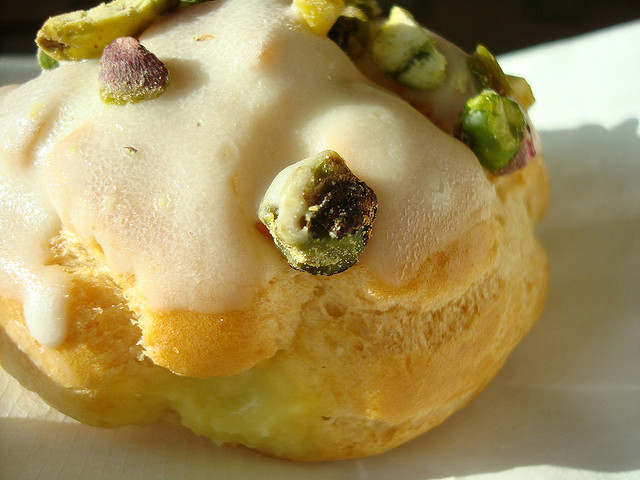
Cream puffs. Doesn't that pairing of words just send a shiver of joy through your heart? There's no bad part about these sweet treats: a light as air pastry puff, piped or filled with rich, sweet cream. They are a Good Thing. 

We've been enjoying cream puffs in the USA since at least 1851, but they were probably around before that, just going by different names. They're closely related to the French profiterole, and from my reading on the subject, it's likely that cream puffs are a mere adaptation of the profiterole. 

The concept for these sweet treats is said to have gotten to France when Caterina de’ Medici, wife of Henry II of France, brought the recipe over from Italy (or, more likely, one of her servants brought over the recipe!). But she ought not be considered the inventor: cream puff-esque pastries are documented in Europe as early as the 1300s.

The word "profiterole", which goes back as early as the 1600s, is said to translate roughly as a "roll baked under the ashes". I wouldn't take this too literally--I would guess that this means the profiteroles were probably baked in the residual heat of an oven as it cooled, when the fire was reduced to ashes. But that is just a guess on my part. 

Regardless, the cream puff concept remained alive and well in Europe, and in the 1600s the dough was commonly referred to as "choux" pastry, because of the resemblance of the puffs to little mini cabbages. ("Chou" = cabbage). 

By the 1800s, profiteroles were a commonplace item in France and England, often gracing upper-class tables, and created in fanciful shapes (swans, etc). 

The concept came over to the US with settlers at some point, and my guess is that this is where "cream puff" and "profiterole" began to take slightly different paths. For me, a profiterole is basically a cream puff, but always with a vanilla cream and chocolate on top, whereas a cream puff could have just cream filling, or include various flavors of filling and/or icing. So, that is to say, a profiterole is a cream puff, but a cream puff doesn't have to be just a profiterole. 

These days, cream puffs are a commonplace item on dessert menus and in bakeries. Not quite as common as cupcakes or chocolate chip cookies, so they feel a little special when you come across them. In my opinion, cream puffs are best served like cannoli: filled to order, and enjoyed immediately. 

Like many other food holidays, pinpointing exactly how and why January 2 was designated National Cream Puff day, and by whom, seems a bit elusive. But really, are you going to argue the chance to enjoy a cream puff? I'm not. 

Five bits of cream puff trivia:

The world’s largest cream puff was created and presented at the Wisconsin State Fair. Weighing in at 125 pounds, it was made by Dave Schmidt and Team Cream Puff. Apparently, cream puffs have been a tradition at the fair since 1924.

The Wisconsin State Fair also has a celebrity cream puff eating contest

Something called the bossche bol exists in the Dutch city of Den Bosch. It is a huge profiterole-style cream puff, coated all over with chocolate. 

Gougères are basically savory cream puffs

Beard Papa is an international cream puff chain. They have well over 60 locations in the US, and internationally (as widespread as Guam, El Salvador, and Indonesia!).

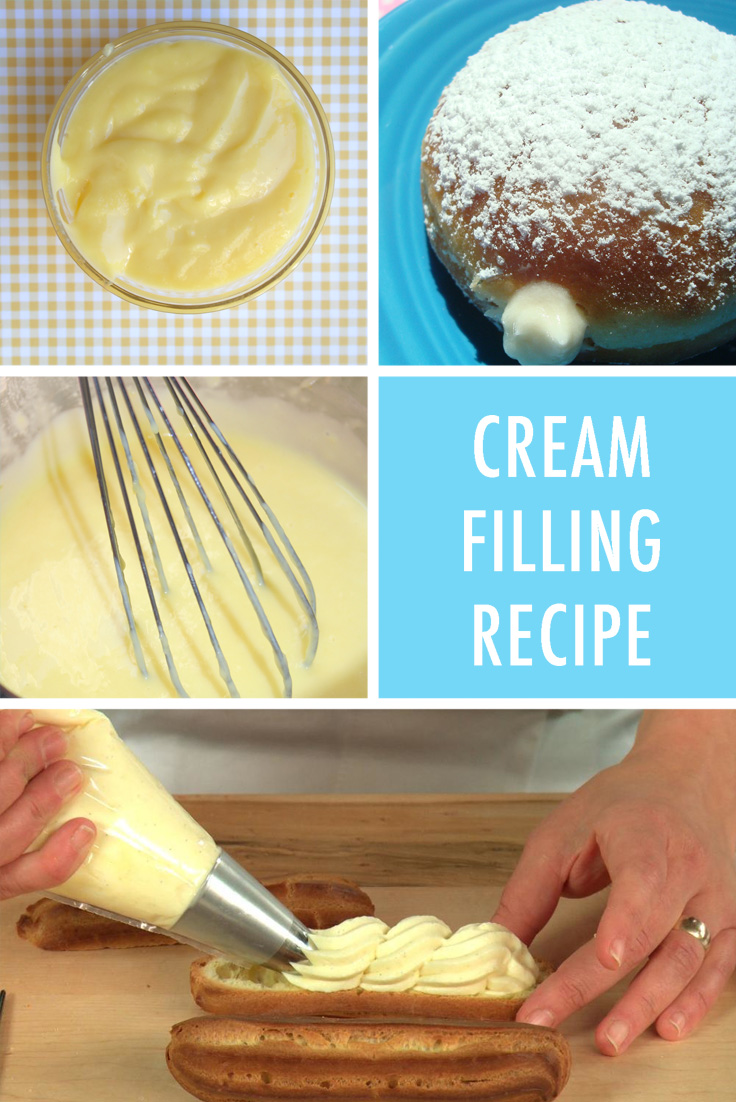
Three Cream puff recipes:

Classic cream puffs, easy to follow recipe via King Arthur Flour

Strawberry Cream Cheese Cream Puffs: an easy recipe and an entry in the Bake-Off a while back. on CakeSpy.

Cream puff cake. YES! Via The Domestic Rebel.

Do you like cream puffs?

January 1: Apple Gifting Day

Happy New Year! January 1 is here, and along with it resolutions, a new slate, full potential...and still some cold weather for a while more.

It's additionally National Bloody Mary Day, and oh yeah, also Apple Gifting Day.

Wait, what? 

Bloody Mary Day makes sense, after all, yesterday was champagne-soaked New Year's eve. But Apple Gifting Day? That's kind of unusual.

Weirdly, I wasn't able to find any information on who designated January 1 Apple Gifting Day, nor was I able to dig up why or how it was done. But it is referenced in enough places online and in print that I figured, why not celebrate, too?

While I can't offer too much about the reason behind the holiday, I can say that I love the idea of it. Why not gift someone with an apple today? It doesn't have to be a teacher--actually, since there is probably no school today, that would probably be difficult. Maybe a friend or partner or your mom or dad. 

I can also give you a little bit of apple trivia, for fun and maybe conversation when you present your apple. 

Five bites of apple trivia for Apple Gifting Day

1. There are more than 7,000 varieties of apple; the USA accounts for 2,500 of them. However, only about 100 are commercially grown/sold in the USA. 

2. Apples float in water because about a quarter of their volume is air. 

3. When the pilgrims hit Plymouth rock, they came packing apple seeds. Apples are documented as being planted in the USA as early as 1629.

4. The science of apple growing has a name: pomology. 

5. Apple slices can be used to soften brown sugar


Three apple recipes you may enjoy on this day:

Apple and goat cheese cake

Fried apple pies

Caramel apple pie bars

Who will you gift an apple to today? (or will you be sticking with the Bloody Mary?)

What Happens When You Eat the Cookie That You Forgot Was in Your Coat Pocket Since Last Year?

It's #whathappenswednesday, and today's is very important stuff. I brought out my winter coat for the season, only to discover a vintage cookie in the pocket. I asked on Facebook if I should eat it and everyone said yes, so I gave it a try. What does a year-old cookie taste like? Find out:

Wherein CakeSpy tastes a cookie that she found in her coat pocket from last winter.

Chocolate Nugget Cookies

These are like nuggets of pure joy. Why?

Well, because they are chocolate cookies--already joyful--that once you bite into, you realize are also filled with chocolate. This upgrades them to pure joy territory. That answers that, doesn't it?

This cookie recipe wasn't without some ups and downs. I thought I had the recipe just right, but then I wanted to test it one more time (and bring some cookies to my neighbors and show off my mad skillz). On the second batch, I freaking forgot to add sugar, a sad tale you can read about here. I decided to look at that as an opportunity to grow, so I blogged about it, tossed out the offending cookies, and made a brand new batch.

There was sugar in this batch, you can rest assured.

The batch following the sugar debacle confirmed it: these cookies are winners. With a slightly sandy (in a good way) dough, they have a rich chocolate flavor from the Hersey's Special Dark cocoa I used, a texture with a touch of resistance and a touch of crumble, and a touch of salt for contrast. The chocolate filling gives them moisture and makes them fun and prize-like to bite into. And as for chocolate on the top? Well, why not? 

These cookies are a winner, and as long as you remember the sugar, I'm sure they will impress all of your friends. Give 'em a go, yo!

Note: the goo factor is strongest when the cookies are warm. If they have cooled, you can put them in the microwave for 10 seconds before serving to re-activate the ooze of the chocolate. 

Chocolate nugget cookies

Printable version here

  • Makes 12 large cookies
  • Active time: 25 minutes
  • Total time: 40 minutes, plus cooling time

Ingredients

  • 1 ¼ cups all purpose flour
  • ¼ cup dark cocoa powder
  • ¼ cup cornstarch
  • ¼ teaspoon salt
  • 1 cup (2 sticks) unsalted butter, softened
  • ½ cup sugar
  • 1 egg
  • 1 teaspoon vanilla
  • 1 bar (3.5 ounces) dark chocolate (this is the typical size of a gourmet chocolate bar that you can buy in the grocery store. The one I used had 10 equal sized portions)

Unwrap your chocolate bar, and separate the bar into 10 equal squares, or as even as you can cut them. Set four of the squares to the side, to be used later on in the recipe.

With the remaining six squares of chocolate, cut each square into fourths. They don’t have to be perfect, but get them as even as you can. Set these 24 small squares to the side until step 8 in the recipe.

Preheat the oven to 325 degrees F. Line a baking sheet with parchment paper or a silicone mat.

In a large bowl, sift together the flour, cocoa powder, cornstarch, and salt. Set to the side.

In the bowl of a stand mixer, cream the butter. Once fluffy (2-3 minutes on moderate speed in your mixer) add the sugar, egg, and vanilla. Let mix for a minute or so on low speed to combine.

Pause mixing for the moment. Add the dry mix to the wet, and resume mixing on low until the mixture comes together into a pliable dough.

Divide the dough into 1 ½ inch balls. Lightly flatten each ball with your hand.

Grab those 24 small squares of chocolate you portioned out in step 2 of the recipe. In the center of each flattened portion of dough, place two of the squares, one on top of the other.

Using your hands, mold each portion of dough into a ball around the chocolate, making sure there are no cracks or holes, and that the dough completely covers the chocolate on all sides.

Space the chocolate-filled balls of dough on your prepared baking sheet, spacing them evenly in three rows of four each.

Bake in the preheated oven for 14 to 18 minutes. It can be hard to detect doneness based on browning as the cookies are dark, so look for a matte appearance on the top of the dough. A gentle touch of the dough with your finger should not leave an imprint.

Remove the cookies from the oven, and let cool on the sheet for about five minutes before transferring to a wire rack to cool completely.

When the cookies have cooled, coarsely chop the four chocolate squares you set to the side in step 1 of the recipe. Melt the chocolate, and use this to drizzle the tops of the finished cookies. Garnish as desired.

Enjoy!

Inspired By Dunkin' Donuts: Homemade Chocolate Kreme-Filled Donuts

I have a deep, dark, secret love of something truly naughty. It's the "kreme" filled donuts served at Dunkin' Donuts. It's a love I have documented, and one that dates back to my elementary school days.


Techically, my favorite is the vanilla kreme. But it's really just by a hair. I love chocolate kreme, too. If they were my children, the difference in love is so little that I wouldn't feel I was lying too much if I said I loved them equally. 

Every now and again, nothing but a good-ol' mass produced donut will do.

But something I simply cannot abide is when I have taken the time and space to indulge in a mass produced donut, and I get one that doesn't have enough kreme filling.

The point of this donut is the kreme! And in recent years, I've noticed an alarming trend: an ongoing reduction in kreme-to-donut ratio. Seriously--the last time I got a vanilla kreme donut, it basically only had a puff of kreme on the exterior of the donut. Nothing inside. To say this made me a sad panda would be a massive understatement.

So I have taken a bold step and begun making my own kreme-filled donuts. They are better than the ones served at Dunkin'; I am not being arrogant in saying this, it is a simple fact. The ingredients I am using are better, and since I can eat them right after they're made, they're fresher. This is actually a variation on the homemade sufganiyot recipe I dreamed up for Colavita recently, and let me tell you, donuts made with olive oil are very, very special. It gives them a taste unlike anything else.


But a superior product is not why I started making kreme-filled donuts at home: it's mainly so I can jam them with as much buttercream filling as I want and desire. 

These chocolate kreme-filled donuts will please your palate if you love the Dunkin' variety like I do, and you can stuff them with as much filling as you like. 

Oh, and you may also enjoy the companion recipe for Vanilla Kreme filled donuts

Chocolate kreme donuts at home

printable version here

  • Makes 18-24 (2.5-inch) donuts
  • Active Time: 1 hour, 20 minutes
  • Total Time: 3 hours, 30 minutes, plus cooling times

For the donuts

  • 2 cups (about 8 1/2 ounces) all purpose flour, plus more for work surface
  • 1 packet active dry yeast
  • 1 teaspoon salt
  • 1/3 cup (about 1.58 ounces) granulated sugar
  • 2 large eggs
  • 3/4 cup (6 ounces) whole milk
  • 1 1/2 tablespoons extra virgin olive oil
  • For frying: enough olive oil to fill a deep skillet 2 inches deep

For the filling

2 cups chocolate buttercream (for an authentic Dunkin' experience, use a shortening-based recipe)

To top

Confectioners’ sugar; sprinkles

Equipment:

  • rolling pin
  • a deep skillet, for frying
  • a slotted spoon for removing donuts from the frying oil
  • a pastry bag with a round tip, large enough to pipe your buttercream into the donuts
  • a wire rack
  • paper towels

Time to make the donuts. Place the flour, yeast, and salt in the bowl of a stand mixer. Set aside.

In a medium saucepan, warm the milk, sugar, and olive oil until the mixture reaches about 105°F. Remove from heat and whisk in the eggs.

Add the wet mixture to the dry, and using the paddle attachment, mix on low speed until the dough comes together. Increase the speed to medium-high, and continue mixing until the dough is smooth and pulls away from the sides of the bowl, five to seven minutes. It will still be somewhat sticky.

Form the dough into a ball and place in an oiled bowl. Cover with a towel and let it rise in a warm place for about an hour, or until doubled in size.

Near the end of the rising period, prepare your work area. Dust a work surface with flour, and place the dough on top. Using a floured rolling pin, roll the dough to about 1/4 inch thick. Using a 2- or 3-inch round cutter (or even a floured drinking glass rim, or the top of a wide mouth mason jar), cut out as many circles as you can and place on a lightly floured baking sheet.

Re-roll the scraps and continue cutting out circles until you've used all of the dough. Cover the rounds with plastic wrap and again let them rise, this time for about 30 minutes. They will begin to look slightly puffy.

Place paper towels under a wire rack. Have it near your frying surface. This is where you'll put the donuts to cool off after frying.

It's time to get frying. Heat your oil in a large deep skillet or deep pan until it has reached 350°F.

Transfer the rounds a couple at a time (you don't want them crowded) and fry until browned—about 1 to 2 minutes. Flip, and remember the second side takes less time to fry. Using a slotted spoon, transfer to the wire rack. Continue frying until you've finished them all.

By the time you're done frying, the first of the fried donuts should be cool enough to handle. Using a chopstick or small knife, make a hole and slightly "shimmy" it without enlarging the hole too much, to make more space in the doughnut for the filling.

Load up a piping bag with your buttercream, and pipe a little over a tablespoon-ful into each doughnut. (You can also spoon it in if you prefer, slicing the doughnut in half and spooning the filling inside). Once filled, place the donuts back on the wire rack. Dip the exposed ends of the buttercream in rainbow sprinkles for extra joy.


Dust the finished donuts with confectioners’ sugar, and enjoy.